8 Essential Chicken Supplies for Raising Healthy Chickens
Raising backyard chickens starts long before your first chicks arrive. Having the right supplies ready makes the transition smoother, safer, and far less stressful for you and your new flock.
Whether you’re keeping chickens for fresh eggs, pest control, or fun, these are the eight essential supplies every chicken owner should have before bringing chicks home.
If you’re still deciding whether chickens are right for you, start with Arizona Backyard Chickens: A Guide for Beginners. For advice on keeping your flock comfortable through the summer, read How to Keep Chickens Cool in Arizona Summers.
I’ve gathered all my favorite tried-and-true chicken supplies into one convenient list. See my Amazon favorites here.
Supplies You’ll Need:
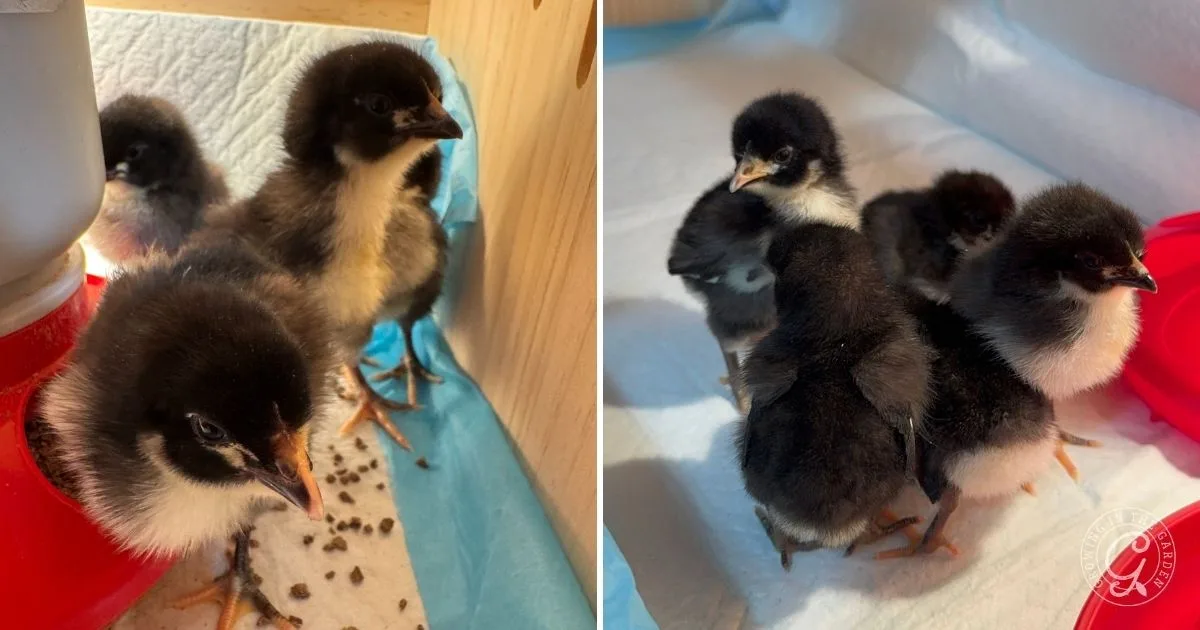
1. Brooder Box
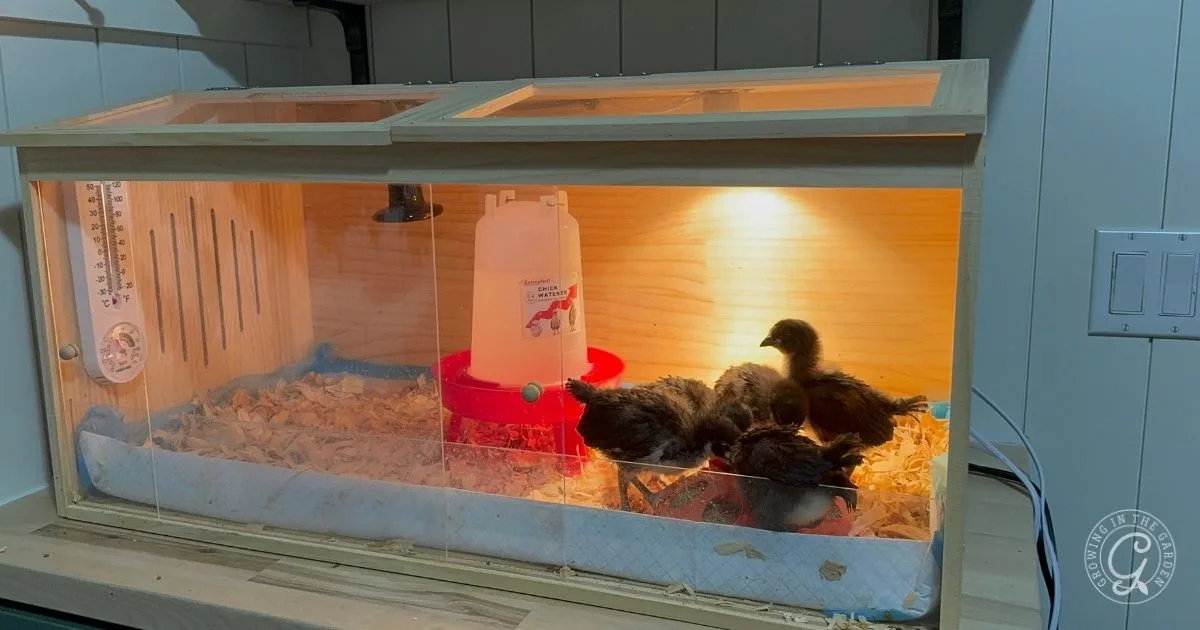
The brooder box is home for your chicks until they are ready to move into the coop. It should be secure, draft-free, and easy to clean.
Use a galvanized tub, a wooden box, a plastic bin, or a sturdy cardboard box. Each chick needs at least 1 square foot of space, and the box should have smooth sides so chicks cannot escape.
A simple setup is fine as long as it’s safe, roomy, and easy to monitor.
This is the brooder box I use from Amazon, and I was pleasantly surprised by how easy it was to assemble. It fit perfectly in my laundry room until the chicks were ready to move outside. Highly recommend for anyone raising chicks in a small space.
2. Heat Source
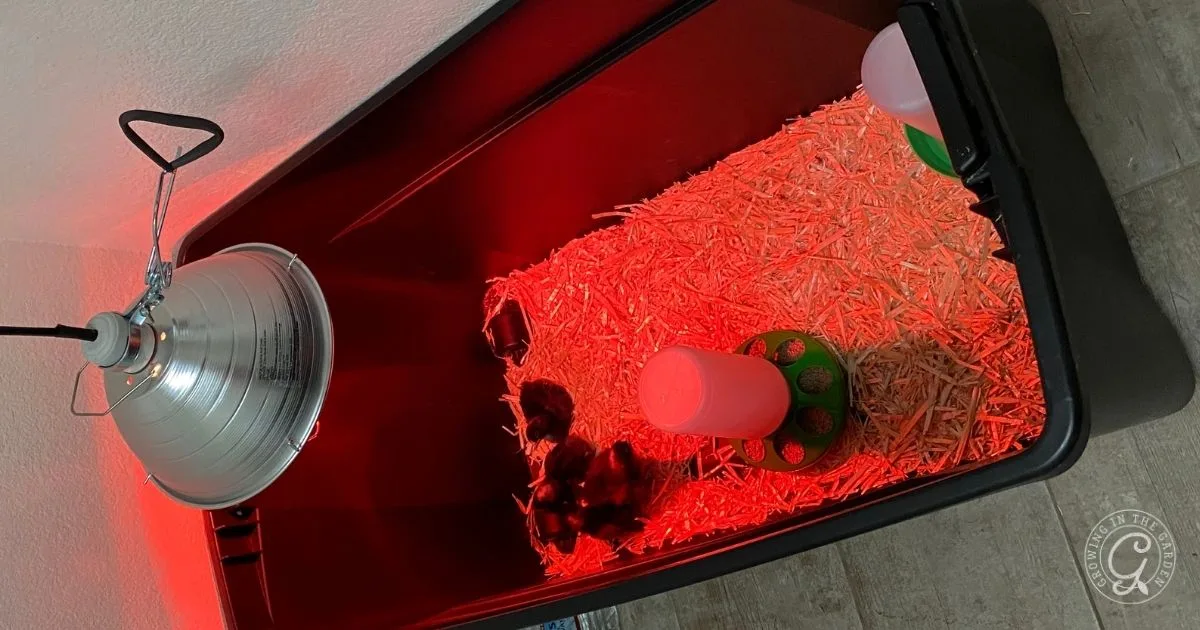
Newly hatched and unfeathered chicks cannot regulate their body temperature, so a heat source is essential.
A heat lamp with a red bulb is an inexpensive option, but it can pose a fire risk if not used carefully. Hang it securely above the brooder and avoid placing it near the edges if your container is plastic.
A brooder heating plate is a safer, though more expensive, alternative. It provides steady warmth without the risk of overheating or fire. The brooder box I used had a ceramic heat lamp included.
Keep the temperature in the brooder around 90–95°F (32–35°C) during the first week, lowering it by about 5°F each week until the chicks are fully feathered and comfortable at 65–70°F (18–21°C).
Watch your chicks. If they huddle under the lamp, they are cold. If they avoid the light, it is too warm. When the temperature is just right, they will move evenly around the brooder, pecking and chirping quietly.
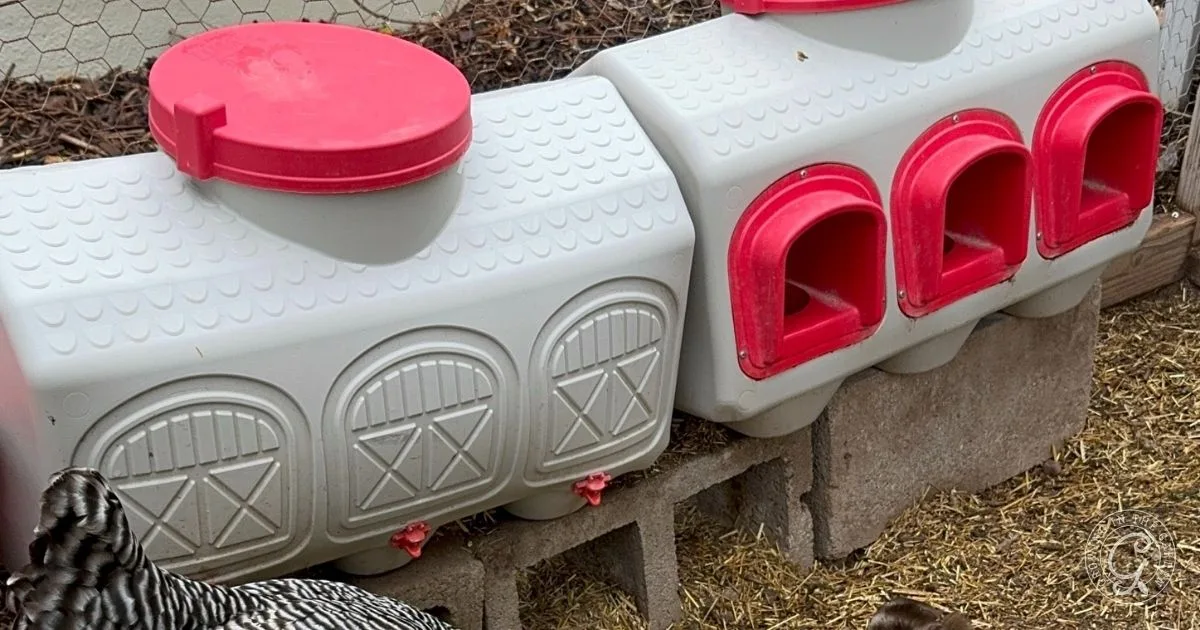
3. Water
Chicks and chickens need constant access to clean, fresh water. For the first few weeks, use a small chick waterer to keep things simple and safe.
As your flock grows, switch to a larger setup that stays clean longer. I use the OverEZ Automatic Chicken Waterer, and it has been a game-changer. Before using it, I had to change the chickens’ water every day. Now they always have access to clean water, and they learned how to use it right away.
It holds 12 gallons, is durable and weather-resistant, and the drip-free design keeps water clean while reducing waste. A dependable waterer makes caring for your chickens easier and keeps your flock hydrated through Arizona’s long, hot days.
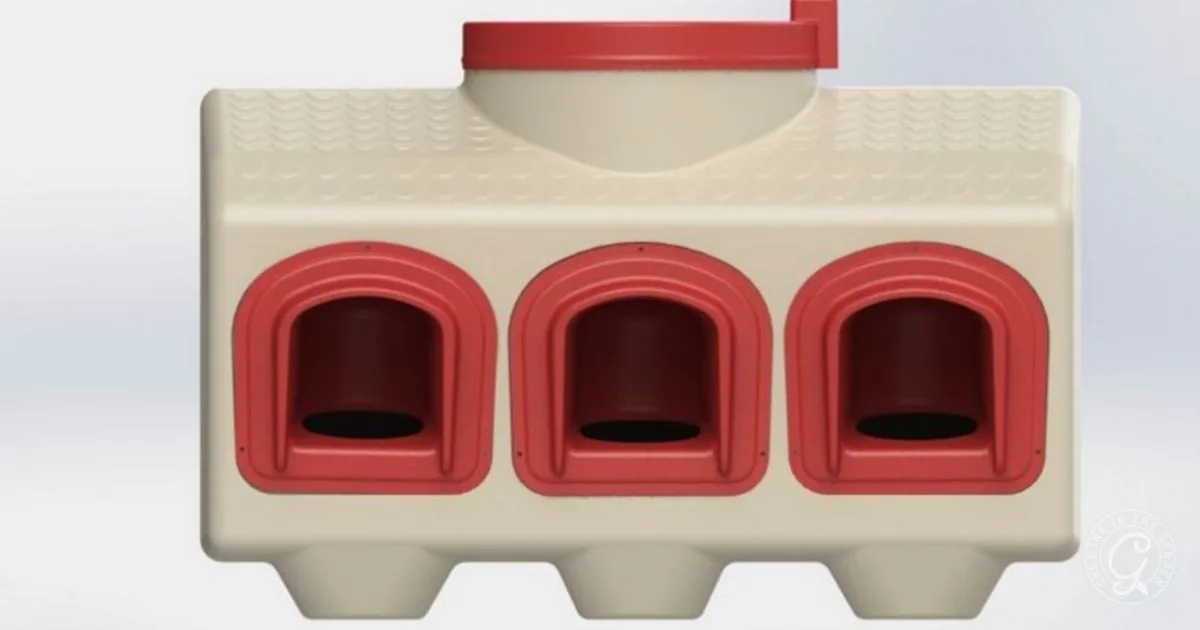
4. Food
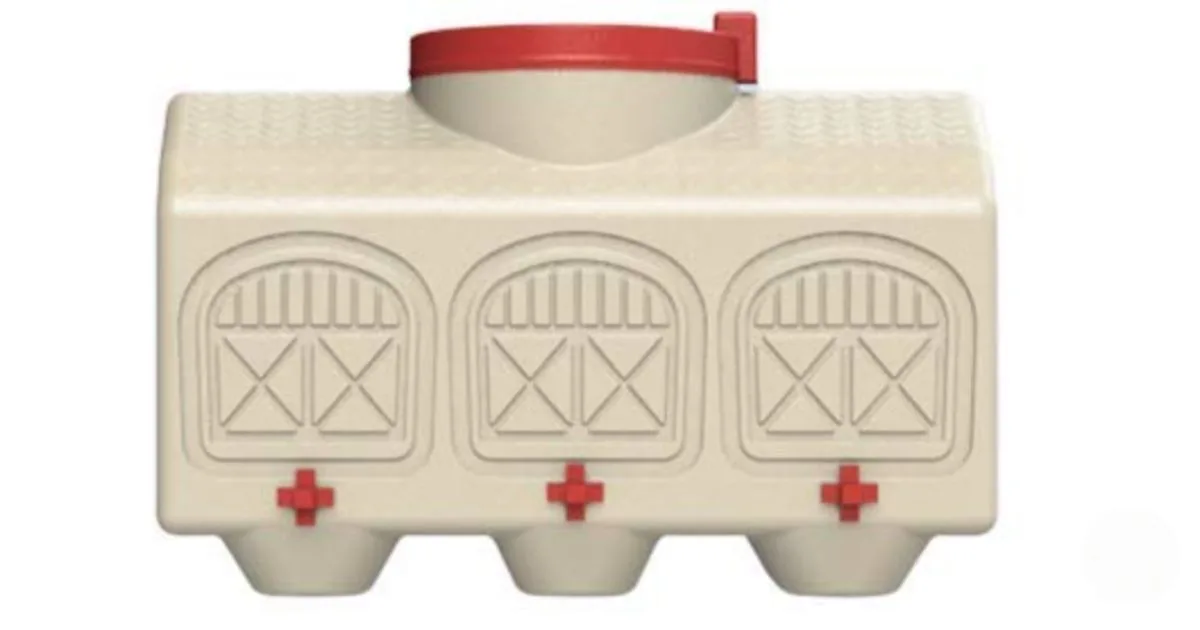
Chicks need access to feed at all times. Start with a small chick feeder and switch to a larger model as they grow.
- Feed organic chick starter grower for the first 18 weeks. Starter feed contains at least 18 percent protein, which supports strong growth and healthy feathers.
- At around 18 weeks, or when hens begin laying, transition to organic layer feed. Wait until that time to introduce any treats such as scratch grains.
- Once they are laying, provide crushed oyster shells for calcium and grit for digestion. Offer both in separate containers so hens can take what they need.
I use the OverEZ Chicken Feeder, and it has made a huge difference. Before switching, I was wasting so much feed every day. Now the food stays clean and dry, and I’m using far less overall. The feeder holds up to 50 pounds of feed and has three feeding ports, so multiple chickens can eat comfortably without spilling or scratching out food. If you have just a few chickens, this smaller version works well too.
I get all my feed at Inspire Farms in Mesa and use the Modesto Milling Soy-Free, Corn-Free Layer Pellets. (It’s not an affiliate link—just what I use and recommend.) It’s an organic, complete feed that has kept my chickens healthy and productive year after year.
A quality feeder and balanced organic feed make daily care easier and keep your chickens thriving.
5. Bedding Material
Bedding keeps the brooder clean, absorbs moisture, and gives chicks a soft surface to rest and scratch on. Once chicks are about a week old, add bedding and refresh it regularly to keep the area dry and sanitary.
Common bedding materials include wood shavings or chopped straw. However, in Arizona’s dry climate, straw often performs better because it breaks down quickly and works well with the deep litter method—adding new layers on top of old bedding as it composts naturally over time.
Tiffiny from Inspire Farms recommends straw for both brooders and coops, since it composts faster than wood chips and doesn’t hold moisture as long, which helps prevent odor and respiratory issues. Avoid pine or cedar shavings that can trap dampness or release strong oils that irritate the birds’ lungs.
I get my straw at a local feed supply store.
What Is the Deep Litter Method?
The deep litter method is a low-maintenance way to manage coop or brooder bedding. Instead of fully cleaning out the bedding every week, you simply add fresh straw or shavings on top of the old layer.
As the material breaks down, it naturally composts in place. Fully clean out and replace the bedding every few months. When I clean out the coop, I put all of the bedding into my compost. Learn more about how to compost in this guide.
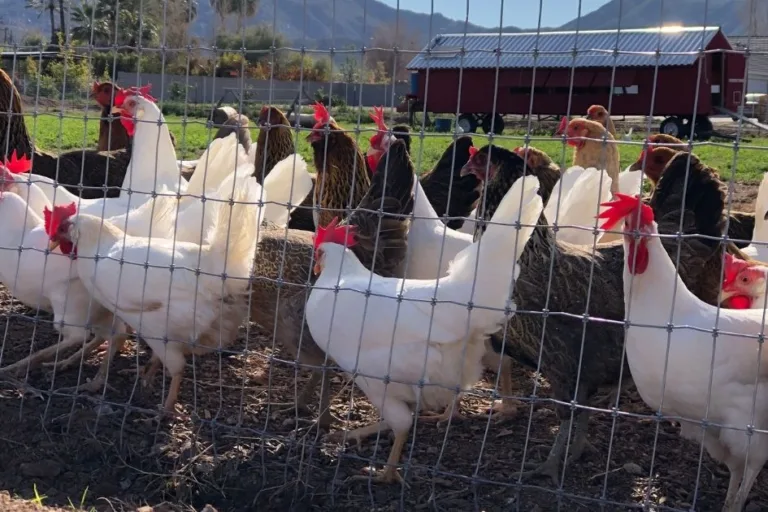
6. And of Course, Chicks
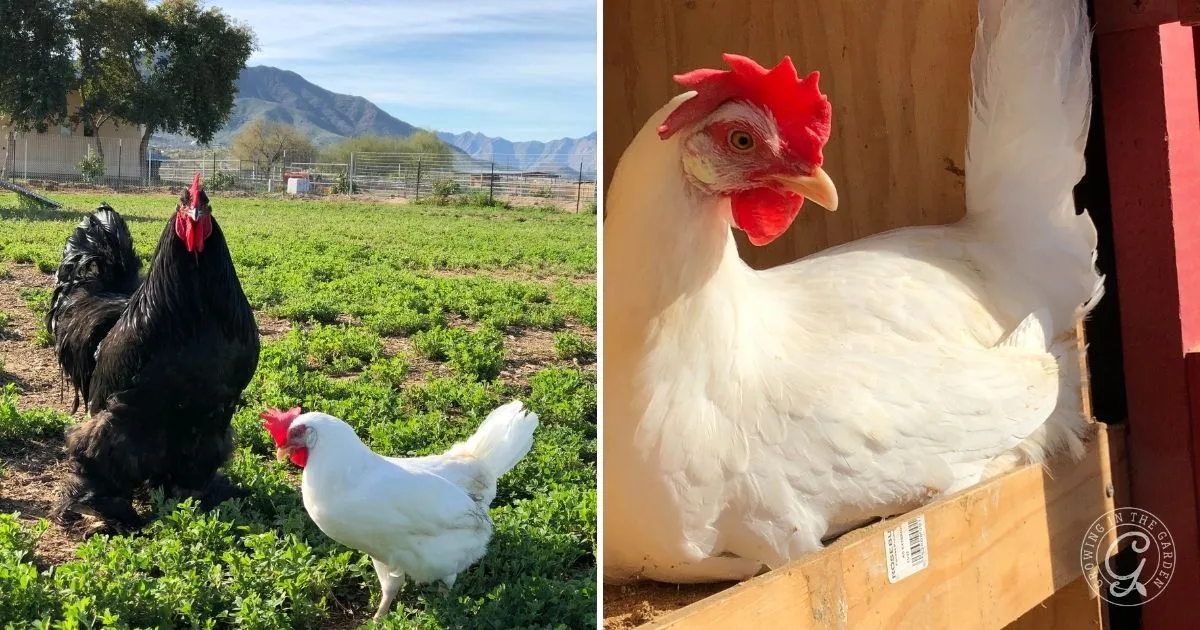
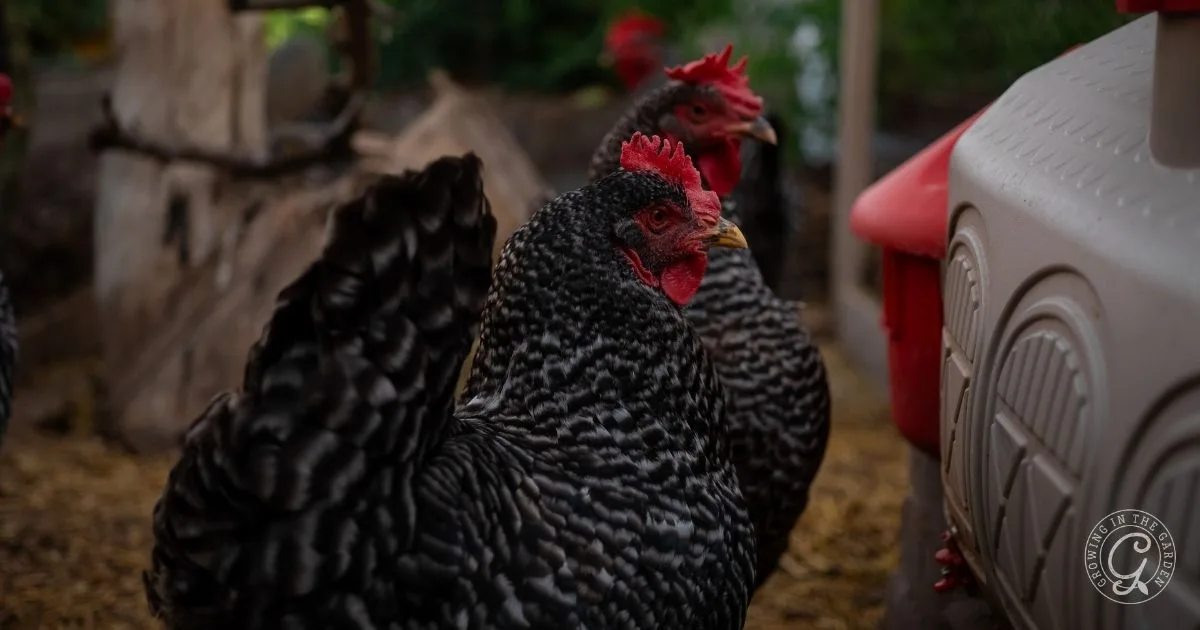
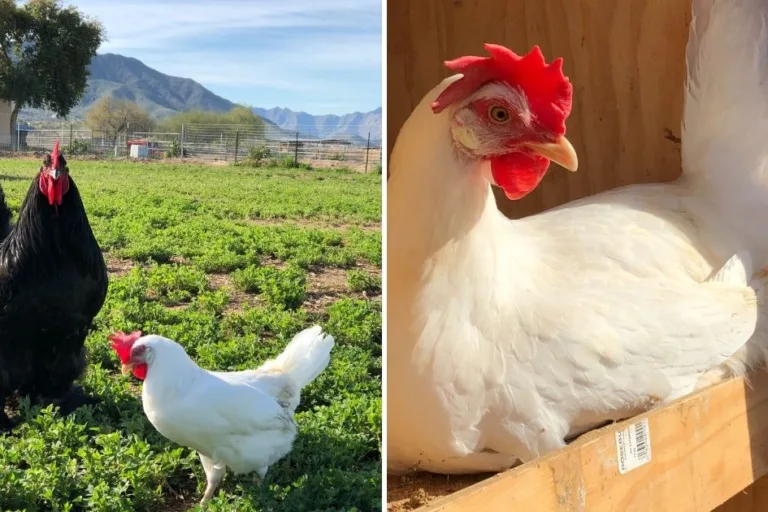
Choosing the right breed makes a big difference in how well your flock adapts to Arizona’s climate.
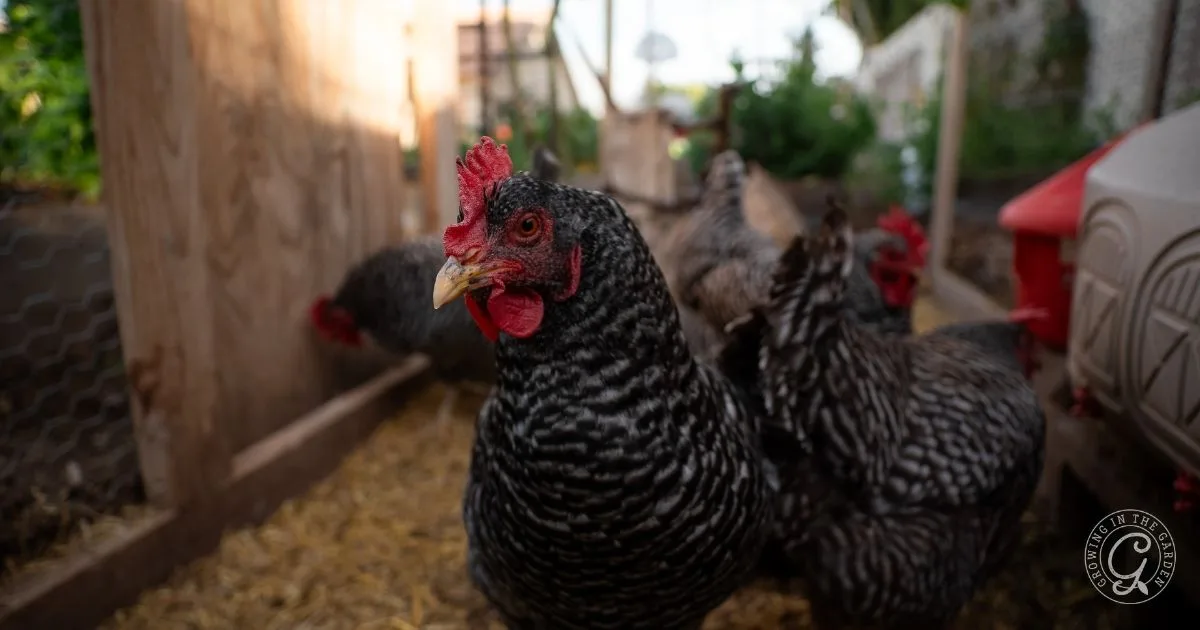
Look for heat-tolerant, friendly, and reliable layers such as Black Australorp, White Leghorn, or Barred Plymouth Rock.
I have had all three breeds—Barred Plymouth Rock, Black Australorp, and White Leghorn—and each has been a great fit for my desert garden. The Barred Rocks are calm, friendly, and excellent foragers. Black Australorps are gentle, beautiful birds and steady layers. White Leghorns are light-bodied and handle our hot summers well while producing an impressive number of eggs.
7. Chicken Coop
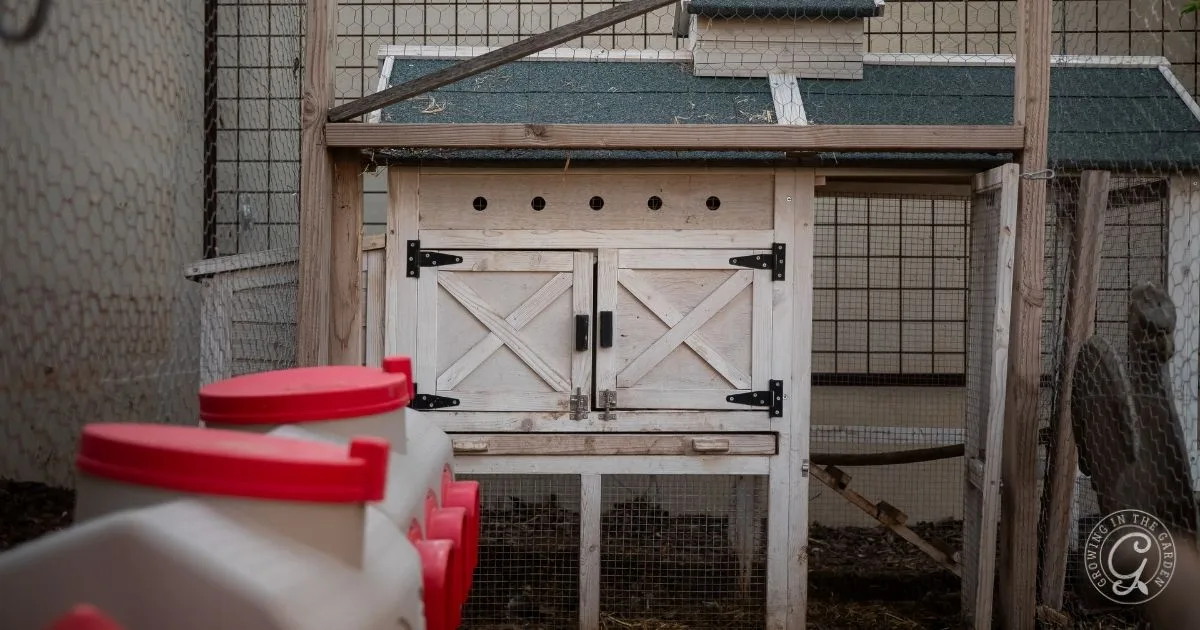
Once chicks are about six weeks old, fully feathered, and nighttime outdoor temperatures are above 65°F (18°C), they are ready to move to the coop.
A chicken coop provides shelter, protection, and a safe space to roost at night. In Arizona, it also plays a critical role in managing heat.
Plan for at least 2–3 square feet per bird inside the coop and include:
- One nesting box for every 3–5 hens
- Roosting bars (flat, not round) so chickens can sleep comfortably
- Good airflow and shade to help control temperature
Tiffiny from Inspire Farms recommends focusing on ventilation and shade as your top priorities. She notes that warm air rises, so adding vents near the roofline allows hot air to escape. Placing the coop under natural shade—such as a tree or a north-facing area—keeps the space significantly cooler.
Make sure the coop is predator-proof by using hardware cloth instead of chicken wire on all openings and securing doors with solid latches.
8. Chicken Run
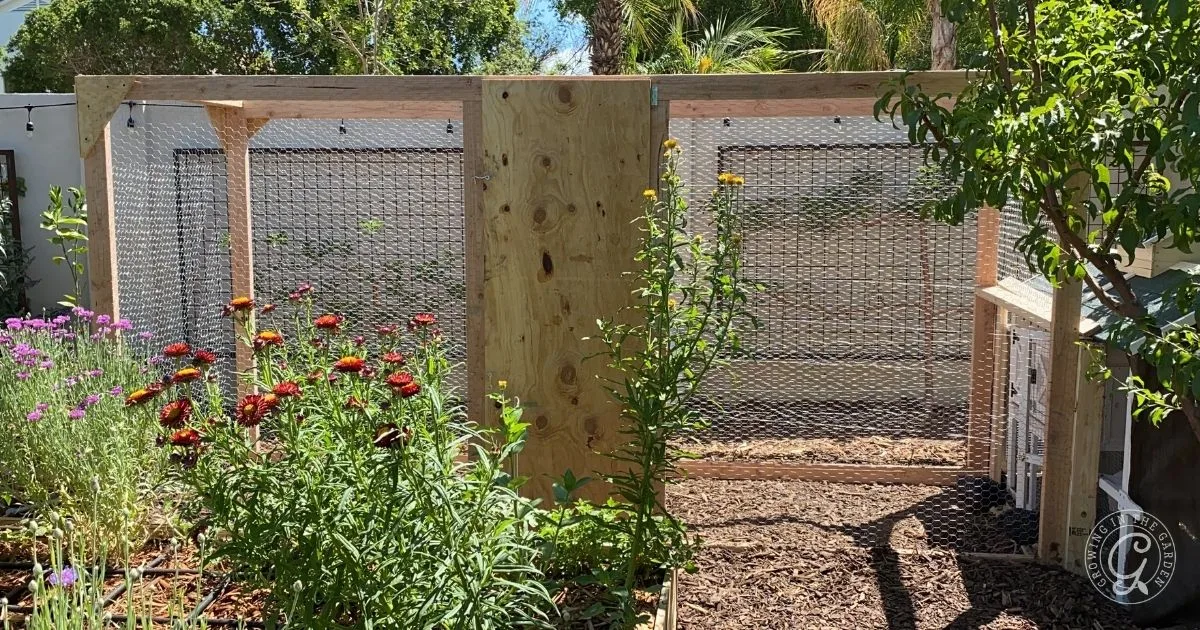
A chicken run gives your flock a safe, enclosed space to stretch, scratch, and dust-bathe while staying protected from predators. In Arizona, the run also needs to offer plenty of shade and airflow to help chickens cope with high temperatures.
Provide at least 5–10 square feet per bird, though more space is always better. The more room your chickens have to move, the less stress and pecking you will see.
To keep the run comfortable year-round:
- Include flat roosting bars or logs inside the run so chickens can perch off the hot ground.
- Choose a spot that gets natural afternoon shade, or add shade cloth to the top and sides.
- Allow for good airflow so heat doesn’t build up inside enclosed areas.
Other Supplies for Arizona’s Climate
If you live in a hot or cold region, your flock may need a few extra items.
Here in the low desert of Arizona, I add:
- Shade cloth on the coop and run
- A mister system during the hottest part of the day
Learn more about these strategies in How to Keep Chickens Cool in Arizona Summers.
Conclusion
With these essentials in place, you’ll be ready to raise healthy, happy chickens from day one. Preparing ahead makes caring for your flock easier and sets them up for success.


Hello! It looks like from these pictures that your chicken coop and run are situated on mulch. Would you recommend setting a new coop up that way as well?
I pulled back the mulch and put it on the soil as much as possible. Then I put the mulch back around the perimeter. I would try to get it at soil level if possible.
How many hens do you have? We are about to build our coop and get ready to get some, but not sure how many to start with
Hi Amanda. I started with 6. That was a good number and produced a large amount of eggs. 2-3 dozen a week during laying season.
Is there a particular time of year that’s better to get chicks here in the Arizona low desert? For example, is it better to get them in the spring, past the coldest part of the year, but before the heat sets in? Thanks!
I checked with Tiffiny at Inspire Farms in Mesa and she said that most people get them in the spring, but because of our mild winters, you can also get them in the fall and have eggs by spring.
Hi! When you say that chickens are ready to transition from brooder to coop when the outside temperature is above 65, does that mean that the lows shouldn’t be below 65?
Yes.
Hi! We have chickens in our backyard. I would love to plant more things in our backyard but don’t know what plants the chickens will eat or leave alone! Any advice on what things to plant around chickens?
I’m still a bit of a newbie on that. I did grow watermelon vines up the coop to help shade it in the summer. I’ve been growing sweet potato vines near the coop and they LOVE eating those. I give them fresh herbs each day and they like those; lemongrass, oregano, basil, etc. They love cucumbers and cantaloupe. When I let them in the garden they are fine if crops are older but they wreck havoc on young crops.