Rainwater Harvesting How-To Guide for Desert Gardens
Forecasters are calling for a wetter-than-average monsoon this year (2026), and unless you’re ready, that rain is about to run off your property and disappear down the street. Rainwater harvesting in the desert is a way to keep it, and it’s one of the biggest ways to conserve water in the desert garden overall. I’ll show you what I’m doing in my own yard, what I still need to do, and an inexpensive change you can make before the first storm.

Quick Summary about Rainwater Harvesting
- Rainwater harvesting in the desert conserves water and benefits plants by providing natural, salt-free rainwater instead of alkaline tap water.
- Harvesting rain is legal in Arizona, and the state encourages it through rebates and grants.
- To start rainwater harvesting, observe where water naturally flows on your property, use existing materials like garbage cans, and shape your land to capture runoff.
- Building a rain basin is an effective first project for managing water and improving plant health by holding moisture in the root zone.
- A rain tank allows for the storage of harvested water and enhances irrigation systems, but passive methods like land shaping can also significantly improve water retention.
Table of contents
Why Rainwater Is Better than Tap Water for Plants
By the end of a Phoenix summer, you’ve been watering with city water for months. City water in the desert is alkaline, and our soil is already alkaline. Most Phoenix-area soil is between a pH of 7 and 8.5, and our tap water is treated to be alkaline to protect the city pipes. So all summer long, you’re stacking alkaline on alkaline. Salts build up. Iron and zinc become harder for plants to take up. You start seeing it in yellowing leaves, slow growth, and that tired, end-of-summer look.
Then it rains, and everything changes. Rainwater has a natural pH around 5.6, which is exactly what most garden plants prefer. It carries nitrates from the atmosphere, the most available form of nitrogen for plants, and it has none of the salts, minerals, or treatments in tap water. Plants look greener and more alive after a storm. They love rainwater.
Is Rainwater Harvesting Legal in Arizona?
Yes. Rainwater harvesting is completely legal in Arizona. The state doesn’t just allow it; it actively encourages it with rebate and grant programs, so check what’s available through your city or water provider before you start.
Resources:
- Watershed Management Group is a Tucson-based nonprofit that teaches and installs water-harvesting systems across the state. They run free classes, offer how-to guides, and can point you to reputable installers in your area. I had the chance to work with them on a yard transformation in Tempe, and it changed how I look at my own property.
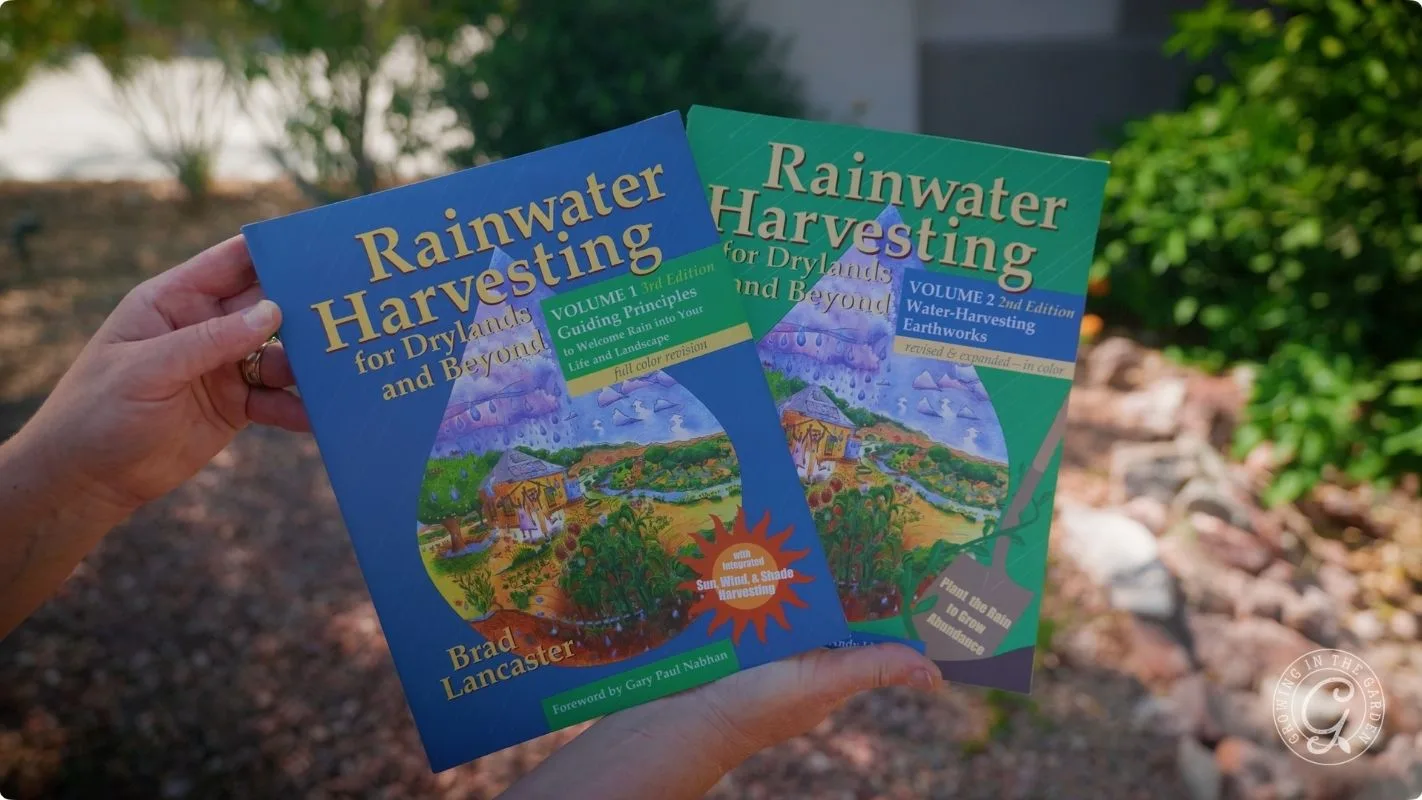
- Brad Lancaster’s books, Rainwater Harvesting for Drylands and Beyond, Volumes 1 and 2, are excellent resources for anyone who wants to understand the principles of rainwater harvesting. Lancaster points out that in Tucson, which averages about 11 inches of rain a year, more water falls on the city in a normal year than the entire population uses.
Passive vs. Active Rainwater Harvesting
There are two broad approaches, and a combination of both is usually the best way.
- Passive harvesting means shaping the land to slow water down, spread it out, and let it soak in. No tanks, no pumps, just earthworks. It costs the least and works the first time it rains.
- Active harvesting means capturing water in tanks or barrels so you can store it and use it later. This is the part most people picture when they hear rainwater harvesting and more expensive.
How to Start Rainwater Harvesting in the Desert
Step 1: Watch Where the Water Moves
Before you build anything, go outside during a storm and watch. Where does the water come onto your property? Where does it pool? Where does it leave?
When I went to a City of Mesa Workshop with the Watershed Management Group, we met three times over several weeks. The first meeting was about learning the principles. The second, we stood in the yard together, observed, and presented ideas for improving the yard’s moisture-holding capacity. The last time that we met, we implemented the plan.
After implementing changes in my own yard and this recent class, I find I’m more observant about where the water moves throughout my yard. The observation step doesn’t cost anything. Once you start looking, you begin to notice things. Every roof line, every slope, every spot where water runs away from your landscape becomes a place to ask, “How do I keep that?” You’ll start noticing where you waste water, too. Here are some low-water groundcovers that hold up better than grass in our heat.
Step 2: Use What You Already Have
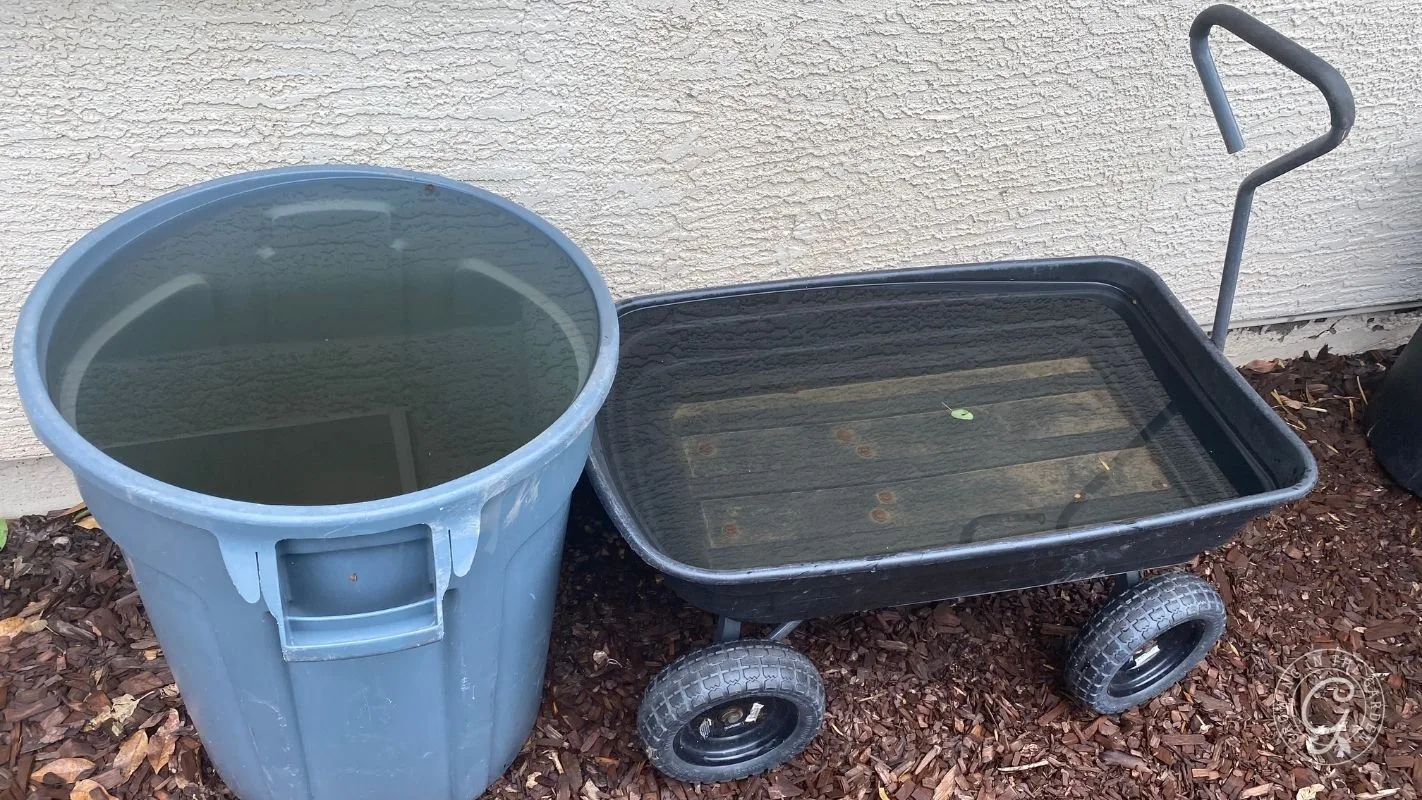
The back of my house gets a lot of runoff and doesn’t have gutters yet. The water puddles, and a lot of it goes to waste. I haven’t solved this. For now, I put out five big garbage cans when it rains, and they fill up. I use that water in the garden, and I’ll often add liquid fertilizer right into the cans to feed my trees and plants. Before I had gutters anywhere, I did versions of this all over the yard with wheelbarrows and wagons, whatever held water. I also open up my compost bins when it rains so the water soaks right in.
It’s not perfect, but it’s better than nothing. A garbage can under a downspout that currently drains into your driveway beats letting that water hit the street while you save up for gutters. A berm around one fruit tree costs almost nothing and starts working the first storm.
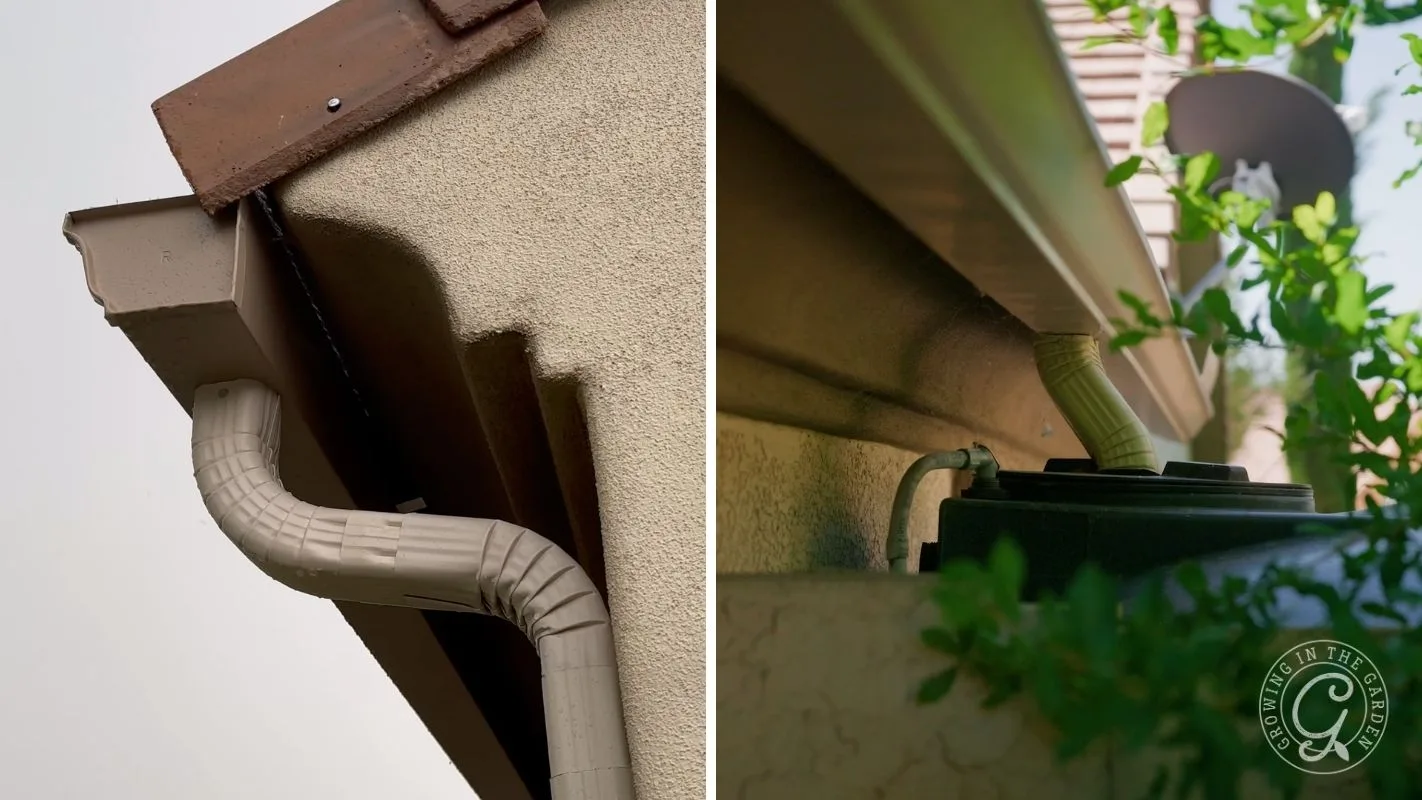
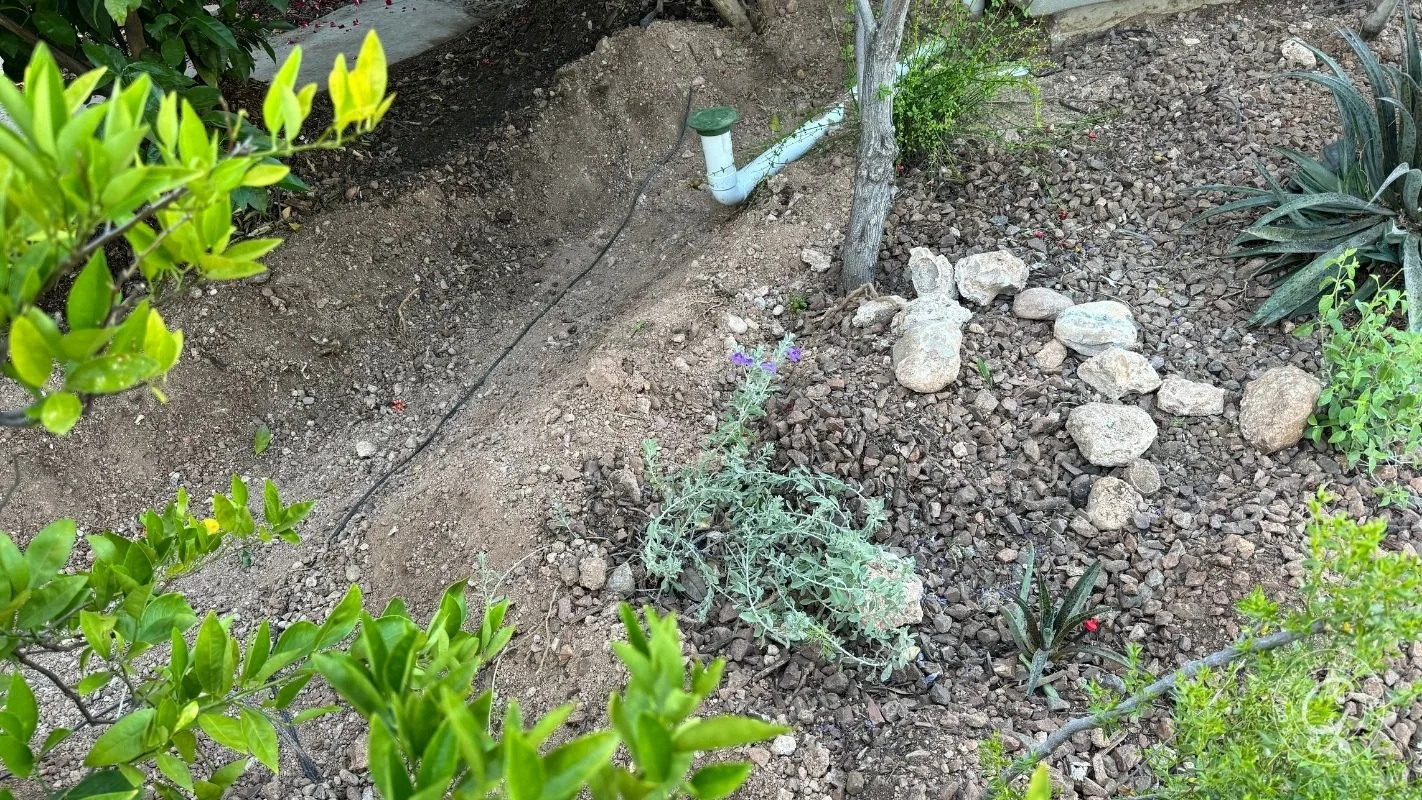
Step 3: Redirect Your Gutters Toward the Landscape
When I first put gutters on my house, they drained into my driveway and out onto the street. I hated watching that water go. Now my gutters connect to a pipe that runs to pop-up drains in the swales and berms around my fruit trees. When it rains hard enough, those pop-ups open and water flows right to the root zones.
You don’t need the full etup to start. Even moving the bottom of a downspout so it empties into a planted area instead of pavement is a real improvement.
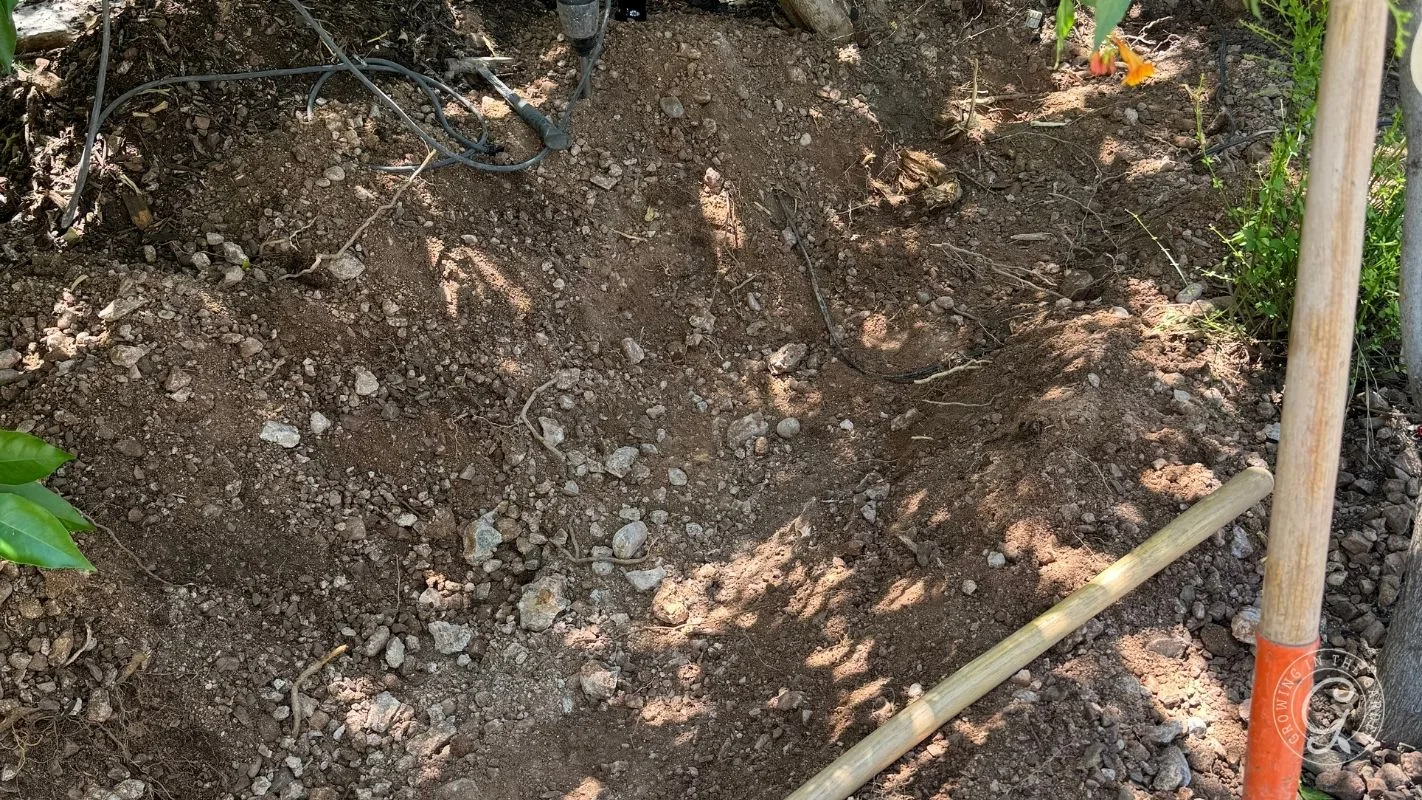
Step 4: Shape the Land to Slow, Spread, and Sink
This is passive harvesting, and the principle is simple: slow it, spread it, sink it.
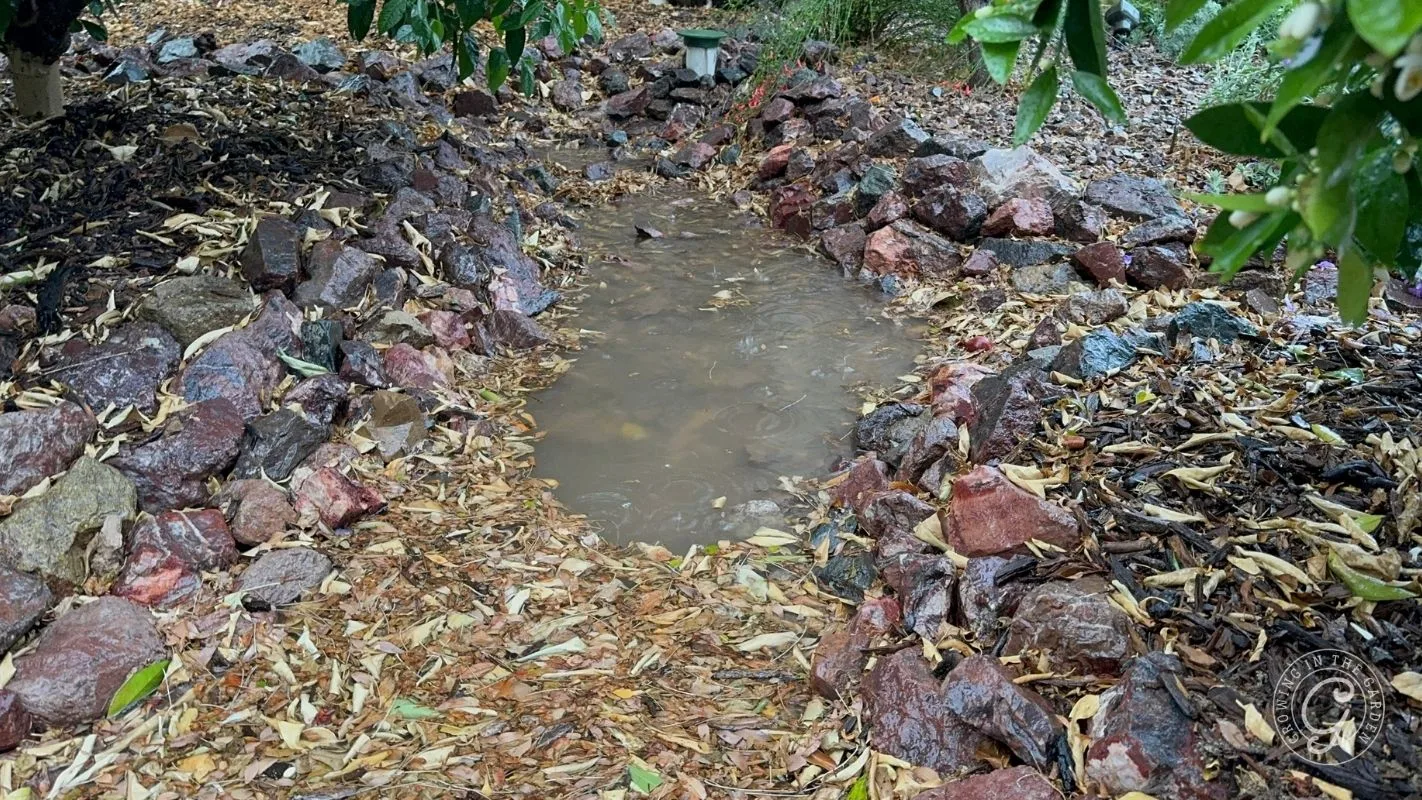
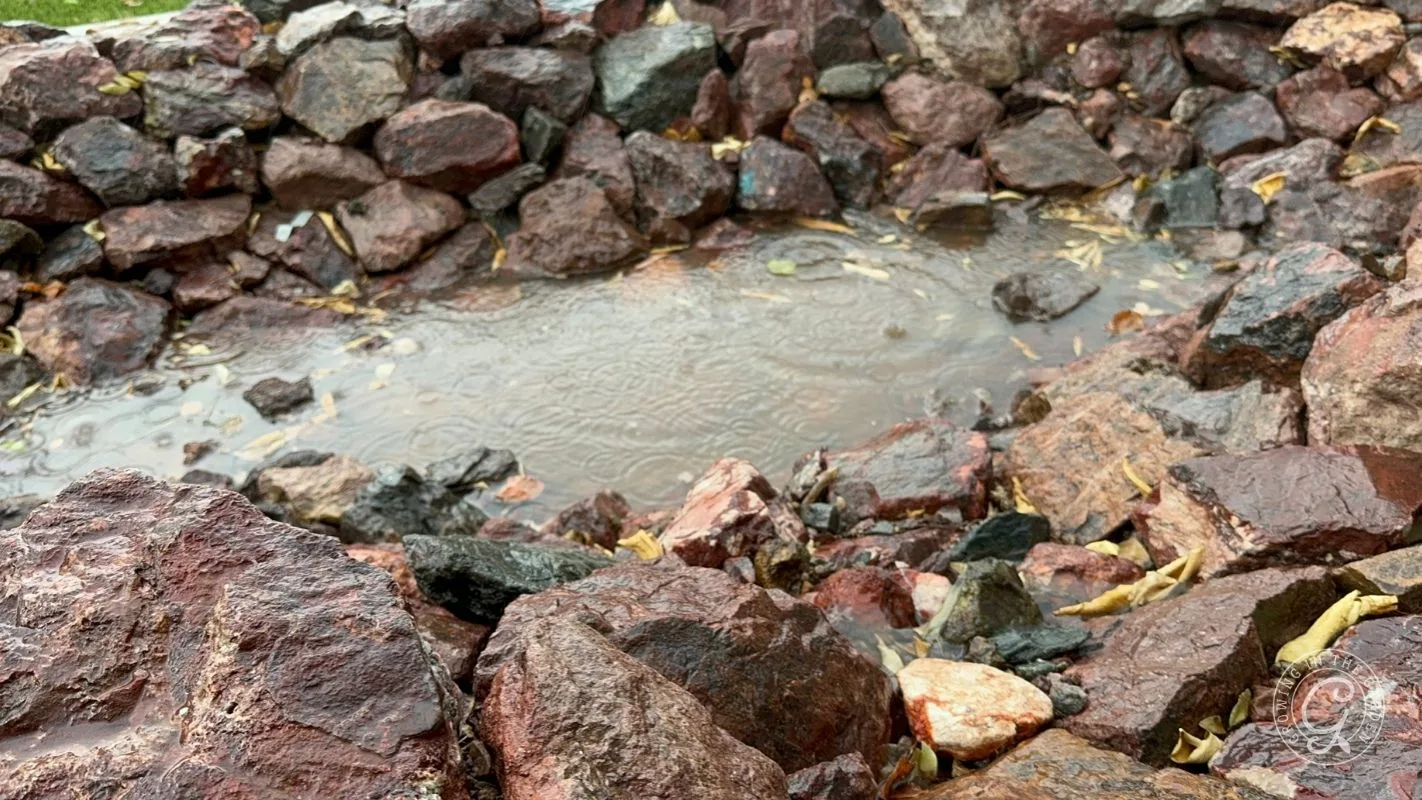
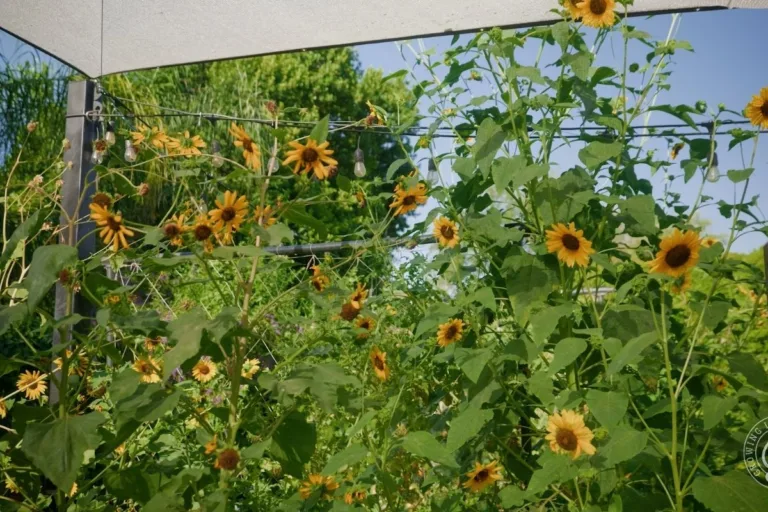
In my front yard, there is a basin to hold rainwater runoff. One of my neighbors asked why I have an empty pond in my front yard and whether I was ever going to fill it. I told him yes, every time it rains. When it rains, it fills, the water soaks in slowly, and the deep-rooted plants find it. After a good fall storm, my larkspur and wildflowers came up beautifully and held through a March with 100-plus-degree days. Deep water, deep roots. The same idea can work inside the vegetable garden, where sunken beds hold water at the roots instead of shedding it off the top. Learn how to use sunken garden beds.
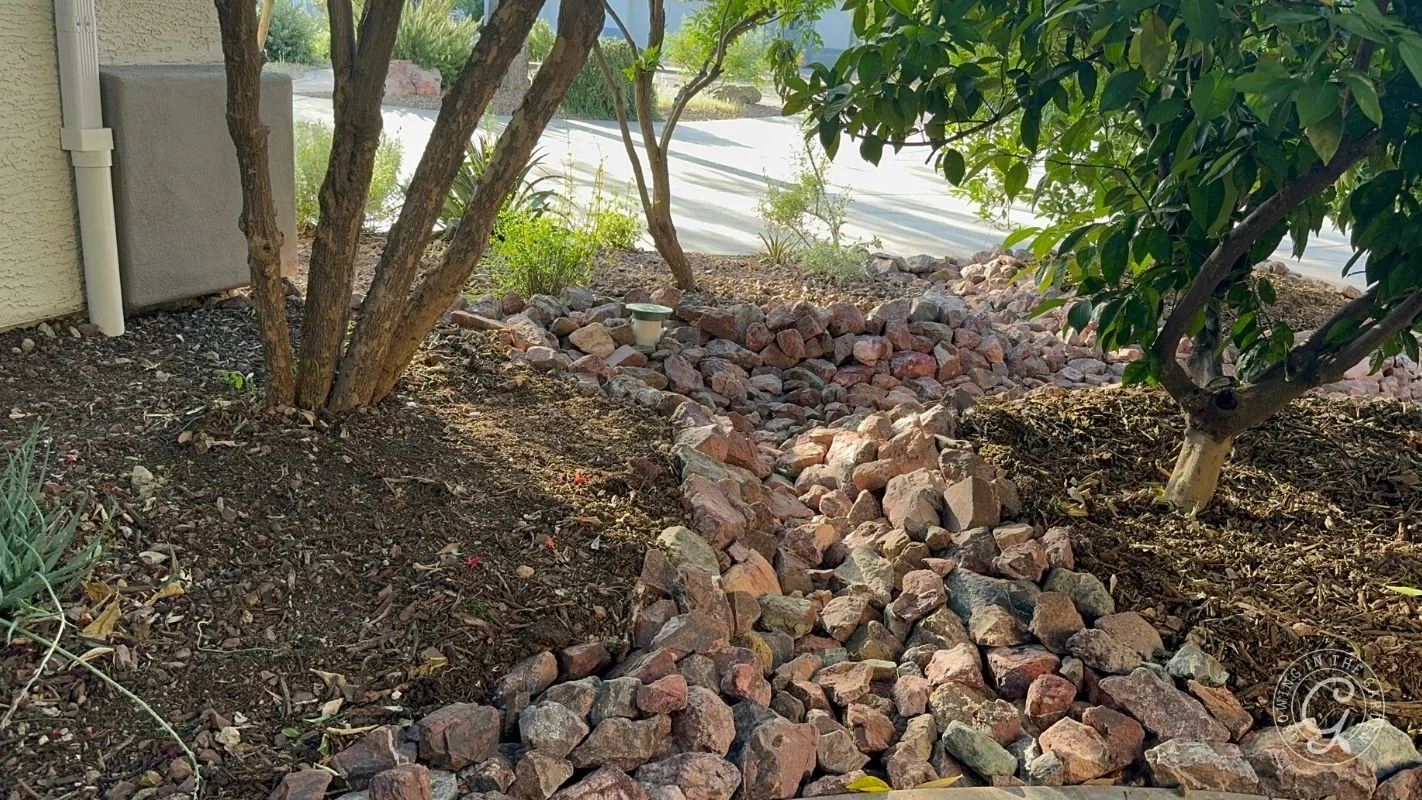
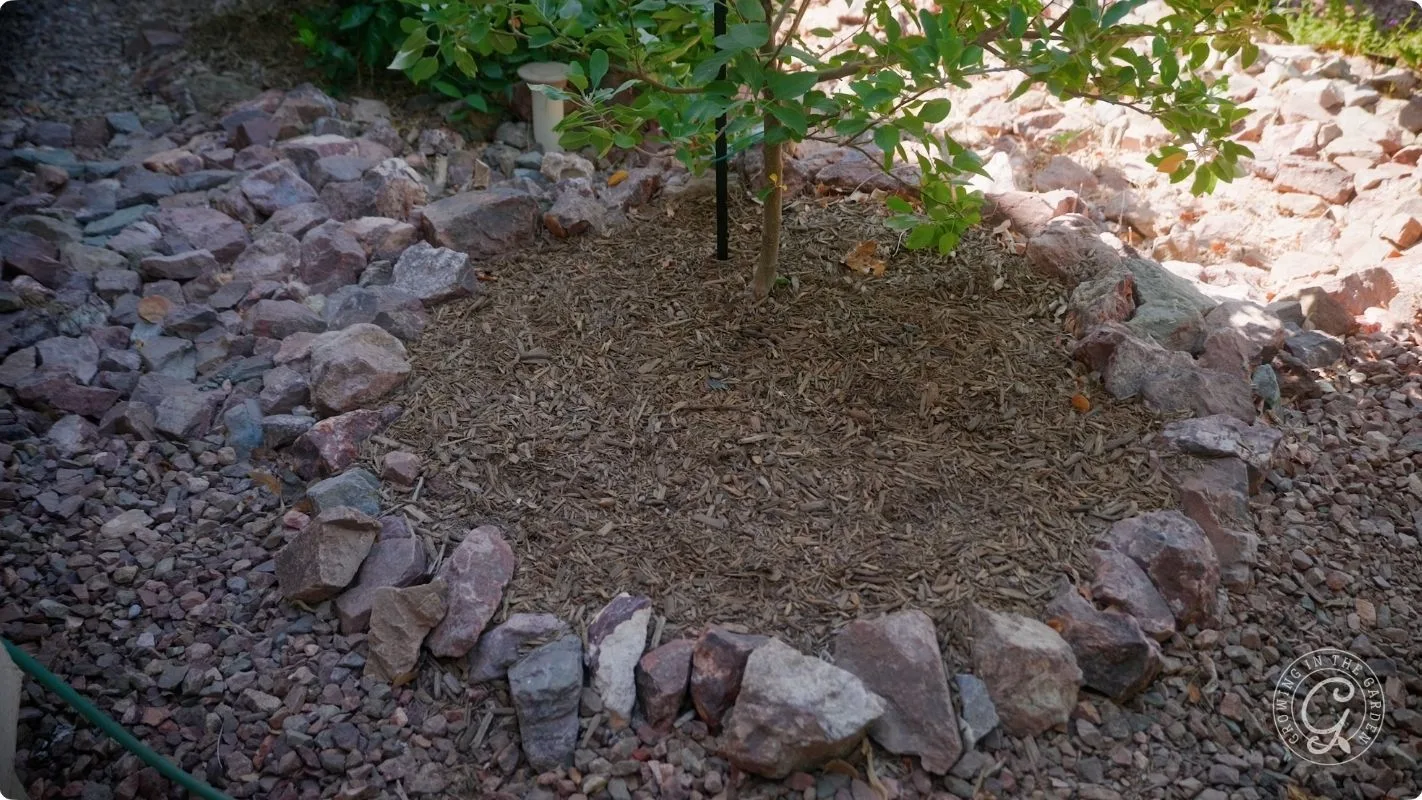
Many of my fruit trees are surrounded by berms and swales, small earthen ridges and basins that catch water instead of letting it run off. If you’re planting trees this season, build the basin at the same time. Here’s my full guide on planting fruit trees in the low desert.
What surprised me most was how long the water stays. On a tour with Watershed Management Group at Mesa Urban Garden, it had been weeks since the last rain. Near a gutter cut where street water flows in, they pushed a soil probe straight down and it went all the way. That moisture was still there, still available to roots. We’re not just trying to catch rain. We want to keep it in the soil long after the storm is gone, and mulch is a big part of holding it there.
Step 5: Add a Rain Tank If You Want to Store Water

Once your earthworks are in, a tank lets you store rain and use it on your own schedule.
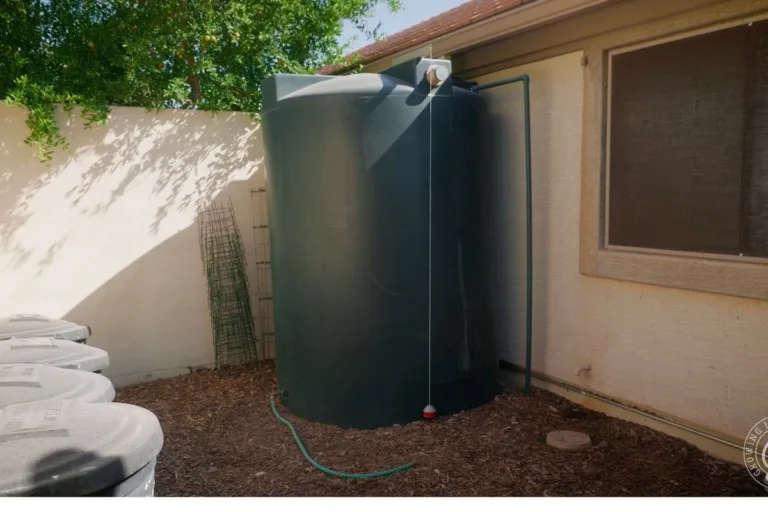
Mine is 1,150 gallons. I bought it in 2022 from Tank and Barrel. At the time, the tank plus the rain kit, which includes the overflow spigot and rain screen, was about $1,600 total. Prices have changed since then, so check current pricing. The pump and inline filter that connect it to my irrigation system were additional costs.
A few things I’d tell anyone buying a tank:
- Measure your space first. Even though I measured before I bought, the tank was bigger in person than I expected. Know the dimensions before it shows up.
- Get the level indicator. Mine has one on the side, so I always know how much I have.
- Don’t skip the rain screen. Standing water and mosquitoes are a real problem here, and the screen solves it.
For the first couple of years, my tank was just connected to a gutter. It filled when it rained, and I used the water manually with a hose. Later, I had it connected to my sprinkler system and had a pump added so I could run rainwater through the irrigation.
How to Build a Rain Basin (Step by Step)
If you want one project to start with, this is it. A basin to feed tree roots is cheap, it works the first time it rains, and you don’t need any special equipment.
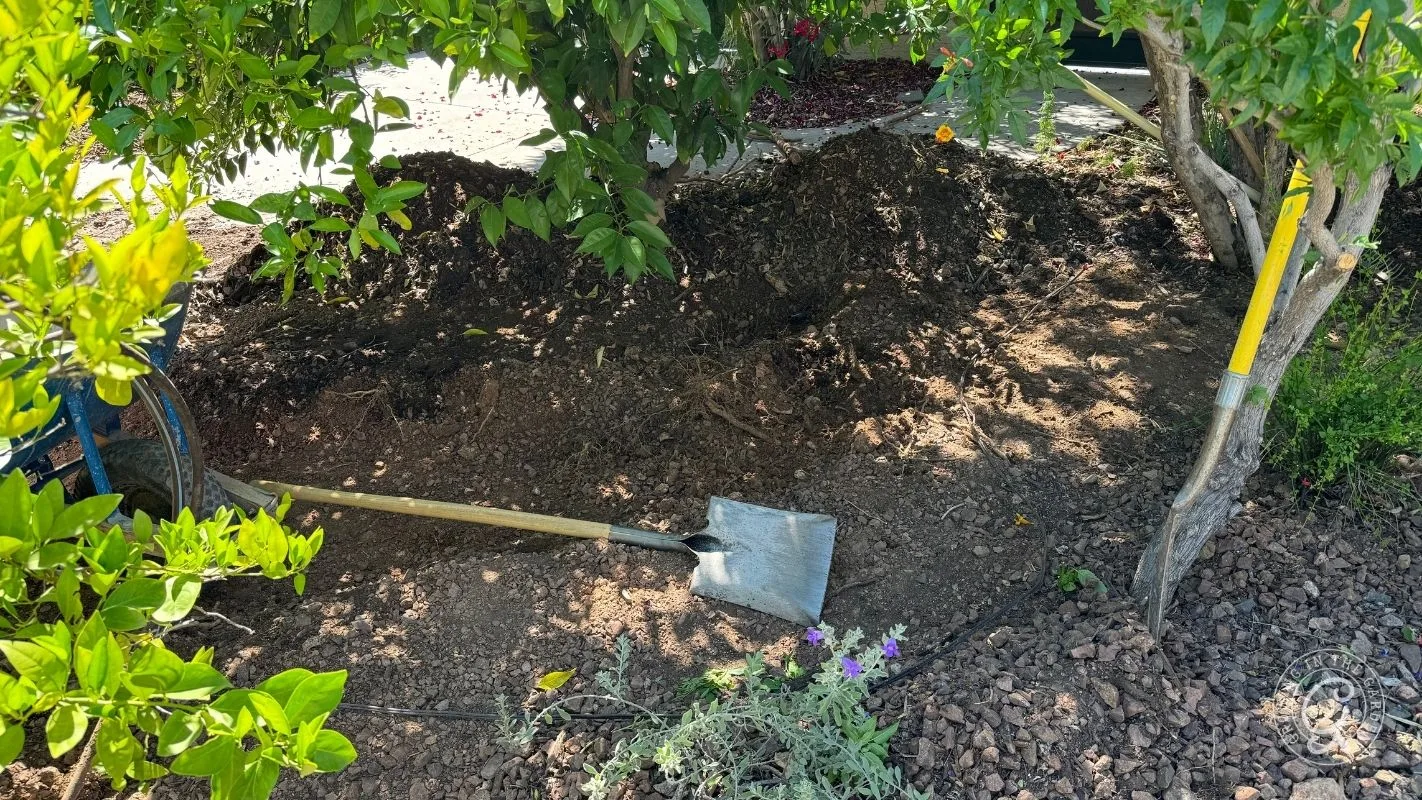
- Step 1: Watch where water naturally flows and mark the basin’s outline. During a storm, notice where runoff heads on its own.
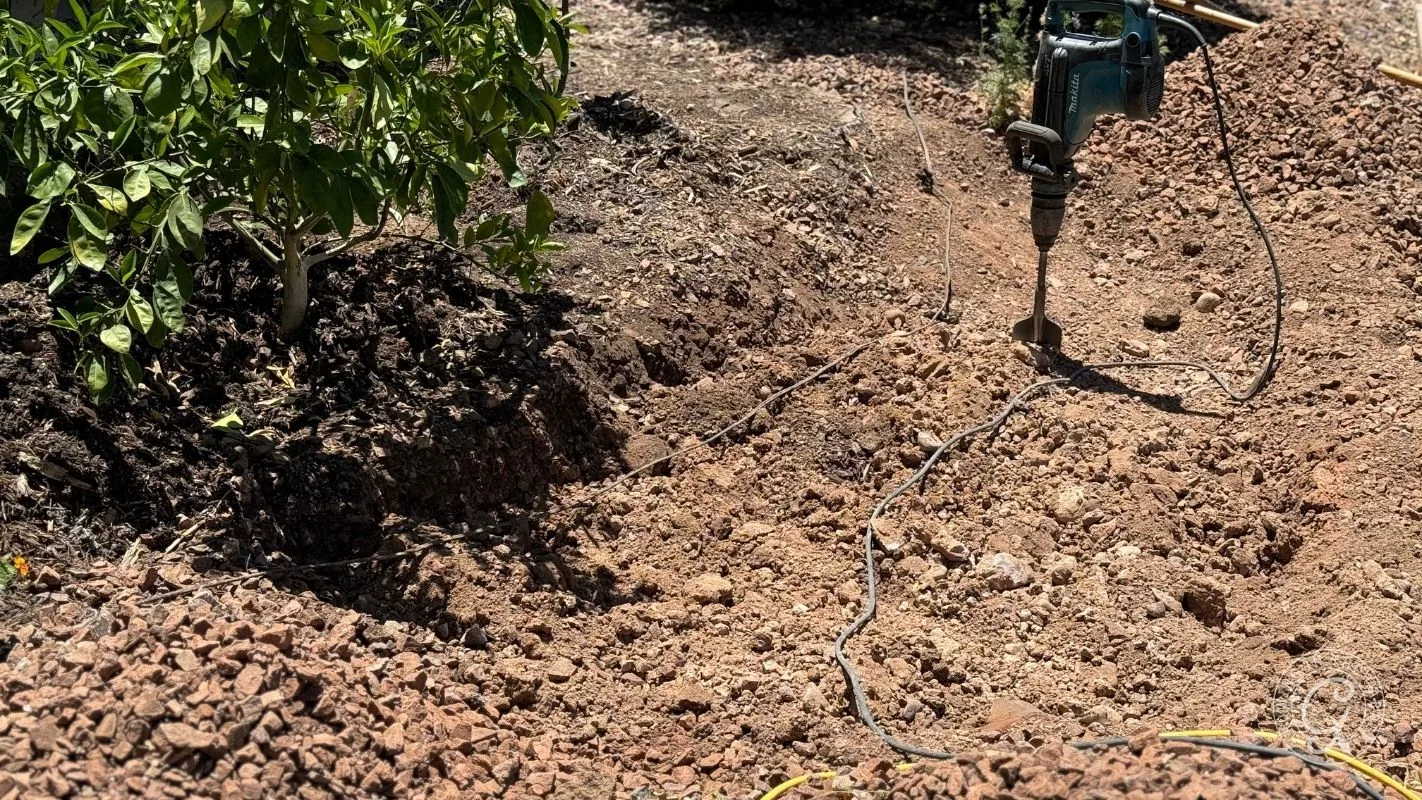
- Step 2: Dig a shallow, wide basin. You’re making a saucer, not a hole. Where do you want the water to seep in and slow down?
- Step 3: Build a low berm on the downhill side. Pile the soil you dug into a small ridge along the lower edge.
- Step 4: Send water into it. Aim a downspout, a roof drip line, or a graded path so storm runoff flows into the basin.
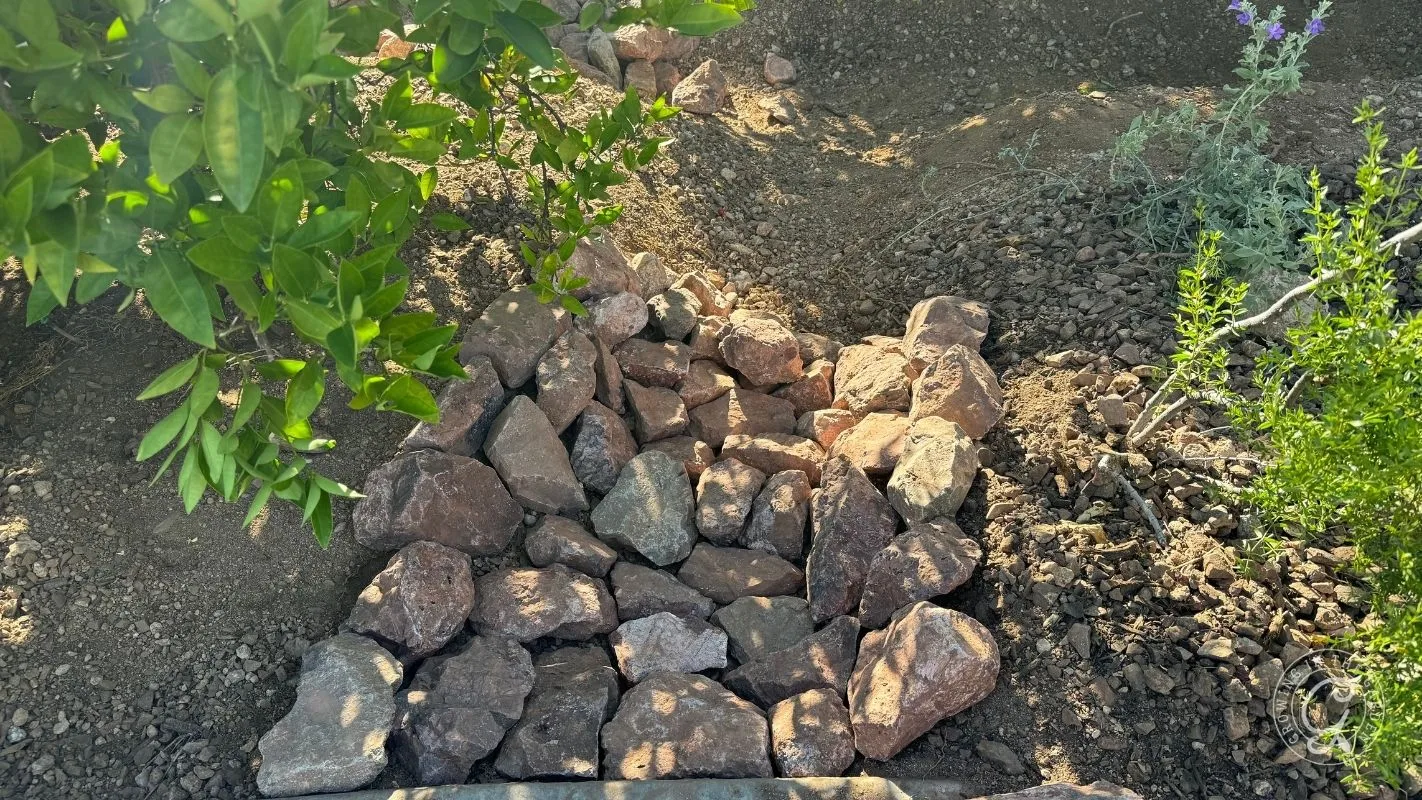
- Step 5: Mulch or add rocks to the basin. A few inches of mulch slow evaporation and feed the soil as it breaks down.

- Step 6: Watch the next storm and adjust. Stand out there during the next rain and see where the water actually pools and where it overflows.
Get Your Yard Ready Before the Monsoon
Pick one thing from this post and start there. Move a downspout. Dig a small basin around one tree. Set a garbage can under a gutter. When the next storm rolls in, you’ll keep water that used to run down the street.
If you’re planning around the rains, start with monsoon gardening in Arizona. And if keeping your own water is part of a bigger goal, harvesting rain is one of the most practical steps toward a more self-sufficient garden.
Desert Rainwater Harvesting FAQs
Yes. Rainwater harvesting is legal in Arizona, and the state encourages it with rebate and grant programs. Check with your city or water provider for what’s currently offered.
For desert plants, yes. Rainwater has a pH around 5.6 and carries no salts or treatments, while our tap water and soil are both alkaline. After a summer of city water, the salt-free, slightly acidic rain is a noticeable relief for plants.
No. The highest-impact rainwater harvesting in the desert is passive, which means shaping your yard with basins, berms, and redirected gutters so the rain soaks in. A tank adds storage, but it’s an upgrade, not a requirement.
It ranges from almost nothing to a few thousand dollars. A berm or a garbage can under a downspout costs next to nothing. My 1,150-gallon tank and rain kit ran about $1,600 in 2022, plus added costs for a pump and filter. Prices have changed, so check current pricing.
Use a rain screen on the tank, and don’t treat it as optional. Standing water draws mosquitoes fast in our climate, and a screen on the inlet solves it.


Leave a comment on Rainwater Harvesting How-To Guide for Desert Gardens