
How to Make & Freeze Roasted Garlic
My secret to quick home cooking that tastes like it simmered all day? Roasted garlic. Its rich, sweet, caramelized flavor adds incredible depth to soups, sauces, dressings, and simple weeknight meals.
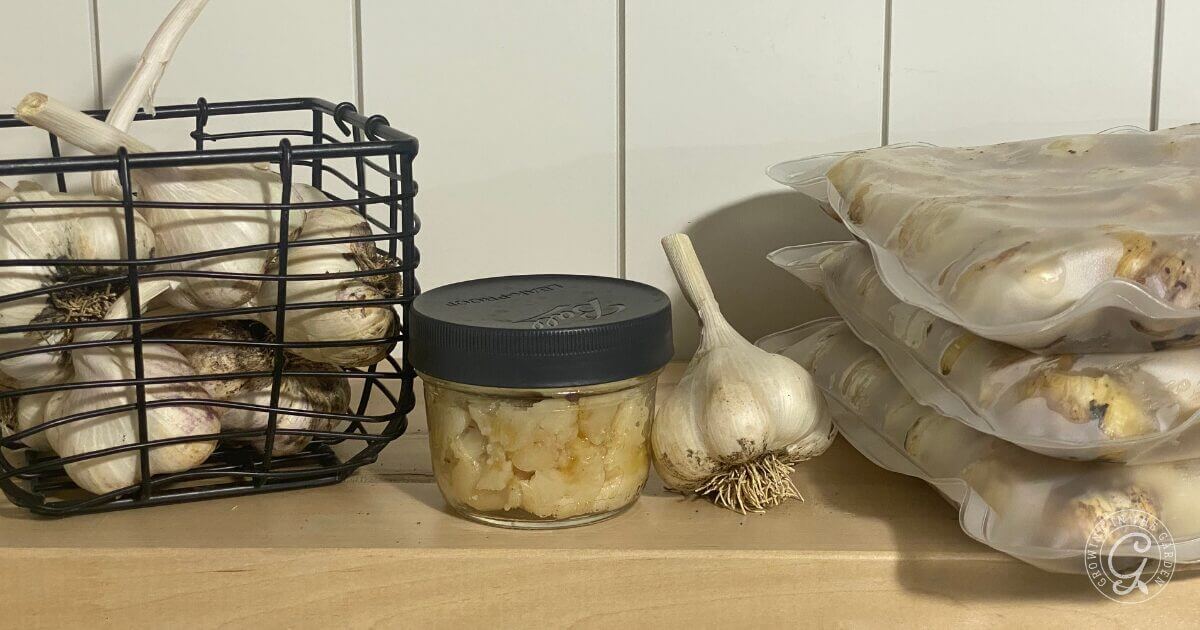
Each year after curing my garlic harvest, I save the largest bulbs for planting, store some to use fresh, and turn the rest into roasted garlic. Freezing roasted garlic means I always have ready-to-use flavor on hand straight from the freezer.
Key Takeaways
- Roasted garlic adds rich flavor to meals and can be preserved by freezing.
- To freeze roasted garlic, cool cloves, place them in a ziplock bag, and store in the freezer for up to one year.
- You can easily use frozen roasted garlic by grabbing a cube, letting it soften, or warming it in the microwave.
- Roasted garlic enhances dishes such as soups, mashed potatoes, and as a bread topping.
- Consider making roasted garlic to elevate your cooking and make use of abundant garden harvests.
If you have an abundant garlic harvest, don’t let it go to waste — roast and freeze it instead! Freezing roasted garlic is an easy way to preserve garlic while adding rich, sweet flavor to future meals.
What You Need
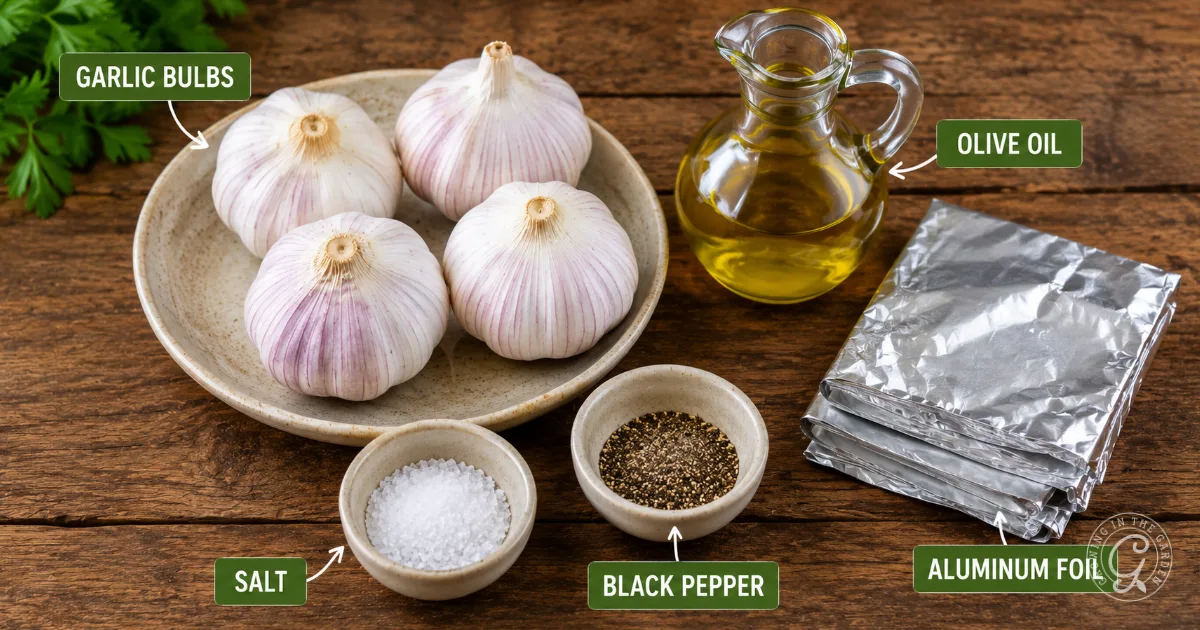
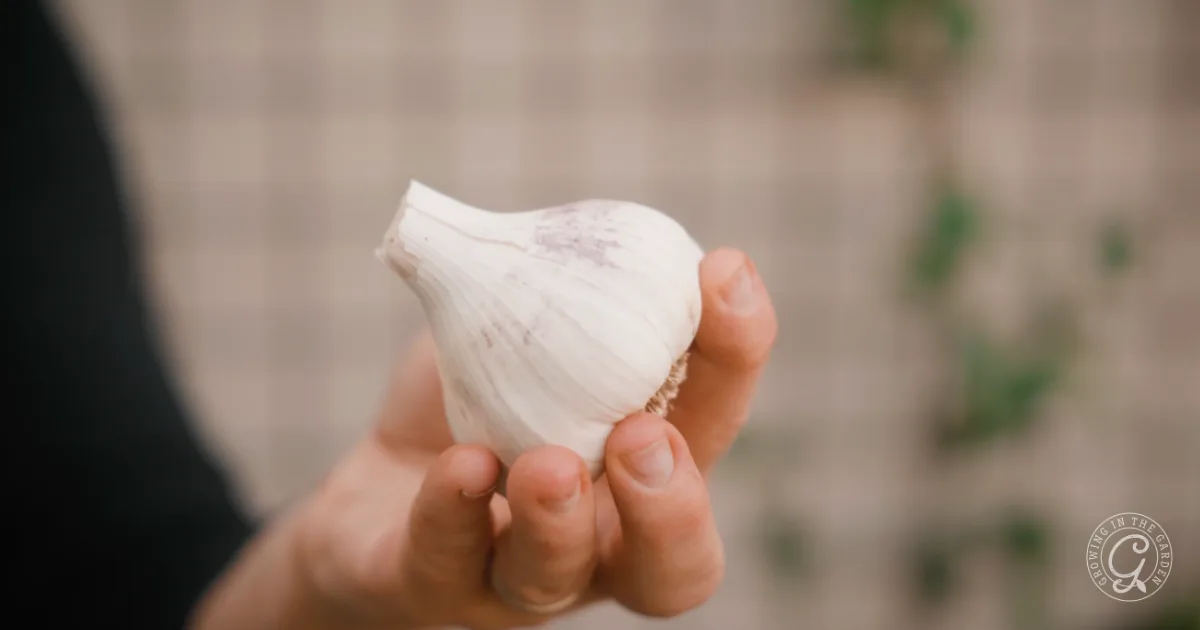
Garlic Bulbs: Fresh garlic bulbs work best for roasting and freezing. I like to use garlic from the garden after it has cured for a few weeks, but store-bought garlic works well too. Choose firm bulbs with tight wrappers and avoid garlic that feels soft or has started sprouting. To learn how to grow, harvest, and cure garlic read this article.
Roasting is definitely one of my favorite ways to preserve extra garlic from the harvest. I save the largest bulbs for planting next season, keep some fresh for everyday cooking, and roast the rest to freeze. Roasting brings out garlic’s rich, sweet flavor and completely changes the taste and texture.
Olive Oil: A light drizzle of olive oil helps the garlic roast evenly and become soft, rich, and caramelized. As the garlic cooks, the oil mixes with the natural sugars in the cloves and creates that sweet, spreadable roasted garlic flavor.
I usually use just enough oil to lightly coat the bulbs—no need to overdo it. You can also roast garlic without oil if preferred, but I love the flavor and texture olive oil adds.
Baking Sheet: Any small baking dish, loaf pan, or rimmed baking sheet will work. I usually use whatever is easiest to cover and fits the amount of garlic I’m roasting.
Tinfoil: Covering the garlic while it roasts keeps the cloves soft and tender instead of dry. Your kitchen will smell amazing while it bakes.
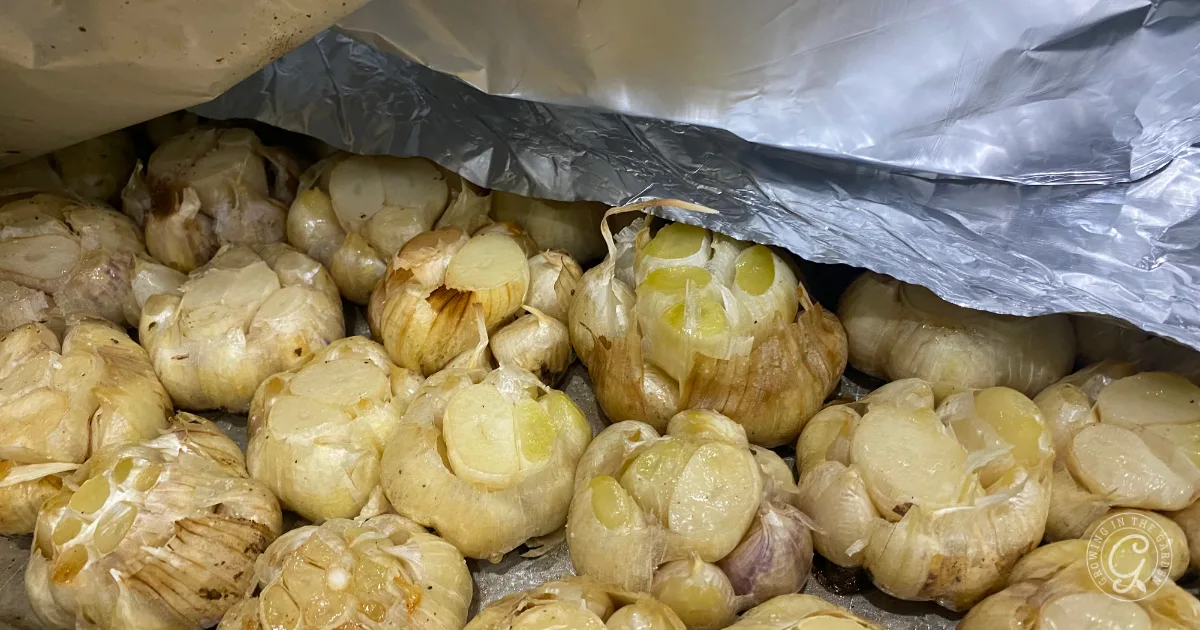
Freezer Bags: Once the garlic cools, I freeze it in small portions so it’s easy to grab when cooking. Having roasted garlic ready in the freezer makes quick meals taste so much better with almost no extra effort.
How to Freeze Roasted Garlic
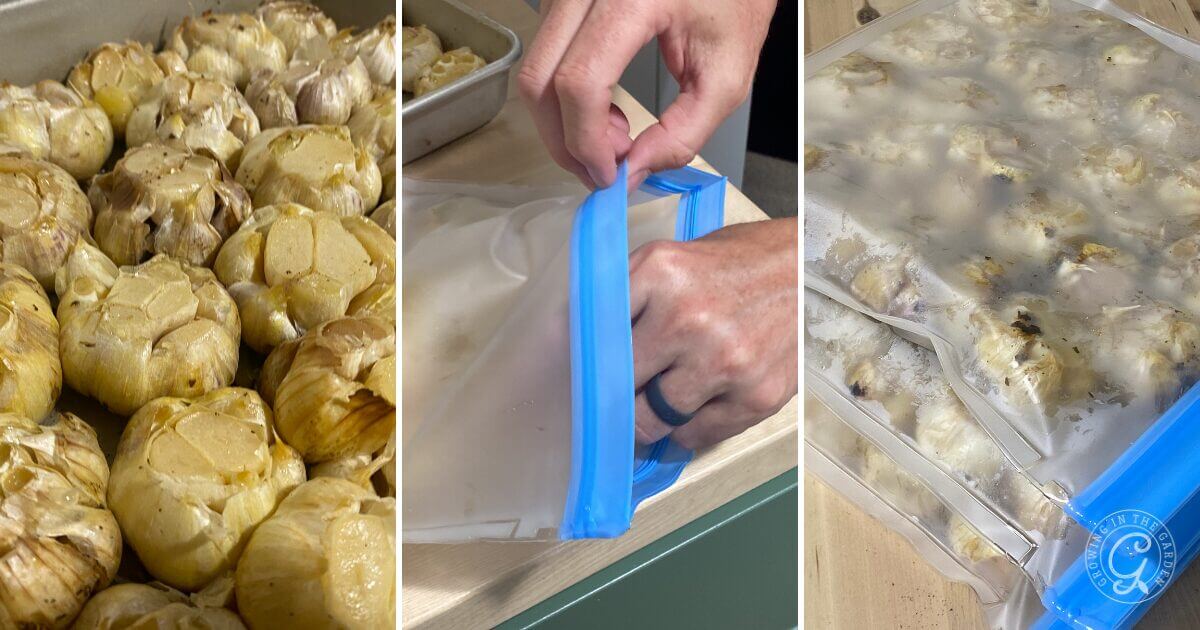
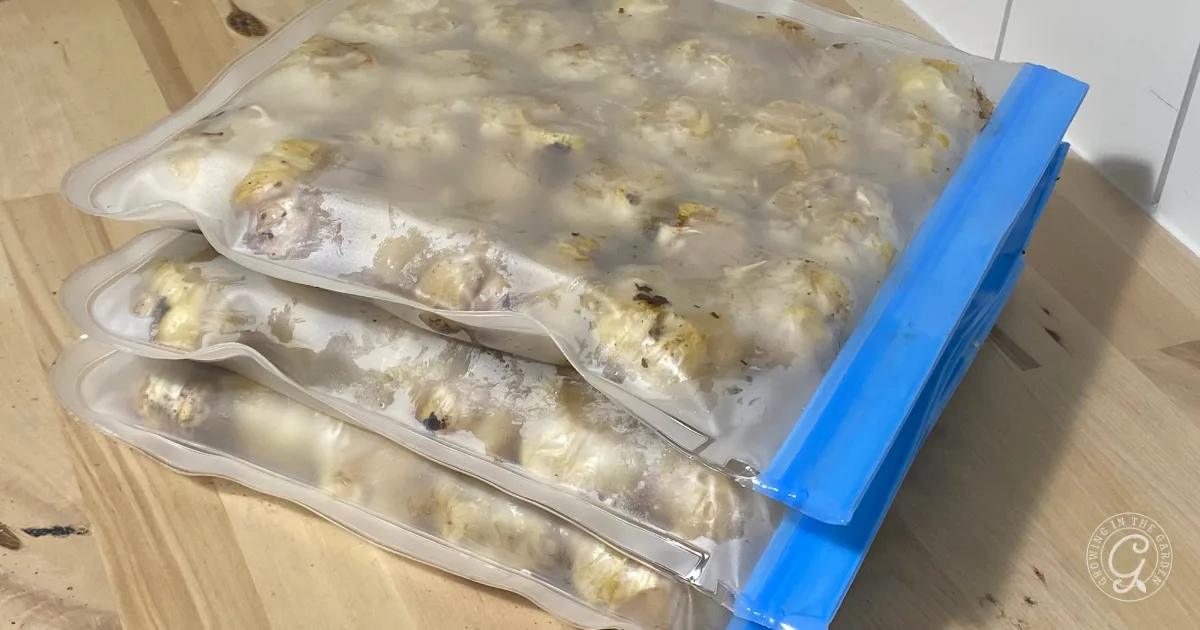
Allow the roasted garlic to cool completely. Once cooled, place the whole roasted bulbs or individual garlic halves in a single layer inside a freezer-safe bag. I like using the reusable freezer bags because they are more durable, store flat, and they reduce waste.
Freezing the garlic in a single layer helps keep the bulbs from sticking together and makes them easier to use later. Roasted garlic keeps well in the freezer for up to one year and adds rich, sweet flavor to soups, sauces, dressings, roasted vegetables, and simple weeknight meals.
If you enjoy preserving garden flavor to use throughout the year, you’ll also love learning how to roast and freeze peppers for smoky, garden-fresh flavor anytime.
Using Frozen Roasted Garlic
Whenever I need roasted garlic, I pull a bulb or a few cloves from the freezer and let them soften for a few minutes at room temperature. If I’m in a hurry, a quick warm-up in the microwave works too. The garlic stays soft, rich, and spreadable even after freezing.
Roasted garlic adds incredible flavor to so many dishes. I love stirring it into soups, mashed potatoes, pasta sauces, salad dressings, and roasted vegetables. It’s also delicious spread onto warm bread or mixed into butter for an easy garlic butter.
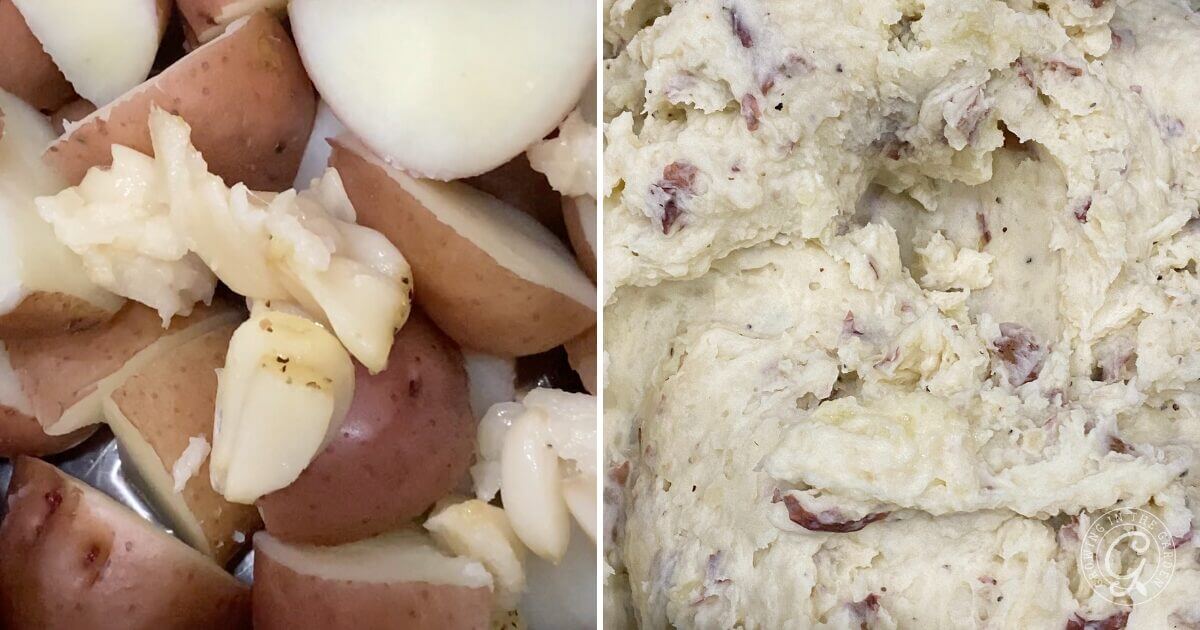
Keeping roasted garlic in the freezer is one of my favorite ways to preserve the garlic harvest and make everyday cooking feel a little extra special. It’s simple to make, easy to store, and such a great way to use extra garlic from the garden.
Step-By-Step: How to Roast Garlic
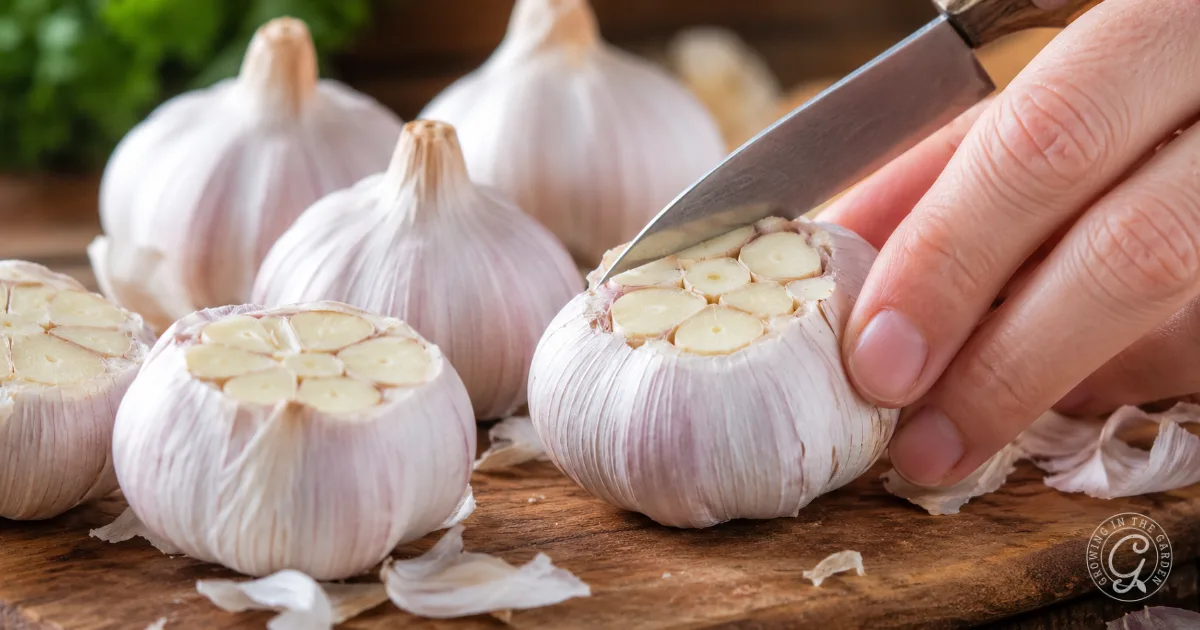
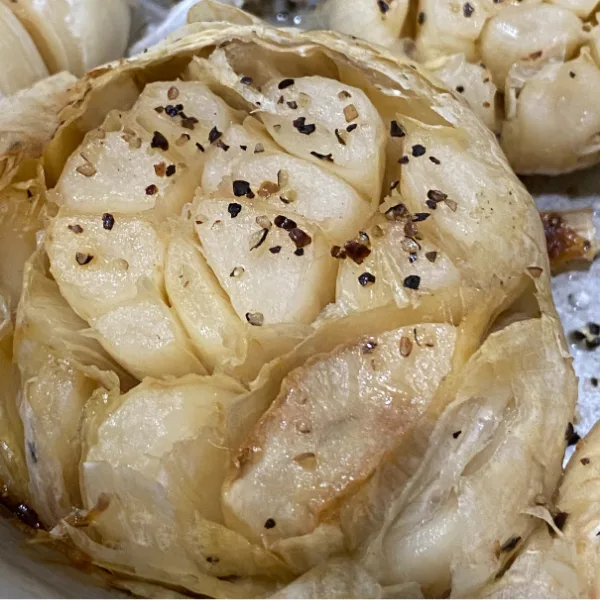
- Step 1: Preheat your oven to 400°F. Cut off the top of each garlic bulb to expose the cloves. Place the bulbs cut-side up in a baking dish or pan.
- Step 2: Drizzle the exposed garlic cloves with olive oil. Sprinkle with salt and pepper, if desired.
- Step 3: Cover the pan tightly with foil. Roast for about 45 minutes, or until the cloves are soft, golden, and caramelized.
- Step 4: Remove the garlic from the oven and let it cool completely before freezing.
- Step 5: Place the roasted garlic bulbs in a single layer in a reusable ziplock-style freezer bag. Seal tightly and freeze for up to one year.
- Step 6: When ready to use, let the roasted garlic thaw at room temperature or warm it briefly in the microwave. Squeeze the soft cloves from the skins and add them to soups, sauces, mashed potatoes, roasted vegetables, or bread.
Roasted Garlic FAQs
Most garlic bulbs take about 45–60 minutes to roast in a 400°F (205°C) oven. Garlic is ready when the cloves are soft, golden, and easily pierced with a fork. Roasting time may vary slightly depending on the size of the bulbs.
Roasted garlic is delicious in soups, mashed potatoes, pasta sauces, salad dressings, roasted vegetables, spreads, dips, and garlic bread.
Yes. Garlic contains beneficial compounds and antioxidants that may support heart health and overall wellness. Roasting garlic creates a milder flavor while still keeping many of its nutritional benefits. Roasted garlic is an easy way to add flavor to meals without relying heavily on processed ingredients or extra sauces.
More Recipes

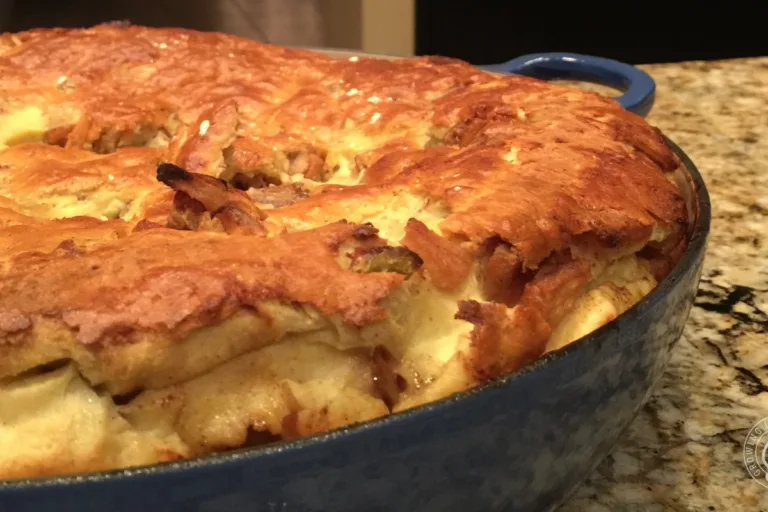
Blue Cheese Thyme Scalloped Potatoes – Use your roasted garlic to deepen the flavor of this delicious dish.

How to Roast and Freeze Peppers –
Treat your extra peppers the same way!
Roast and freeze your harvest for flavor
that lasts for months.

Our Favorite Garden Salsa Recipe – Add smooth, rich, roasted garlic flavor to my favorite salsa recipe.
Make and Freeze Roasted Garlic
Ingredients
Equipment
Method
- Preheat your oven to 400°F (204°C), cut off the top portion of each head of garlic to expose the cloves, and arrange them in a pan with the cut side facing up.
- Drizzle the exposed tops with olive oil and sprinkle generously with salt and pepper. Cover the pan tightly with foil.
- Pop it in the oven for about 45 minutes or until the cloves are soft and caramelized. (Get ready for your house to smell amazing!)
- For a more intense flavor, you can roast the garlic for longer until it becomes deeply caramelized.
- To use right away, let the cloves cool slightly before squeezing them from their skins. The roasted garlic will be soft and spreadable, perfect for adding to various dishes like roasted veggies, soup, mashed potatoes, or as a spreadable bread topping. Store the extra garlic in a jar and use within a week.
- Allow the garlic to cool. Then, place the bulbs in an individual layer in a reusable ziplock-style bag.
- Seal them tightly and store the bags in the freezer for up to one year.
- When ready to use your frozen roasted garlic, let a few cubes defrost on the counter for a couple of hours or pop them in the microwave for quick thawing. The flavor will remain just as delicious as when you first made it.
Leave a comment on How to Make & Freeze Roasted Garlic