Homemade Garden Salsa Recipe (Perfect for Fresh Tomatoes)
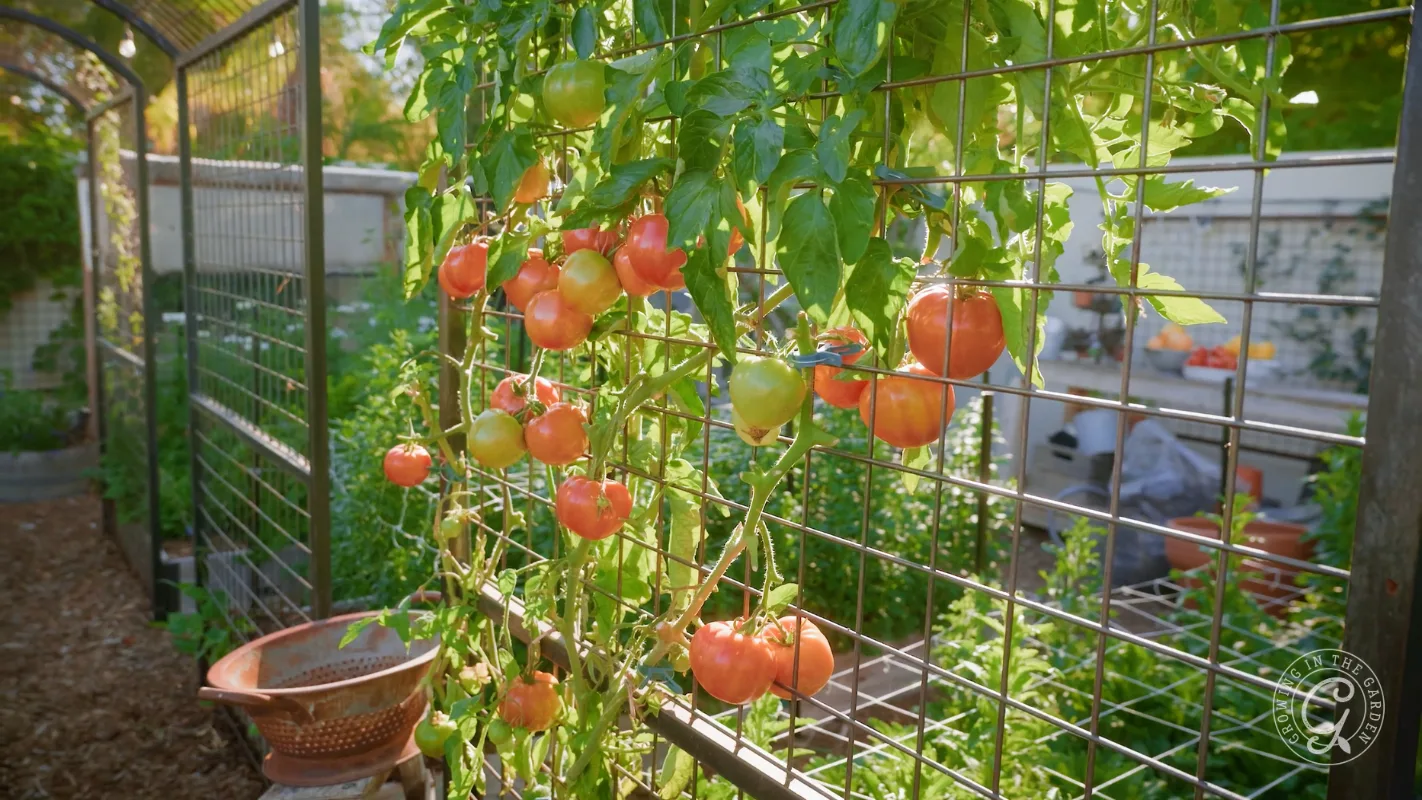
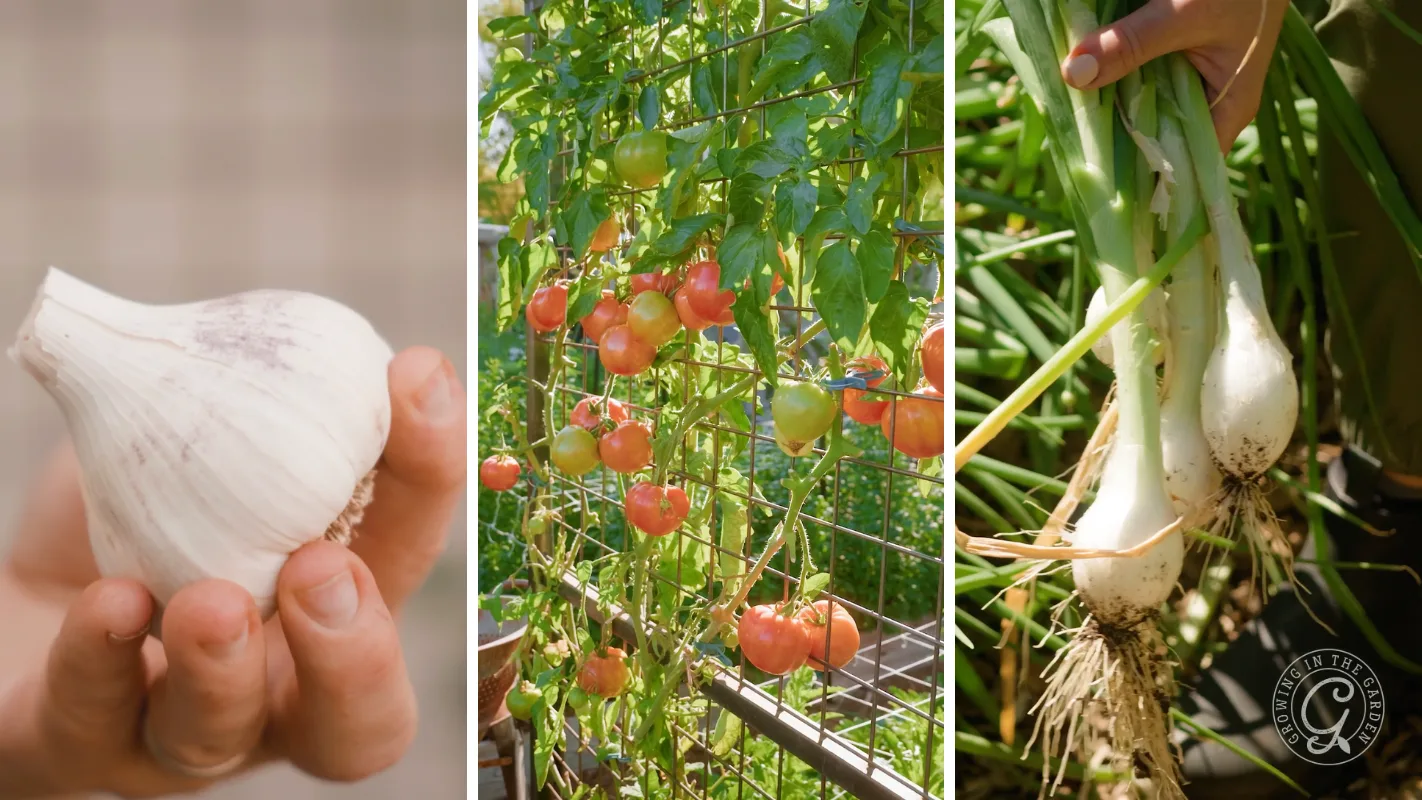
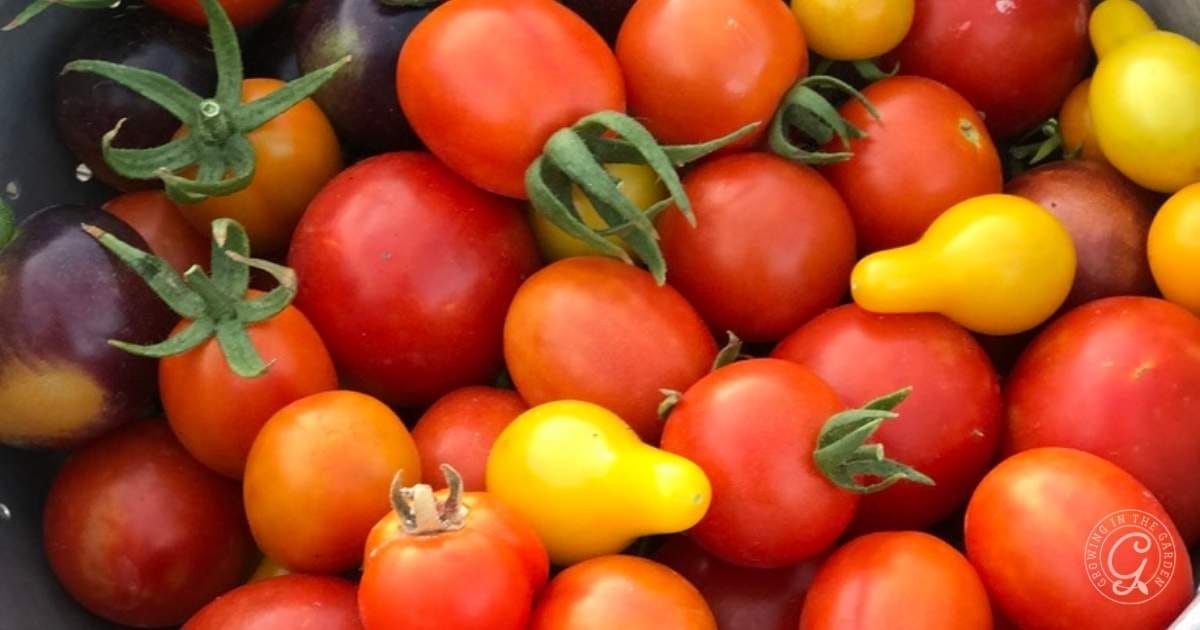
One of my favorite signs that garden season is in full swing is when the tomatoes start piling up on the kitchen counter. It seems like one day I’m waiting for the first ripe tomato, and the next day I’m harvesting baskets full of tomatoes, peppers, onions, and garlic.
Here in Arizona’s low desert, we enjoy two tomato harvest seasons each year—one in late spring and early summer and again in fall through first frost. This garden salsa recipe is one of my favorite ways to make the most of that abundance. It’s fresh and flavorful for summer pool days, barbecues, and backyard gatherings, but it’s just as welcome at family get-togethers throughout the fall and winter.
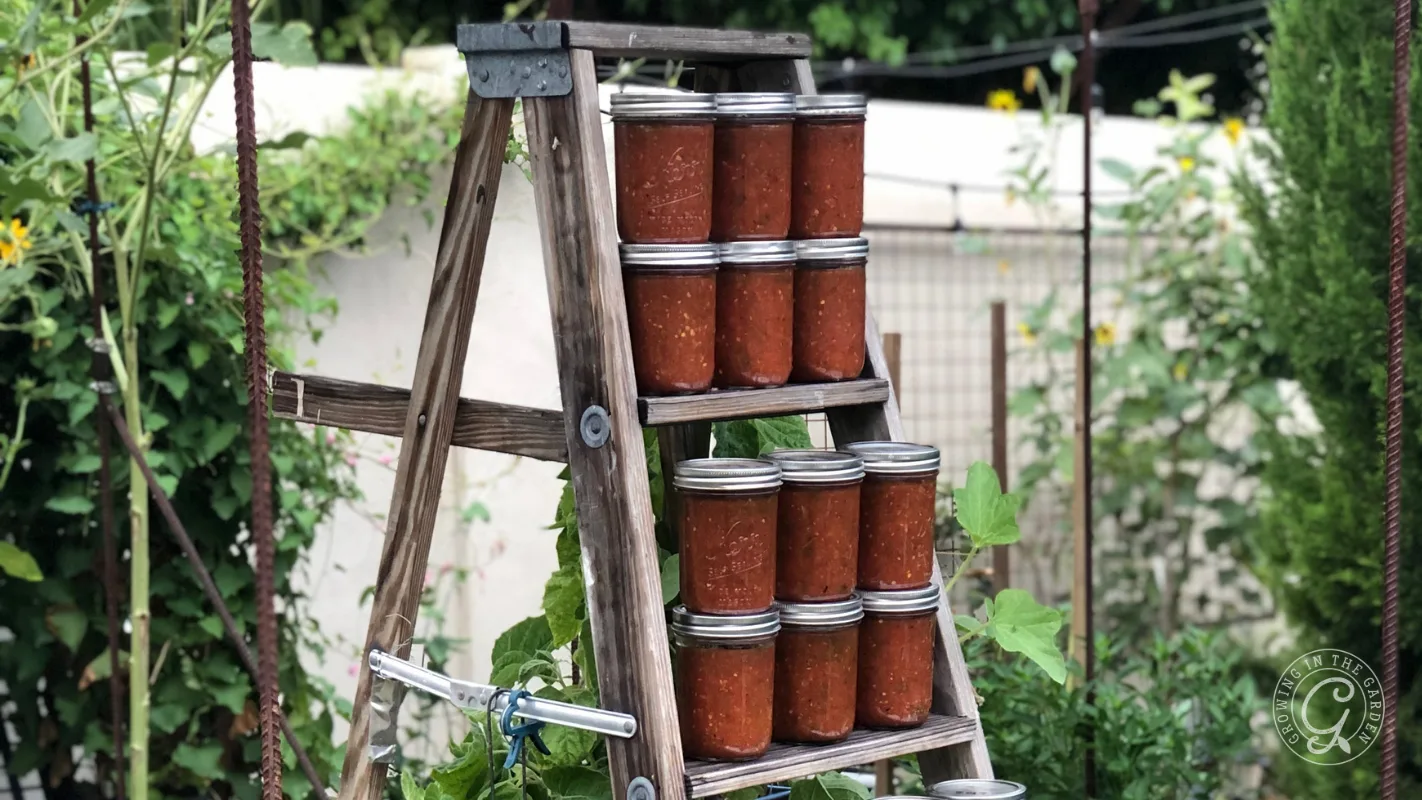
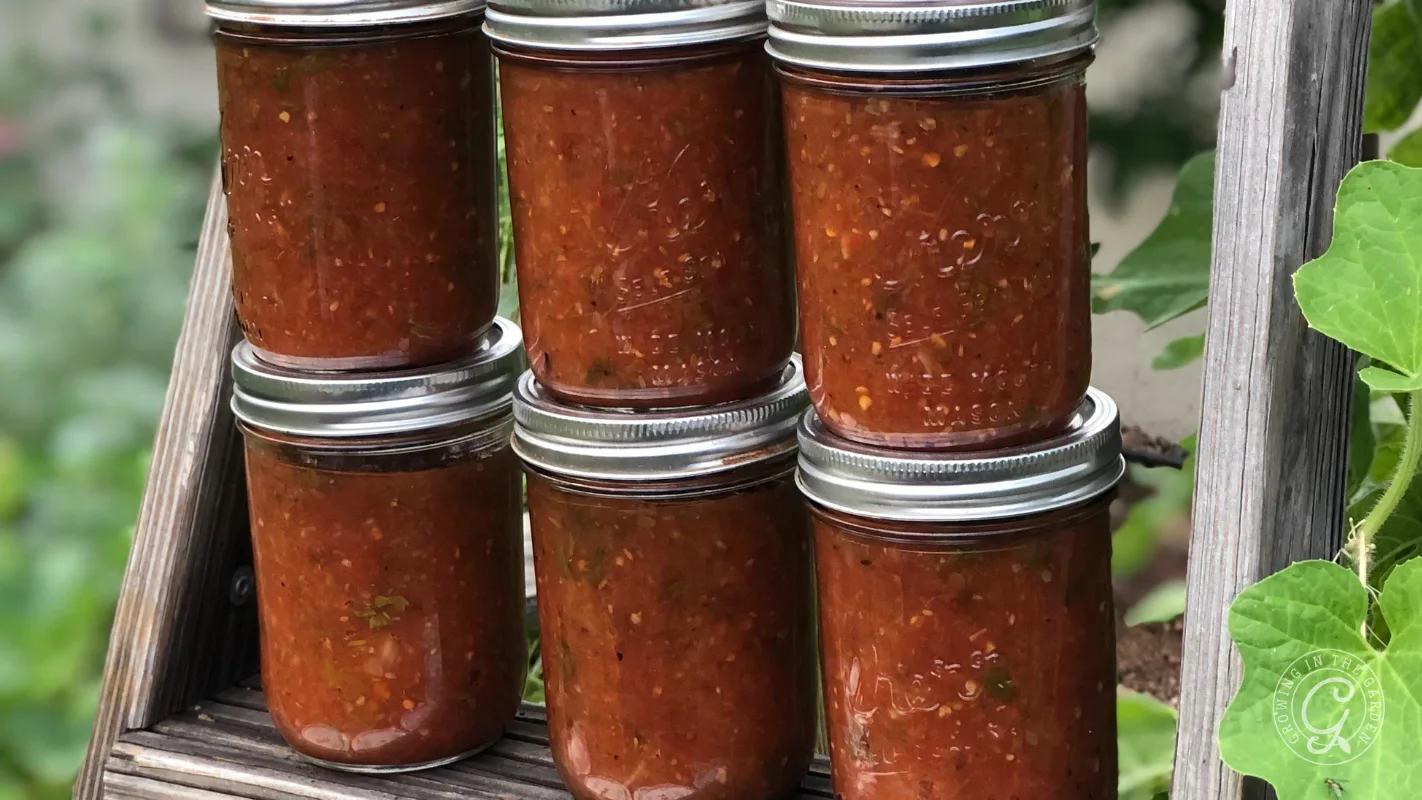
When the garden is producing more tomatoes and peppers than we can eat fresh, I make several batches of this salsa to preserve and enjoy throughout the year. We love opening a jar months later and enjoying the flavors of the harvest. A jar of homemade salsa also makes a thoughtful gift for friends, neighbors, and anyone who appreciates food made from the garden. It’s a delicious way to capture the harvest and make sure none of that hard-earned garden goodness goes to waste.
Key Takeaways: Homemade Garden Salsa
- We enjoy two tomato harvest seasons in Arizona, making this salsa recipe ideal for summer and fall gatherings.
- This garden salsa recipe captures the harvest and allows you to preserve flavors year-round.
- Use bottled lime juice and follow tested ratios for safe canning; avoid adding low-acid ingredients before opening.
- For best results, drain tomatoes and toast spices to enhance flavor and texture.
- Feel free to adjust heat levels using various pepper types while keeping the overall amount the same.
What We’ll Cover:
A Helpful Place to Start
- New to gardening? Learn how to grow your own ingredients with Gardening for Beginners: How to Start a Garden in 8 Simple Steps. No garden yet? This salsa is also delicious made with fresh tomatoes and peppers from your local market.
- Want to adjust the heat level? See Pepper Varieties: Types of Peppers to choose the perfect peppers for your salsa.
- Planning to preserve your salsa? The USDA Complete Guide to Home Canning is an excellent resource for safe canning practices.
- Looking for a refreshing drink to serve alongside salsa and chips? Try my Homemade Lemonade recipe.
Why You’ll Love This Garden Salsa
While this salsa can certainly be enjoyed fresh, it was developed as a canning recipe and is one of my favorite ways to preserve an abundance of tomatoes, peppers, onions, and garlic from the garden.
- Perfect for using up tomato harvests
- Great fresh or preserved for later
- Easy to customize the heat level
- Made with simple garden ingredients
- Delicious for summer gatherings and holiday parties
- Makes a thoughtful homemade gif
Key Ingredients for Garden Salsa
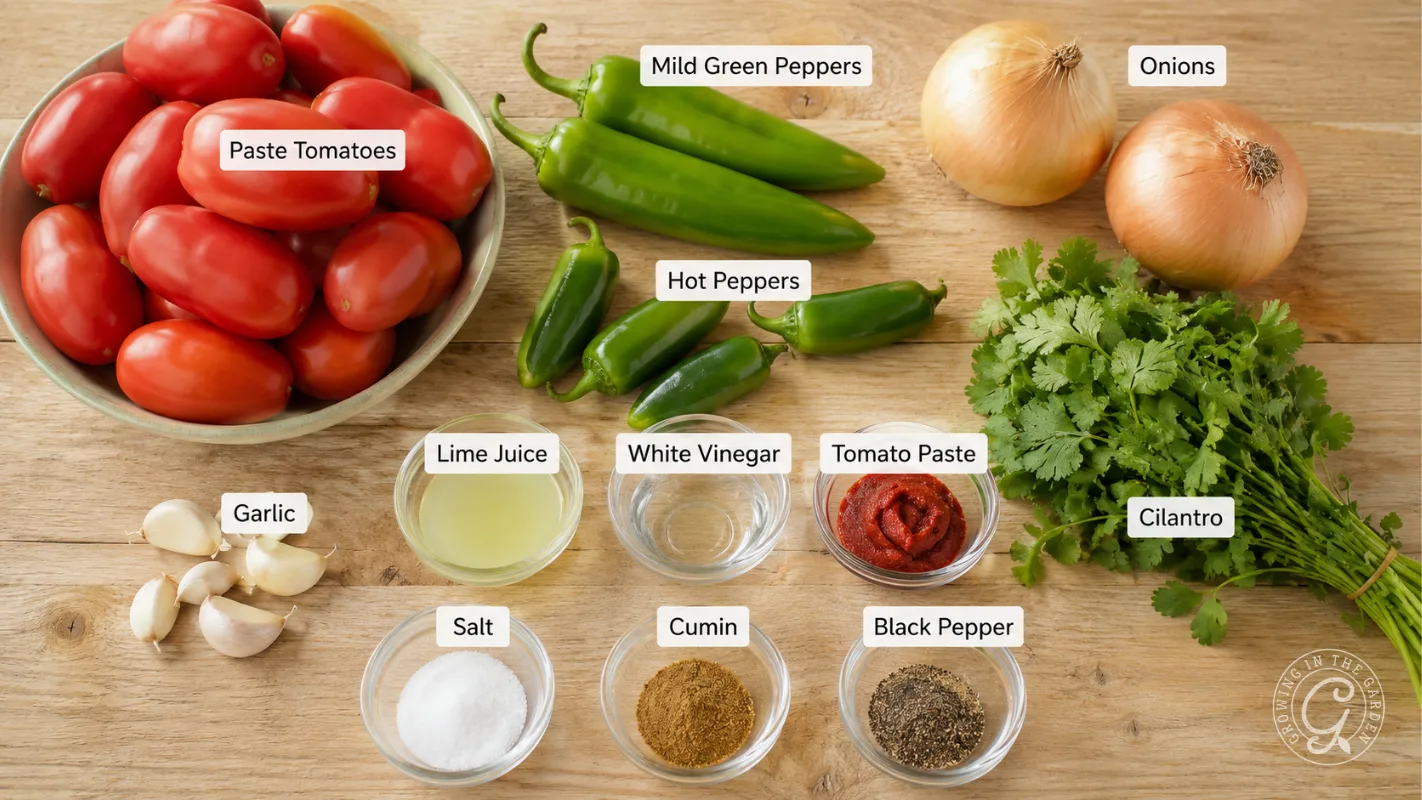
- Tomatoes: The foundation of a great salsa. Paste tomatoes such as Roma, San Marzano, and Amish Paste are excellent choices because they have fewer seeds and less water. Slicing tomatoes can also be used, but they may need a little more draining before canning. I often use a mix of varieties, depending on what’s ready in the garden.
- For my tomato growing resources, check out these guides:
- How to Plant Tomatoes: A Step-by-Step Guide
- How to Grow Tomatoes in Arizona: 10 Tips for Success
- Tomatoes for the Desert: Best Varieties for Arizona
- Turning Green Tomatoes Red: 4 Ways to Ripen Green Tomatoes
- How to Revive and Prune Over-Summered Tomatoes in Arizona
- Prevent Blossom End Rot: Tips for Healthy Tomatoes
- For my tomato growing resources, check out these guides:
- Peppers: The type of peppers you choose has a big impact on the flavor and heat level of your salsa. From jalapeños to bell peppers, this recipe allows you to customize the salsa to your liking. To explore pepper varieties and heat levels, take a look at this guide. Feel free to mix varieties, but keep the total amount of peppers called for in the recipe. Find information on growing peppers here.
- Onions: Both white and yellow onions work well in salsa. White onions provide the traditional salsa flavor, while yellow onions are slightly sweeter. Red onions can be used for fresh salsa, but I prefer white or yellow onions for canning. Learn how to grow onions here.
- Garlic: Fresh garlic adds depth and richness to the salsa. Homegrown garlic is especially flavorful. Find out how to grow garlic.
- Cilantro: Cilantro adds the fresh, bright flavor that many people associate with restaurant-style salsa. If you’re a cilantro lover, add a little extra. If you’re not, you can reduce the amount without dramatically changing the recipe. Learn how to grow cilantro.
- Lime Juice: Fresh lime juice adds wonderful flavor to this salsa, but if you’re canning it, use bottled lime juice as directed in the recipe. Bottled lime juice has a consistent acidity level, which helps ensure the salsa is safe for canning. Along with vinegar, it provides the acidity needed for safe preservation while giving the salsa its bright, tangy flavor.
Garden Salsa Safety Notes
This recipe follows tested canning guidelines for the ratio of low-acid ingredients (such as tomatoes, peppers, onions, and garlic) to acidic ingredients.
For safe canning:
- Use the amounts listed in the recipe.
- Keep the total volume of peppers the same, even if you substitute different pepper varieties. Use gloves while handling hot varieties.
- Use pint or half-pint jars only.
- Do not add flour, cornstarch, or other thickeners before canning. If you want a thicker salsa, drain tomatoes well and simmer to reduce liquid before filling the jars.
Following these guidelines helps ensure safe preservation and the best results. If you’re making this salsa to eat fresh, don’t worry about being quite so exact. Fresh lime juice is delicious, and you can adjust the peppers, garlic, and other ingredients to fit your family’s preferences. However, if you plan to can the salsa, follow the recipe as written to ensure safe preservation.
How to Make Garden Salsa (Step-by-Step)
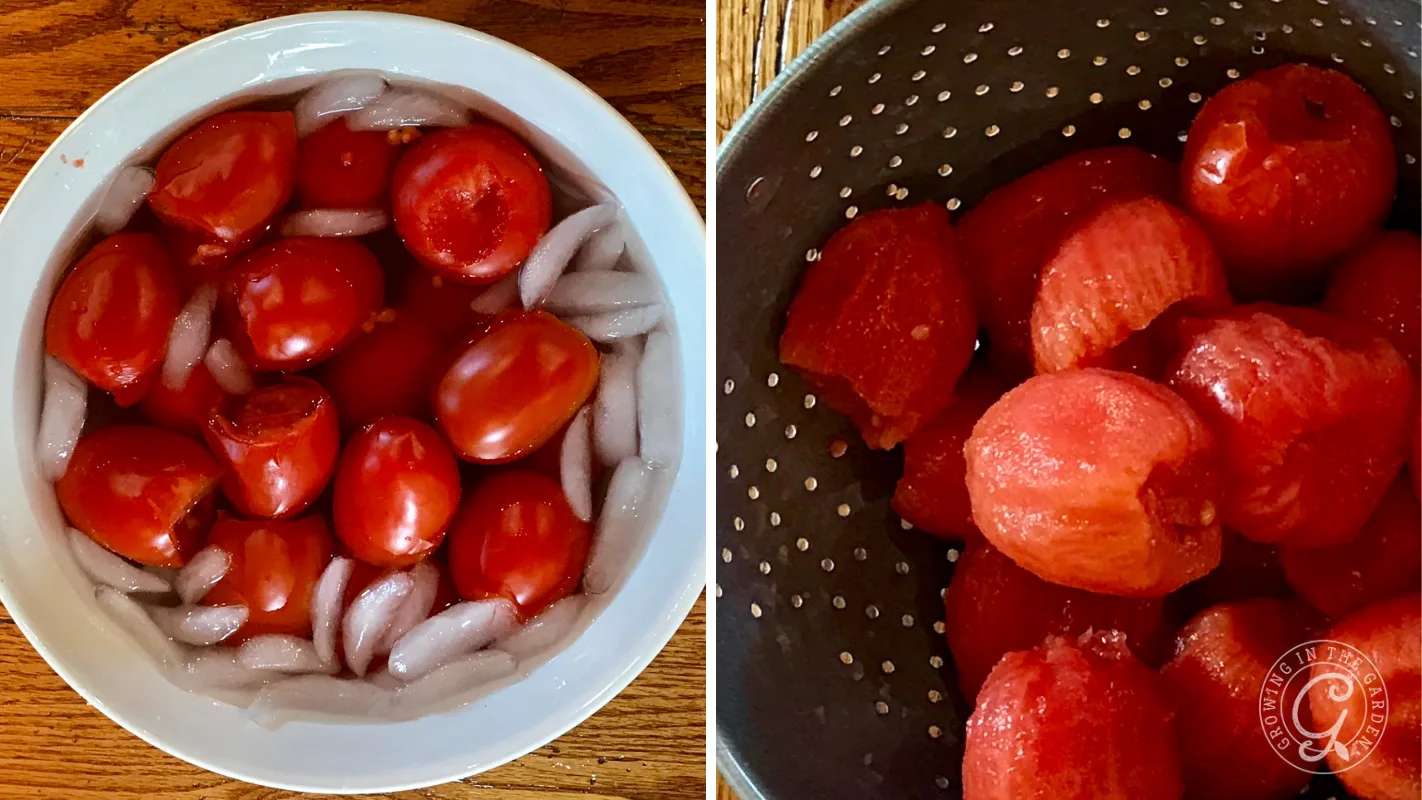
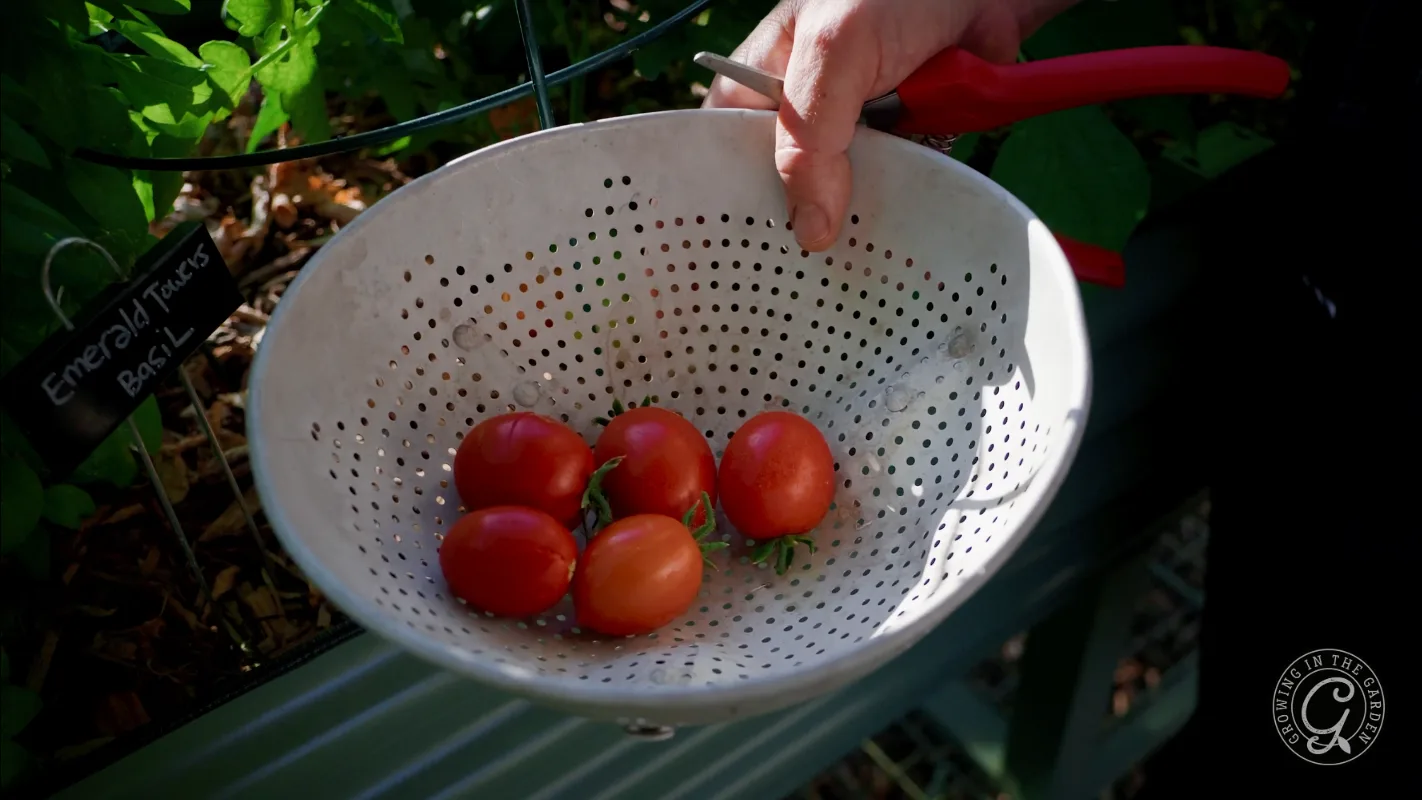
- Step 1: Peel and prepare the tomatoes
Wash the tomatoes and remove the stem ends. To peel them, blanch a few tomatoes at a time in boiling water until the skins begin to split. Transfer immediately to cold water and slip off the skins.

- Step 2: Chop and drain the tomatoes
Remove the cores and seeds, then chop the tomatoes. Measure 15 cups of chopped tomatoes and place them in a colander to drain for 30 minutes. This helps prevent watery salsa.
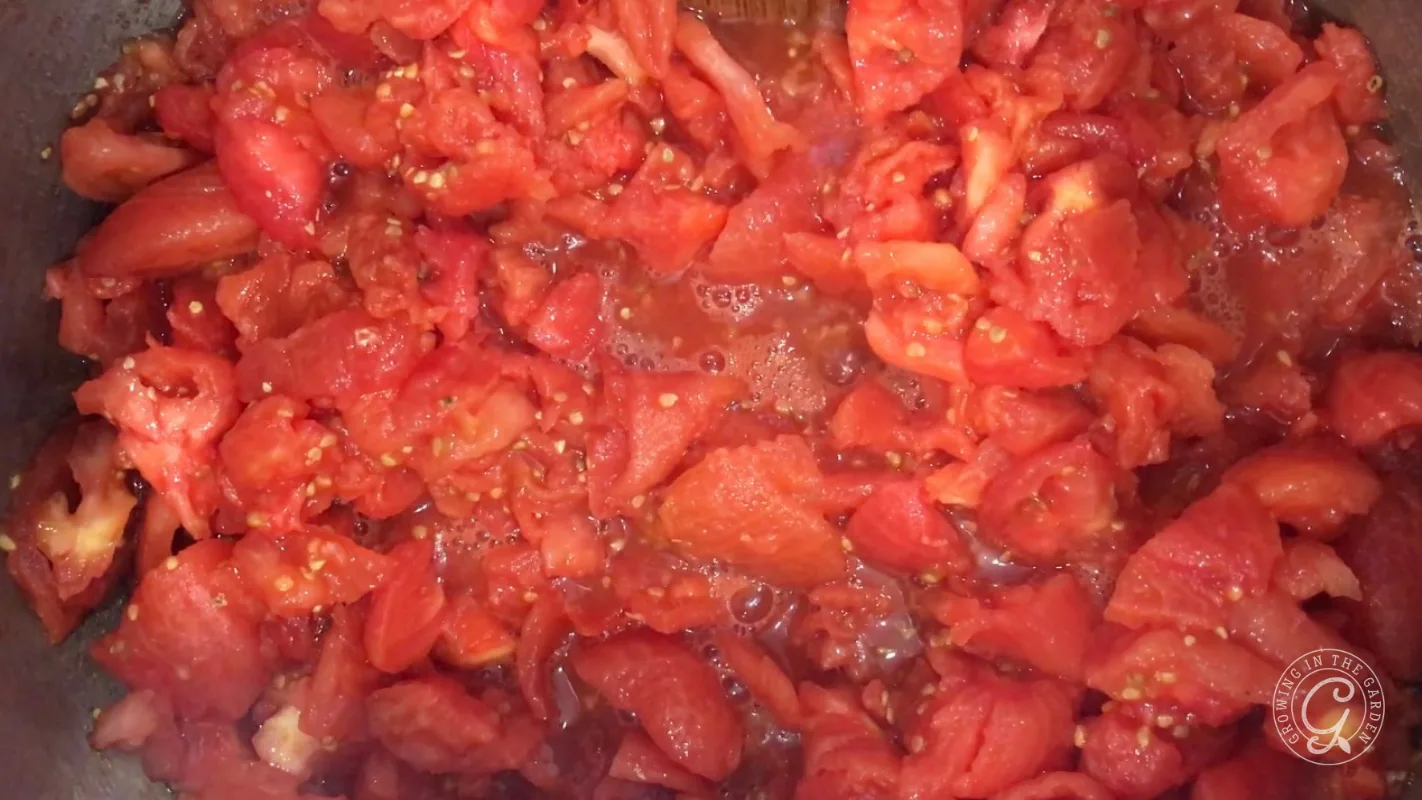
- Step 3: Simmer the tomatoes
Transfer the drained tomatoes to a large nonreactive pot. Bring to a boil, then reduce the heat and simmer uncovered for about 1½ hours, stirring occasionally, until thickened to your desired consistency.
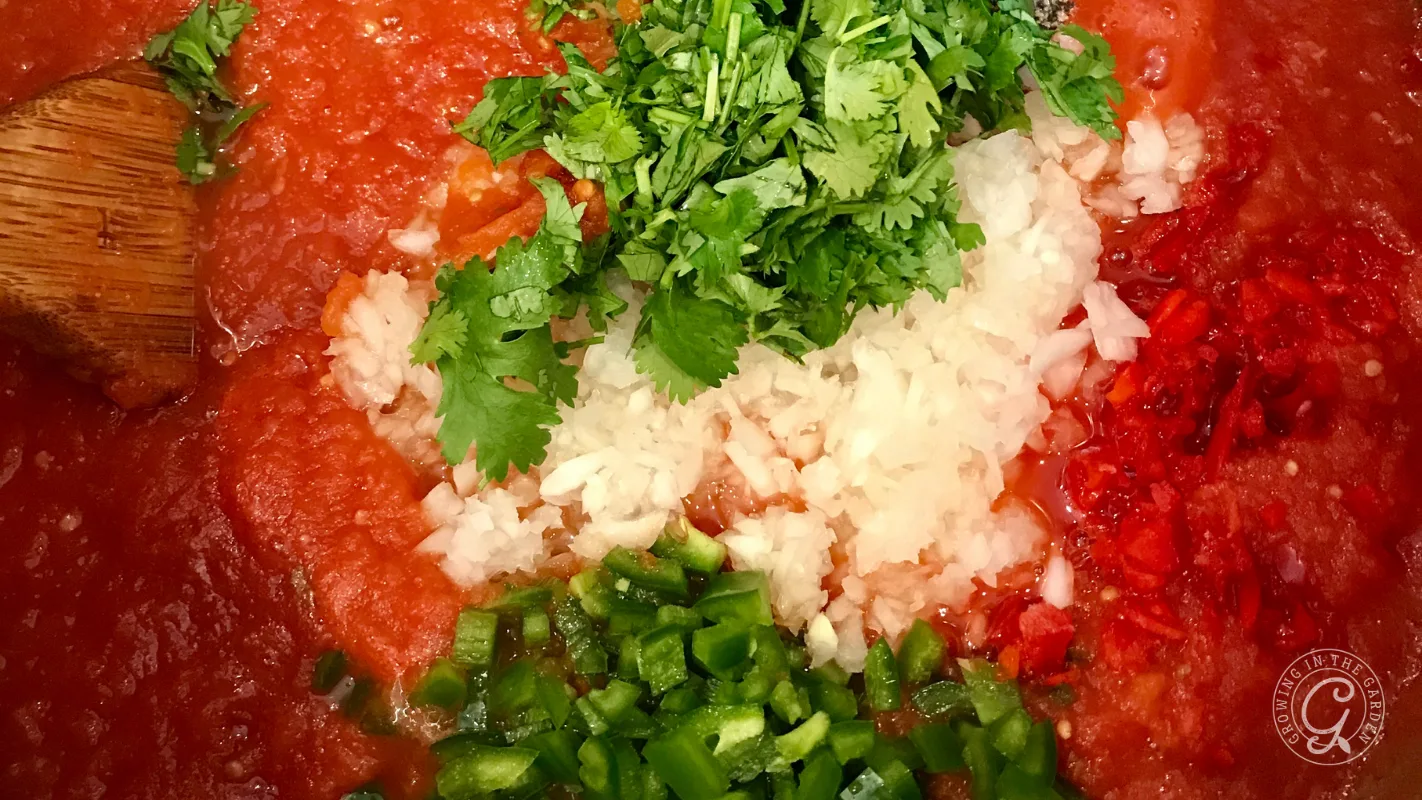
- Step 4: Add the remaining ingredients
Stir in the peppers, onions, garlic, lime juice, vinegar, tomato paste, seasonings, and remaining ingredients. Bring the mixture back to a boil and simmer for 10 minutes to blend the flavors.
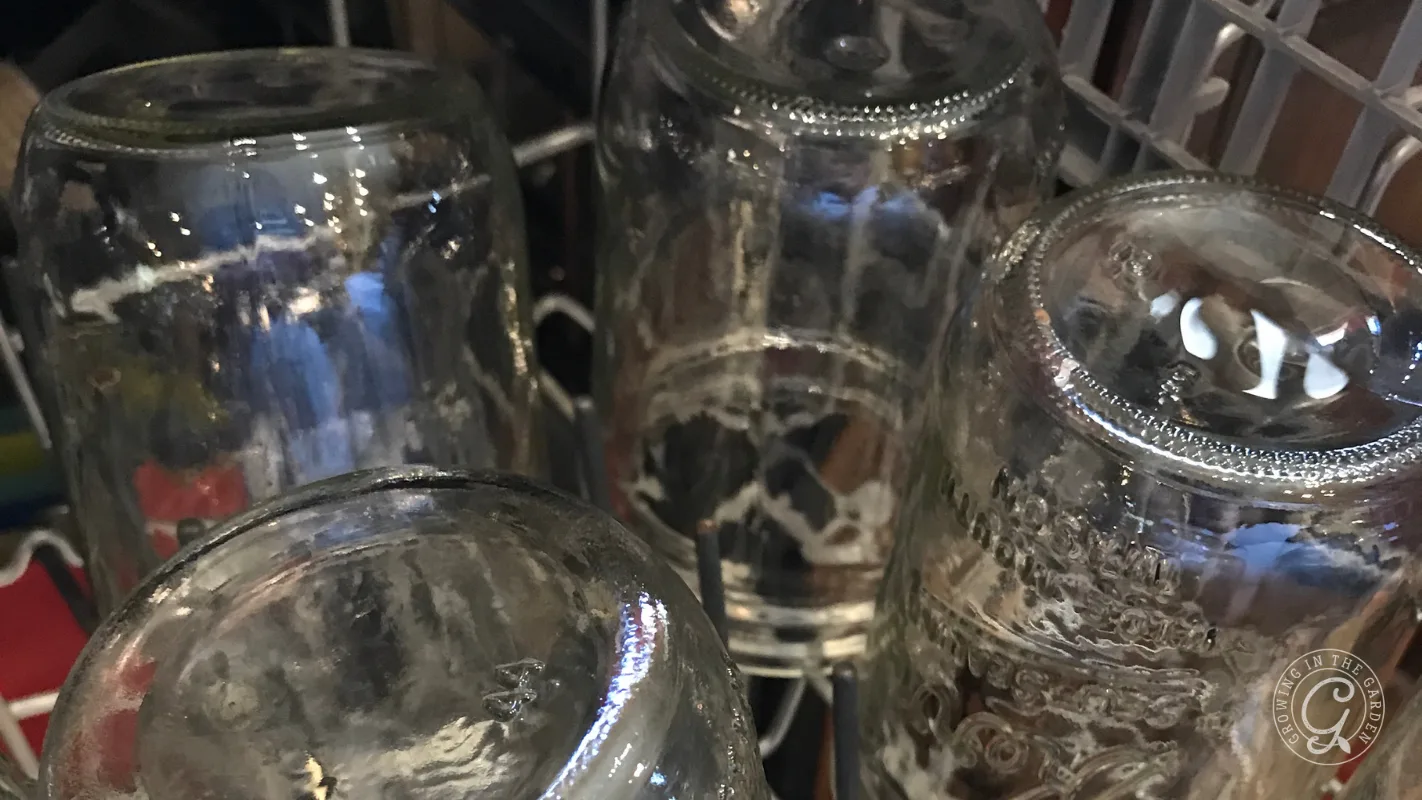
- Step 5: Prepare the jars
While the salsa simmers, prepare clean, hot jars and gather your canning supplies. Keeping everything ready makes the filling process much easier.
- Step 6: Fill the jars
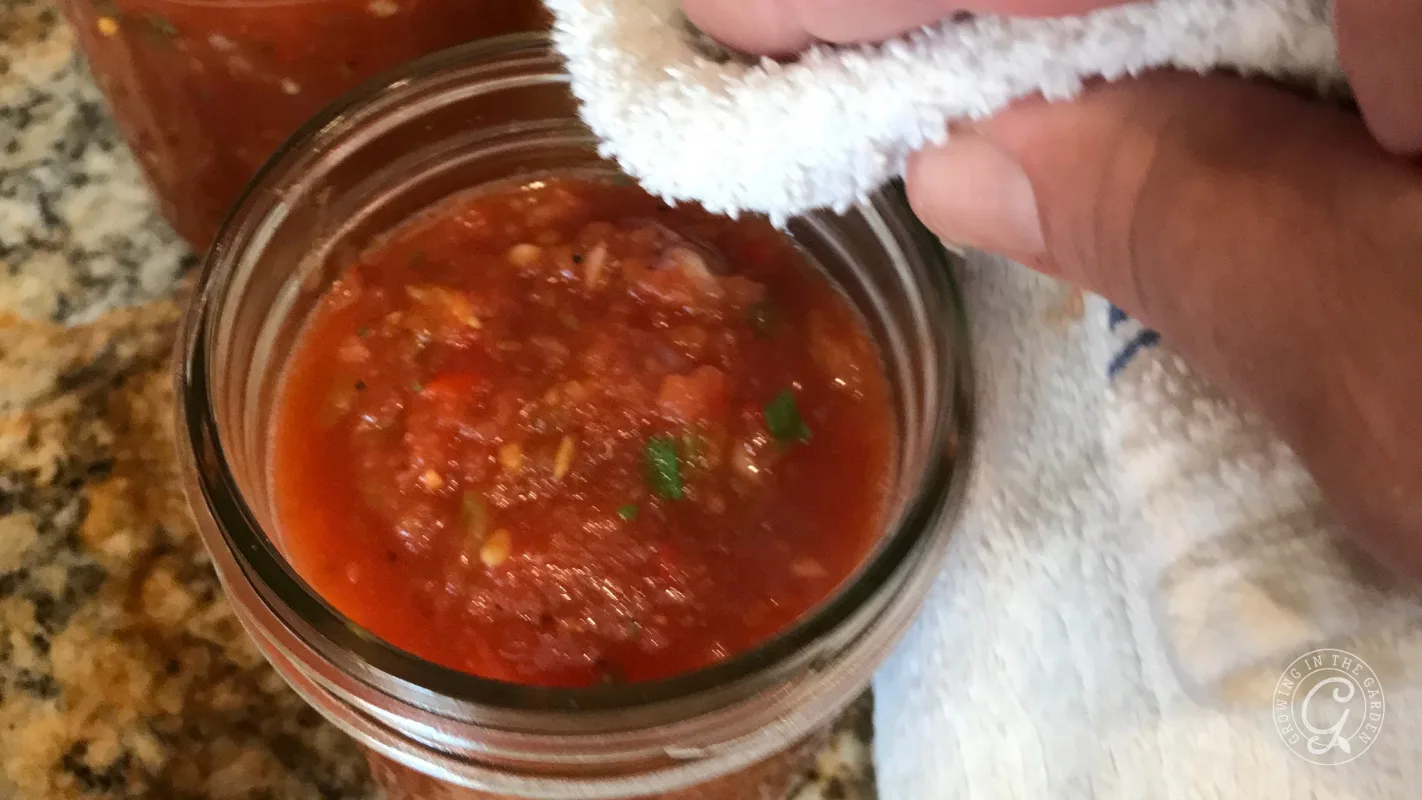
Using a funnel and ladle, fill the hot jars with salsa, leaving ½-inch headspace. Remove air bubbles, adjust the headspace if needed, wipe the rims clean, and apply the lids and rings until fingertip tight.
- Step 7: Process the jars
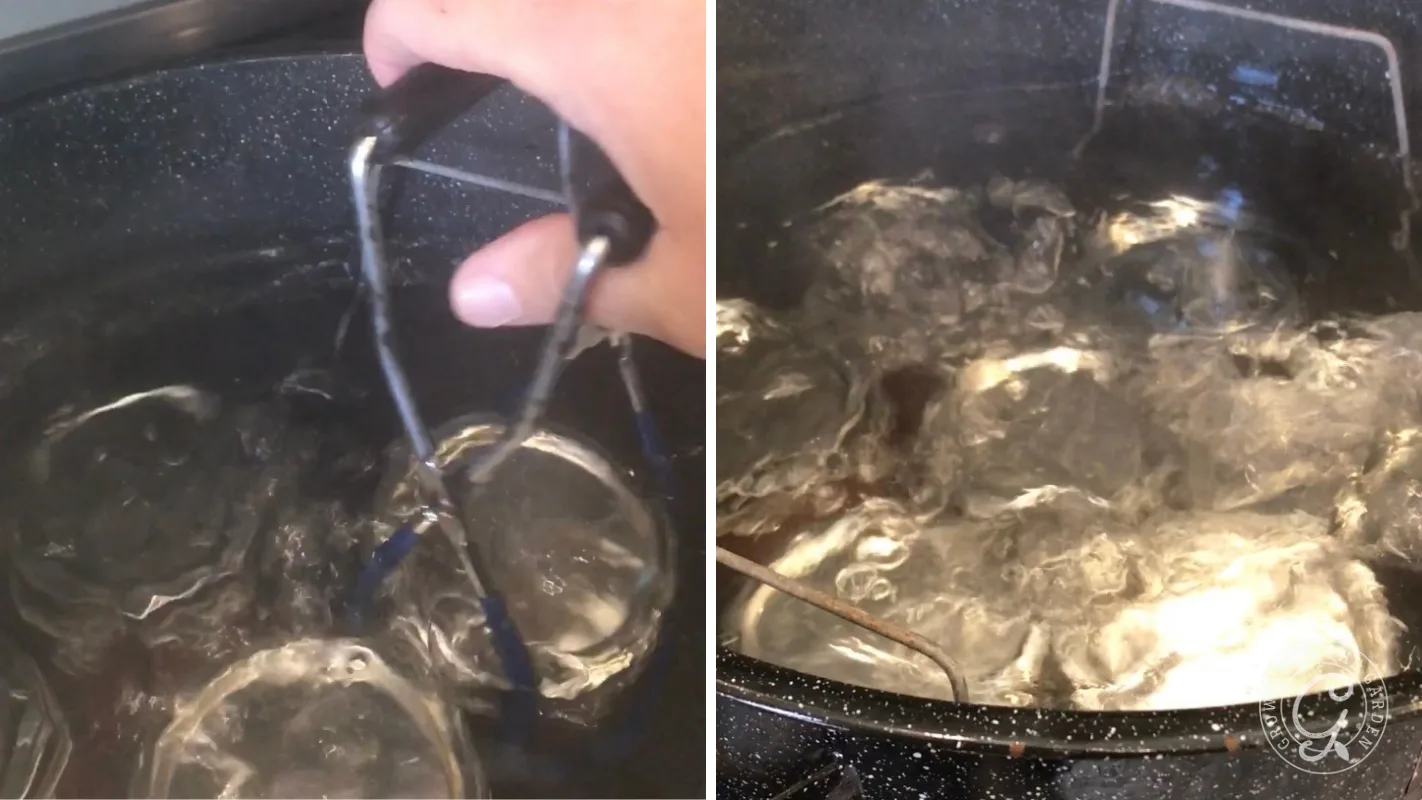
Place the filled jars in a boiling-water canner with water covering the lids by at least 1 inch. Process according to the recommended time for your elevation.
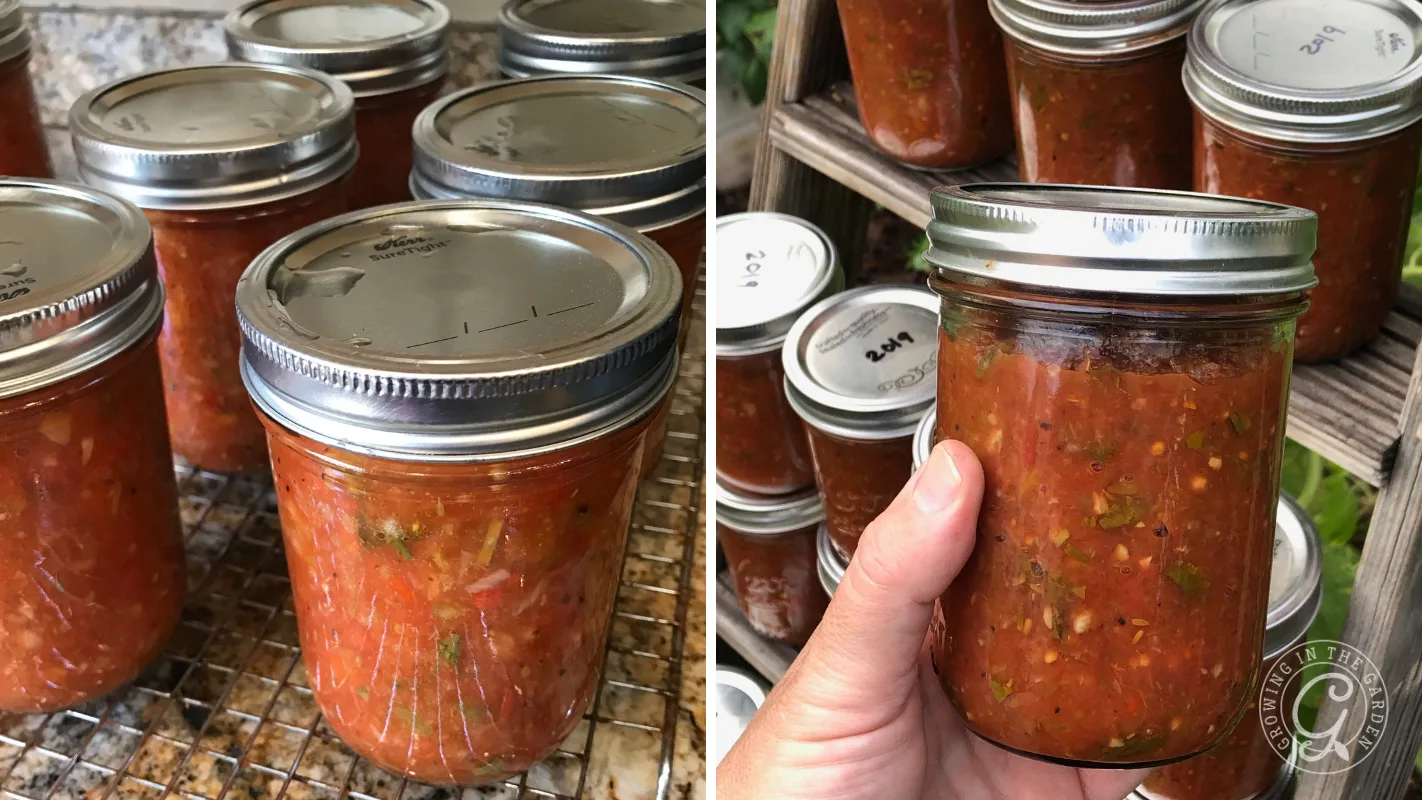
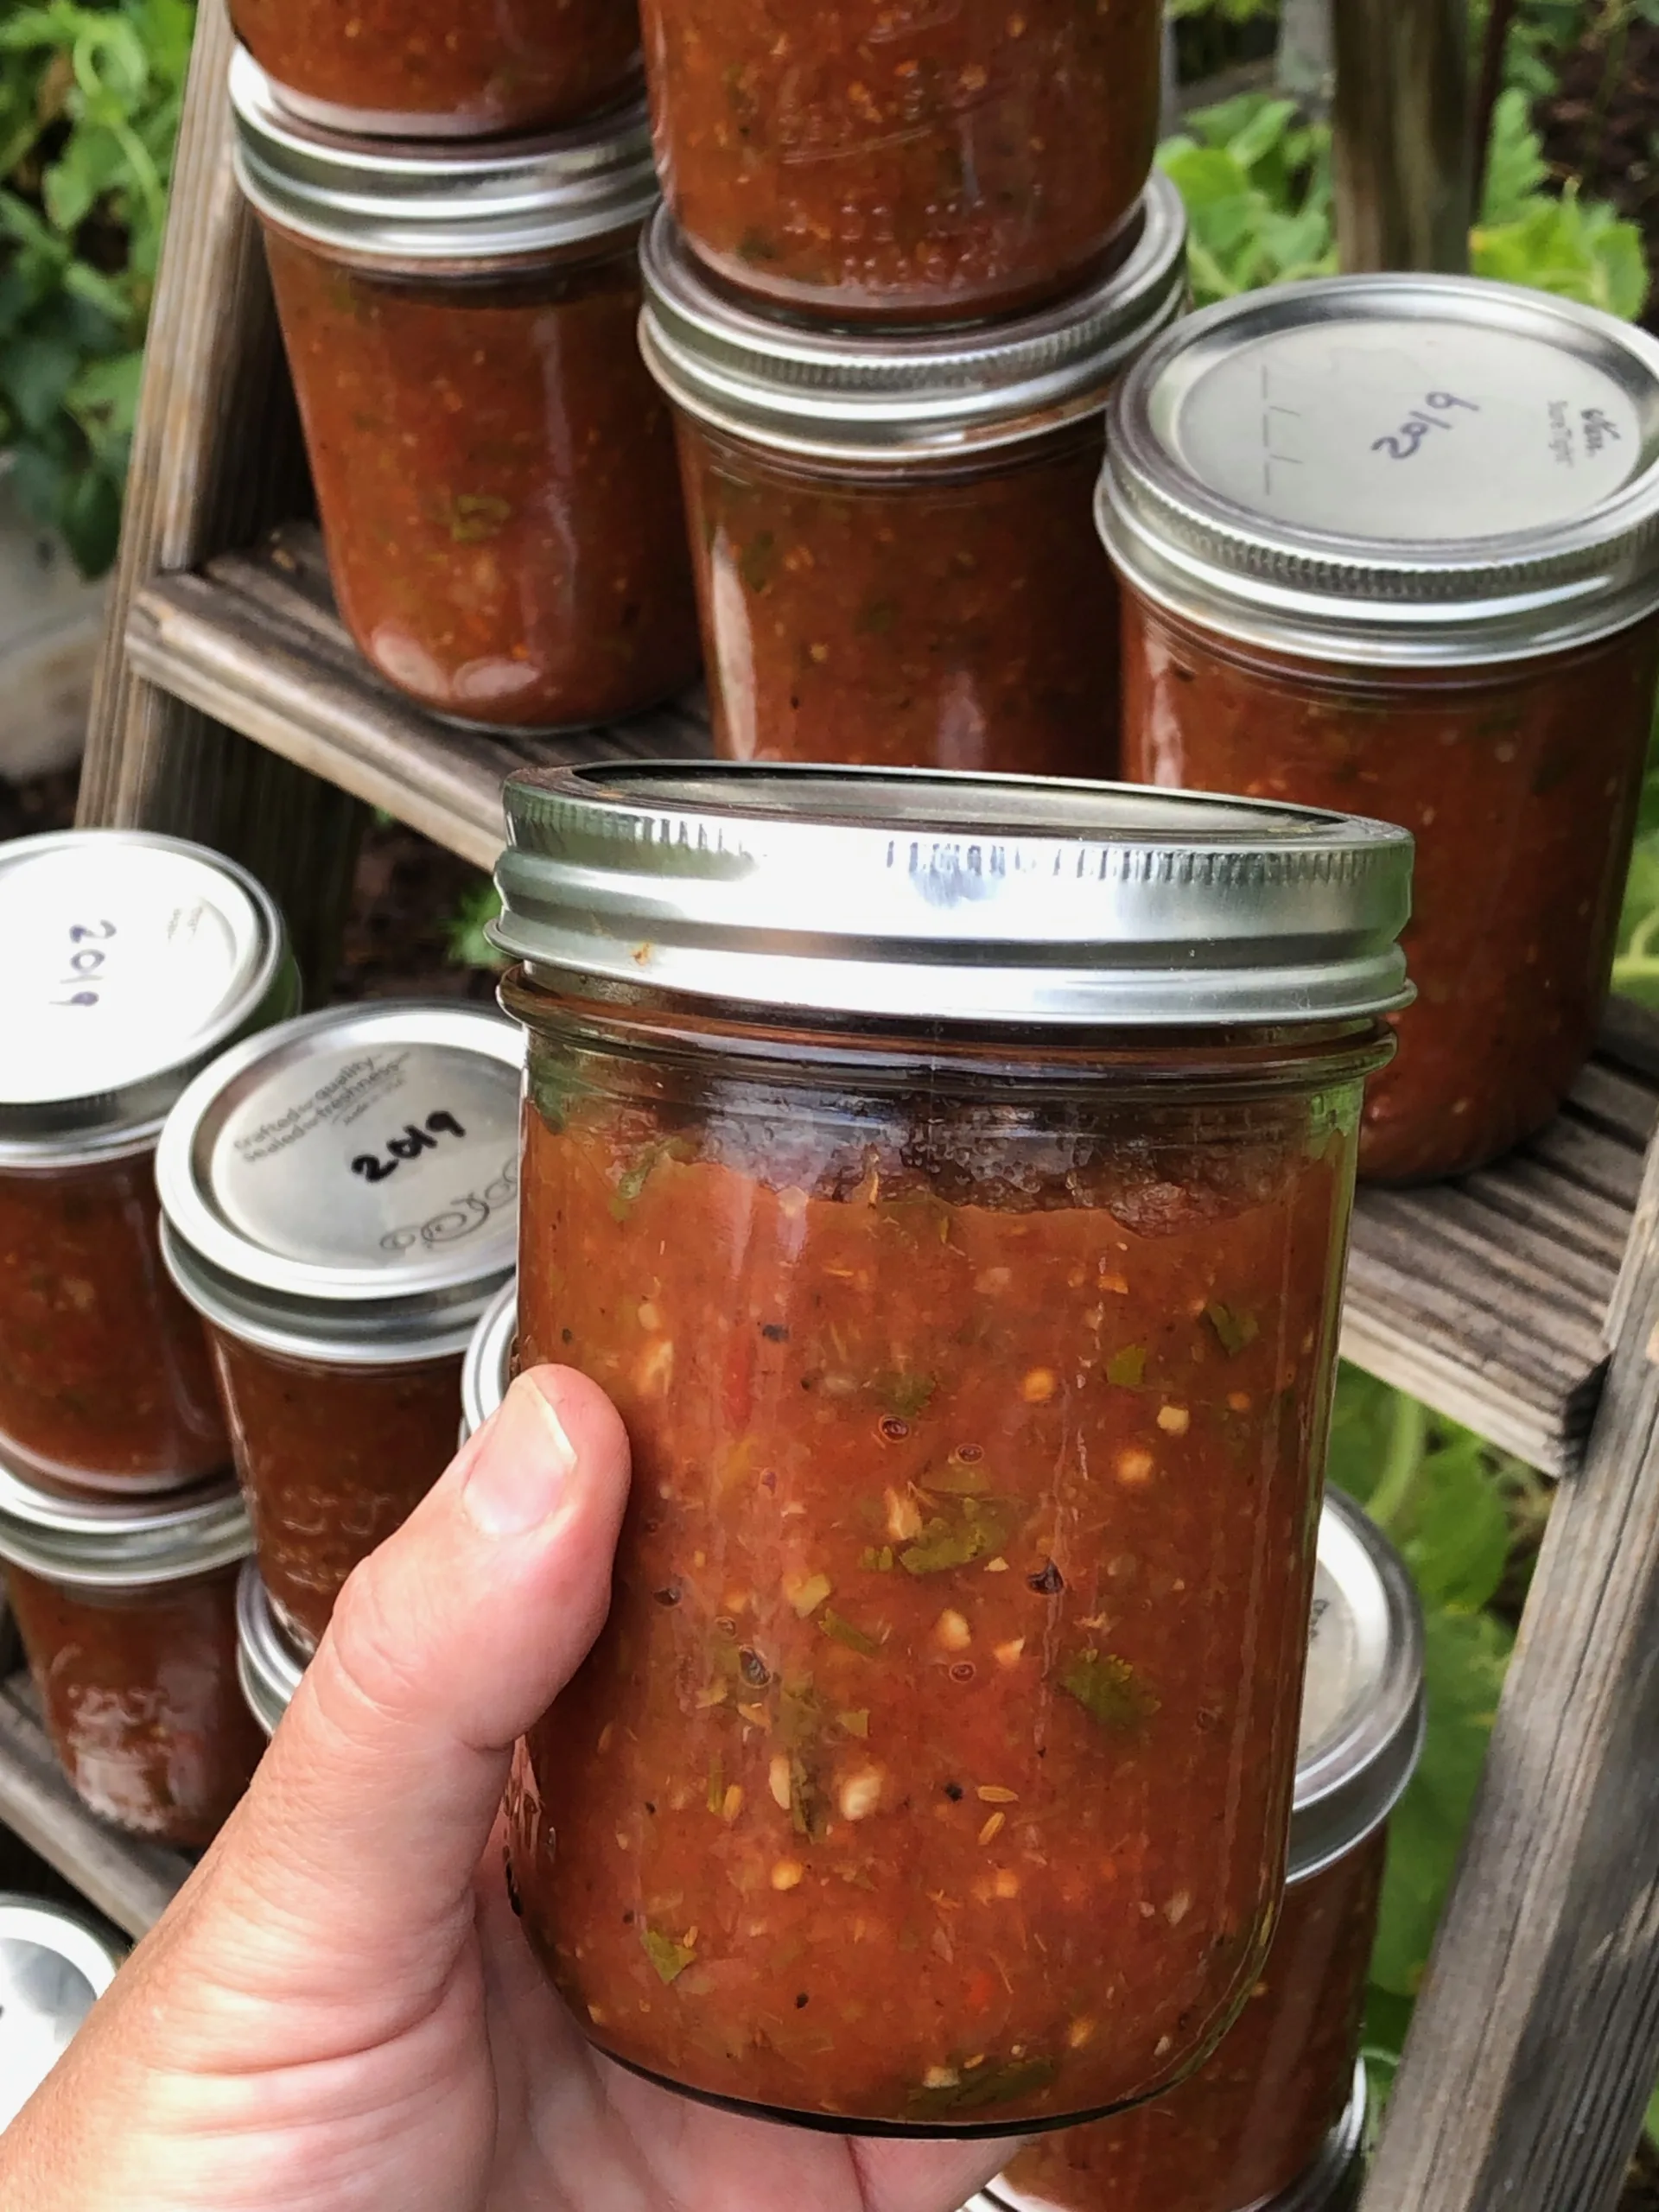
- Step 8: Cool, check seals, and store
Turn off the heat and let the jars rest in the canner for 5 minutes. Remove them carefully and place them on a towel-lined counter. Allow the jars to cool undisturbed for 12–24 hours. Check the seals, remove the rings, label the jars, and store in a cool, dark place. For best quality, use within 1 year. Although they will store for up to
How to Can Garden Salsa
If you’re planning to preserve your salsa, gather your canning supplies before you begin. Having everything ready makes the process much smoother.
- Prepare your canning equipment. Fill a boiling-water canner or deep stockpot fitted with a rack and begin heating the water. Wash jars, lids, and rings.
- Prepare the salsa. Follow the recipe instructions and simmer the salsa as directed.
- Fill the jars. Place a wide-mouth funnel on each jar and ladle hot salsa into hot pint or half-pint jars, leaving the recommended headspace.
- Remove air bubbles. Slide a bubble remover or plastic utensil around the inside edge of each jar to release trapped air pockets. Check the headspace again and add more salsa if needed.
- Clean the rims. Wipe jar rims with a clean, damp towel to remove any salsa residue that could prevent a proper seal.
- Apply lids and rings. Center the lid on each jar and screw on the ring until fingertip tight.
- Process the jars. Using a jar lifter, carefully place jars into the boiling-water canner. Process according to the recommended time for your altitude. (See below)
- Cool and check seals. Remove jars with the jar lifter and place them on a towel-lined counter. Let them cool undisturbed for 12–24 hours. Check that the lids have sealed before storing.
- Label and store. Remove the rings, label the jars with the date, and store in a cool, dark place.

Equipment You’ll Need
- Boiling-water canner or deep stockpot with a rack
- Pint or half-pint canning jars
- New canning lids and rings
- Ladle
- Bubble remover tool or plastic utensil
- Jar lifter
- Wide-mouth funnel
- Clean kitchen towels
- Large nonreactive pot (8-quart or larger)
- Colander
- Cutting board and knife
See my complete list of recommended canning supplies.
Processing Times by Altitude
Process hot-packed pint jars in a boiling-water canner using the times below:
- 0–1,000 feet: 15 minutes
- 1,001–6,000 feet: 20 minutes
- Above 6,000 feet: 25 minutes
If you garden in the Phoenix metro area, use the 20-minute processing time because most locations are slightly above 1,000 feet in elevation.
How Long Does Canned Salsa Last?
For the best quality, use home-canned salsa within 12–18 months. Properly sealed jars stored in a cool, dark location are often safe beyond that timeframe, but the flavor, texture, and color are best during the first year.
Once opened, store salsa in the refrigerator and use it within 1–2 weeks.
If a jar loses its seal, develops an off odor, unusual color, mold, or signs of spoilage, discard it immediately.
Tips for Best Salsa Texture and Flavor
- Draining tomatoes for 30 minutes and simmering them down before adding vegetables keeps the salsa from being watery.
- Toast cumin seeds in a dry pan until fragrant, then crush for a deeper flavor.
- For a milder salsa, replace some hot peppers with more Anaheim or poblano peppers, but keep the total pepper volume unchanged.
- Always taste a tiny piece of each hot pepper, so you have a sense of the heat you are adding.
Homemade Salsa FAQs
Use bottled lime (or lemon) juice for canning to ensure consistent acidity. Add fresh lime after opening for extra brightness.
No. Add low-acid ingredients like corn or beans after you open the jar.
This salsa is tested for pints and half-pints. Quart processing times are not validated for safety.
Yes. Separation can happen and is safe as long as the jar sealed properly. Gently shake before serving.
For best heat-through and texture, run back-to-back single batches rather than doubling in one pot.
Mix and match hot peppers to taste, but keep the overall pepper amount the same as written
Homemade Garden Salsa Recipe (Perfect for Canning)
Ingredients
Equipment
Method
- Wash tomatoes and remove stem ends.
- To peel, bring several inches of water to a boil in a large saucepan. Immerse tomatoes a few at a time for 30 to 60 seconds until skins split.
- Transfer to cold water, slip off skins, and discard.
- Remove cores and seeds, then chop. Measure 15 cups of chopped tomatoes and place in a large colander set in the sink. Drain for 30 minutes so your salsa is not runny.
- Transfer drained tomatoes to an 8-quart nonreactive pot. Bring to a boil, then reduce heat and simmer uncovered for about 1½ hours, stirring often, until thickened to your liking.
- Stir in peppers, onions, bottled lime juice, 5% white vinegar, tomato paste, garlic, salt, crushed cumin seeds, and black pepper. Return to a boil, then simmer 10 minutes. Remove from heat.
- Prepare clean, hot jars. Ladle hot salsa into jars leaving ½-inch headspace. Wipe rims clean. Apply lids and rings until fingertip tight.
- Place filled jars on the rack in a boiling-water canner with water covering lids by at least 1 inch. Return to a vigorous boil and process for the time in the table (see notes). When time is up, turn off heat and let jars rest in the canner for 5 minutes. Remove to a towel-lined counter. Do not tilt. Let cool undisturbed for 12 to 24 hours.
- Remove rings, check seals, wipe jars, label, and store in a cool, dark place. For best quality, use within 1 year. Refrigerate after opening and enjoy within 1 to 2 weeks.
Notes
0 to 1,000 ft: 15 minutes
1,001 to 6,000 ft: 20 minutes
Above 6,000 ft: 25 minutes
Phoenix metro is just over 1,000 ft, so use 20 minutes.
Tried this recipe?
Let us know how it was!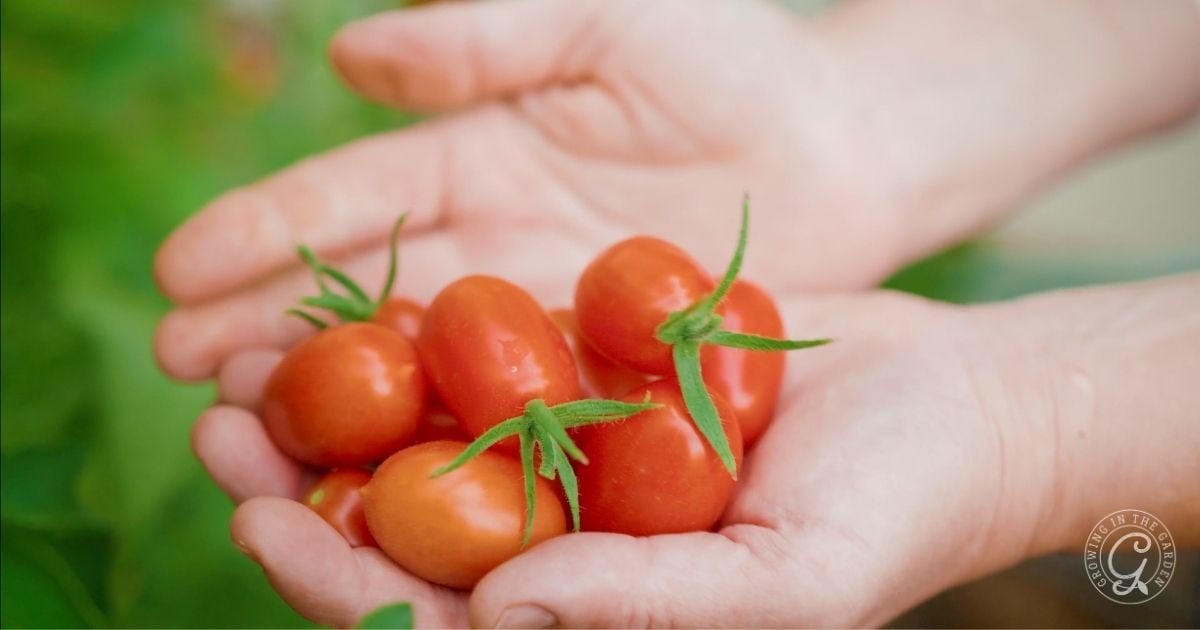


If this recipe was helpful, please share it. And if you made it, leave a comment with your pepper combo and how it turned out.


I love giving this salsa as a gift from the garden!