
Roselle Jam Recipe: Easy Rosella Jam Without Added Pectin
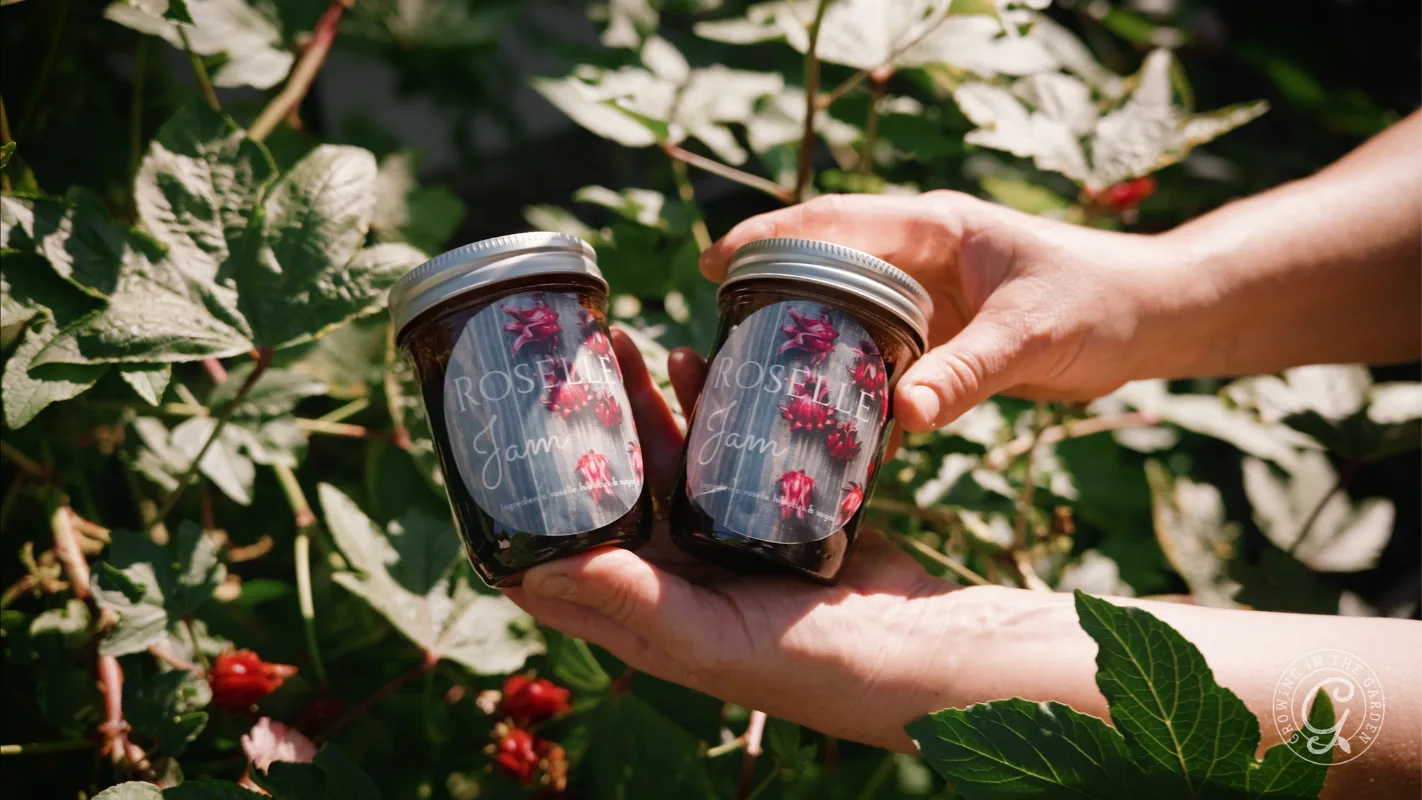
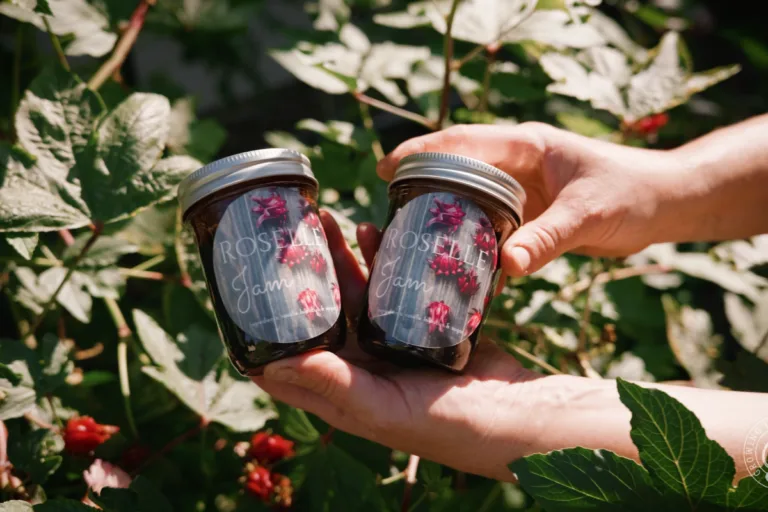
Roselle jam started as a way to use up a lot of roselle. The first year I grew it, I planted four plants, which is about three more than I’d plant now. I had so many calyces that I needed more ways to use roselle, so I started making jam. It quickly became a family favorite, and now I make it every year.
The flavor reminds me of cranberry sauce crossed with a tart berry jam. It’s bright, deep red, and not overly sweet. A jar of roselle jam with a fresh loaf of bread also makes a great gift.
One of my favorite things about this recipe is that you don’t need boxed pectin. Save the seed pods when you prep the roselle; simmer them first and use the thickened liquid to help the jam set. You may also see this called rosella jam, especially in Australian recipes, or hibiscus jam. It’s all made from Hibiscus sabdariffa.
Key Takeaways: Roselle Jam
- Roselle jam has a tart flavor somewhere between cranberry sauce and berry jam.
- Save the seed pods. Simmering them makes the pectin-rich liquid that helps the jam set without boxed pectin.
- Measure the sugar after the roselle cooks down. I use about the same volume of sugar as cooked roselle.
- Don’t wait for the jam to look completely set in the pot. It thickens quite a bit as it cools.
- I refrigerate, freeze, or water-bath can my roselle jam. See the canning note below before canning this recipe.
Why Roselle Jam Doesn’t Need Added Pectin
When you remove the calyces from the roselle, don’t throw away the seed pods.
Simmering the pods in water creates a thick, slippery liquid that helps the jam set. Strain out the pods and use that liquid to cook the calyces.
What You Need to Make Roselle Jam
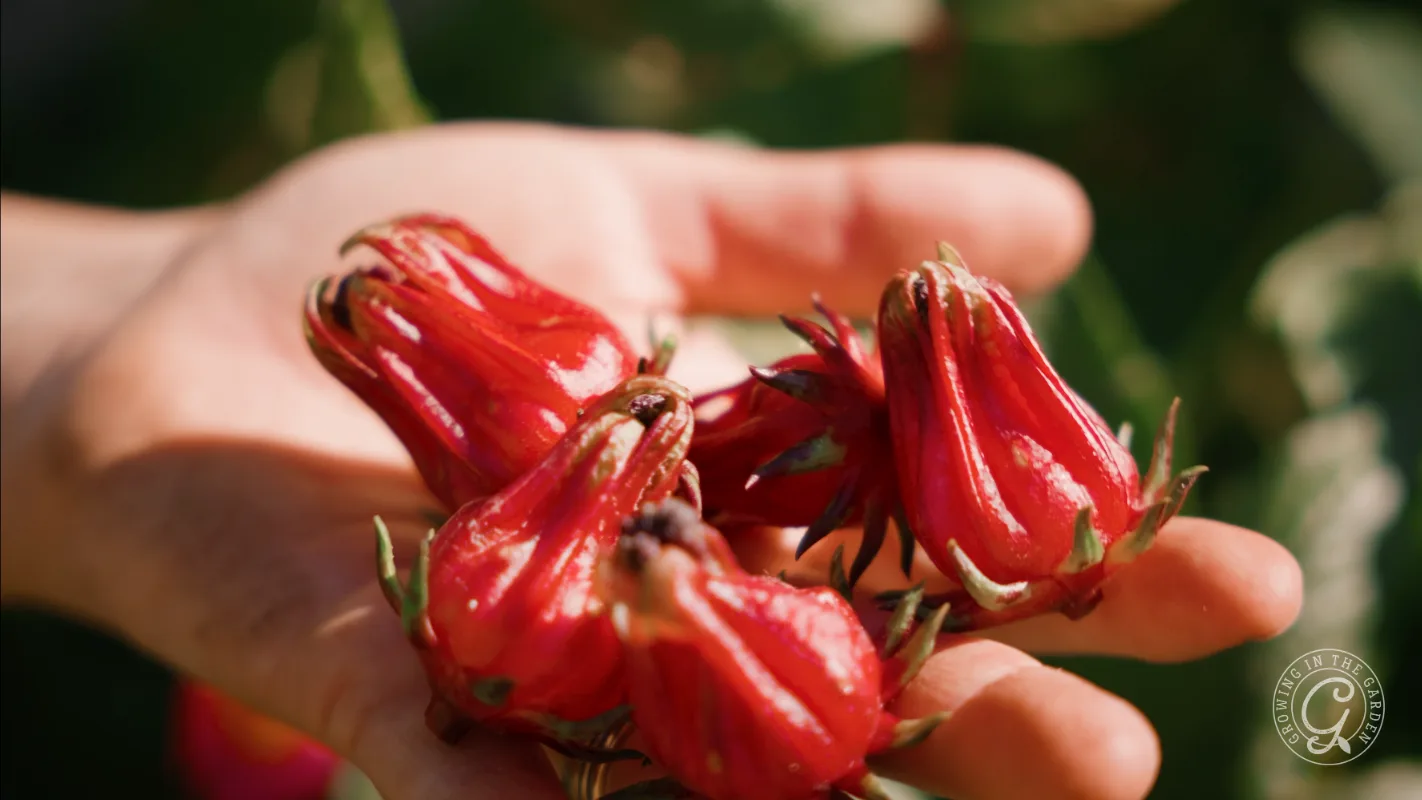
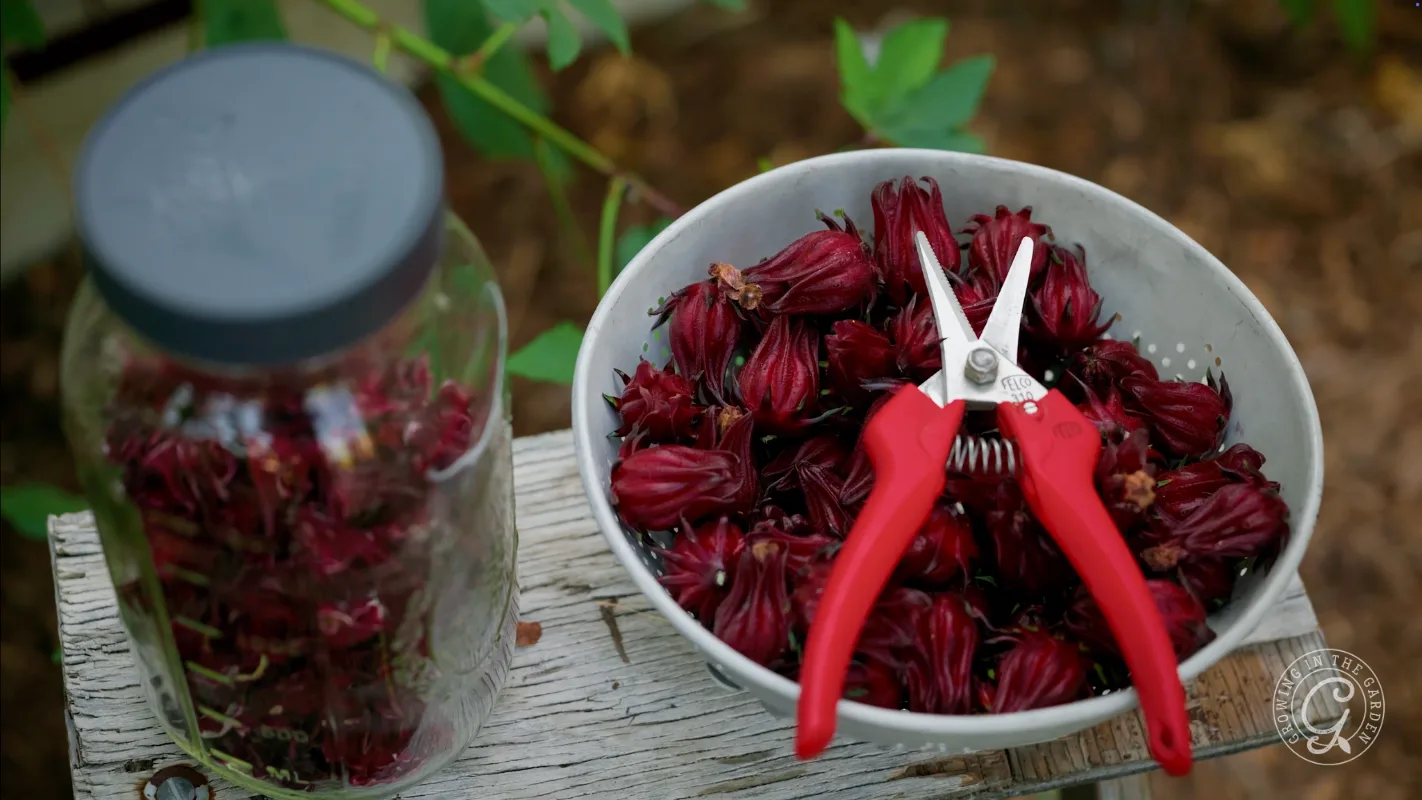
- Fresh roselle calyces. Pick and rinse the roselle, then separate the red calyces from the seed pods. If you’re growing your own, see my guide to growing roselle. I also have a post showing how I harvest and use roselle.
- The seed pods. Save these. You’ll simmer them first to make the liquid that helps the jam set.
- Sugar. I keep mine simple. You can add cinnamon, cloves, allspice, or ginger, but I prefer to taste the roselle.
- Lemon juice. I add 1 teaspoon for every cup of sugar. It brightens the flavor and balances the sweetness.
- Gloves. Optional, but helpful. Roselle can stain your hands, and the pods can be a little prickly.
How Much Sugar Should You Use?
I measure the sugar after the roselle cooks down, not before. Once the calyces are soft and broken apart, measure or estimate how much cooked roselle you have. Add about the same volume of sugar.
For me, six cups of prepared calyces usually cooks down to around three cups, so I use about three cups of sugar. Your amount may be a little different depending on the roselle and how much liquid is in the pot.
If you’re making refrigerator or freezer jam and prefer it more tart, you can use a little less sugar. Just keep in mind that changing the amount of sugar can also change the final set.
How to Make Roselle Jam
Ingredients
- 6 cups fresh roselle calyces, prepped and deseeded
- Seed pods reserved from the roselle
- Sugar, equal in volume to the cooked-down roselle (usually about 3 cups)
- Lemon juice, 1 teaspoon per cup of sugar (usually about 3 tsp)
- Water
- 1 teaspoon butter, optional
Makes about 4 cups
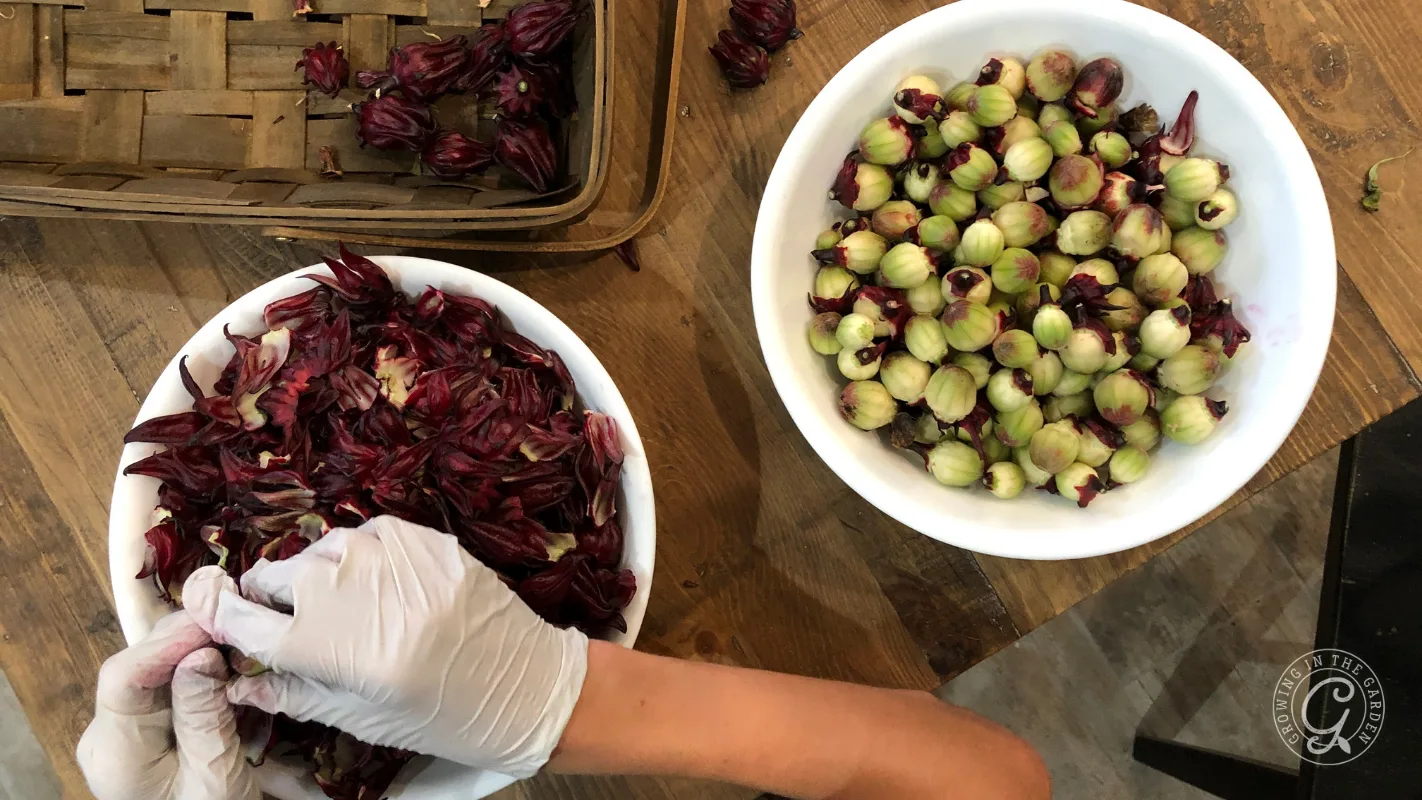
- Step 1: Separate the calyces and seed pods.
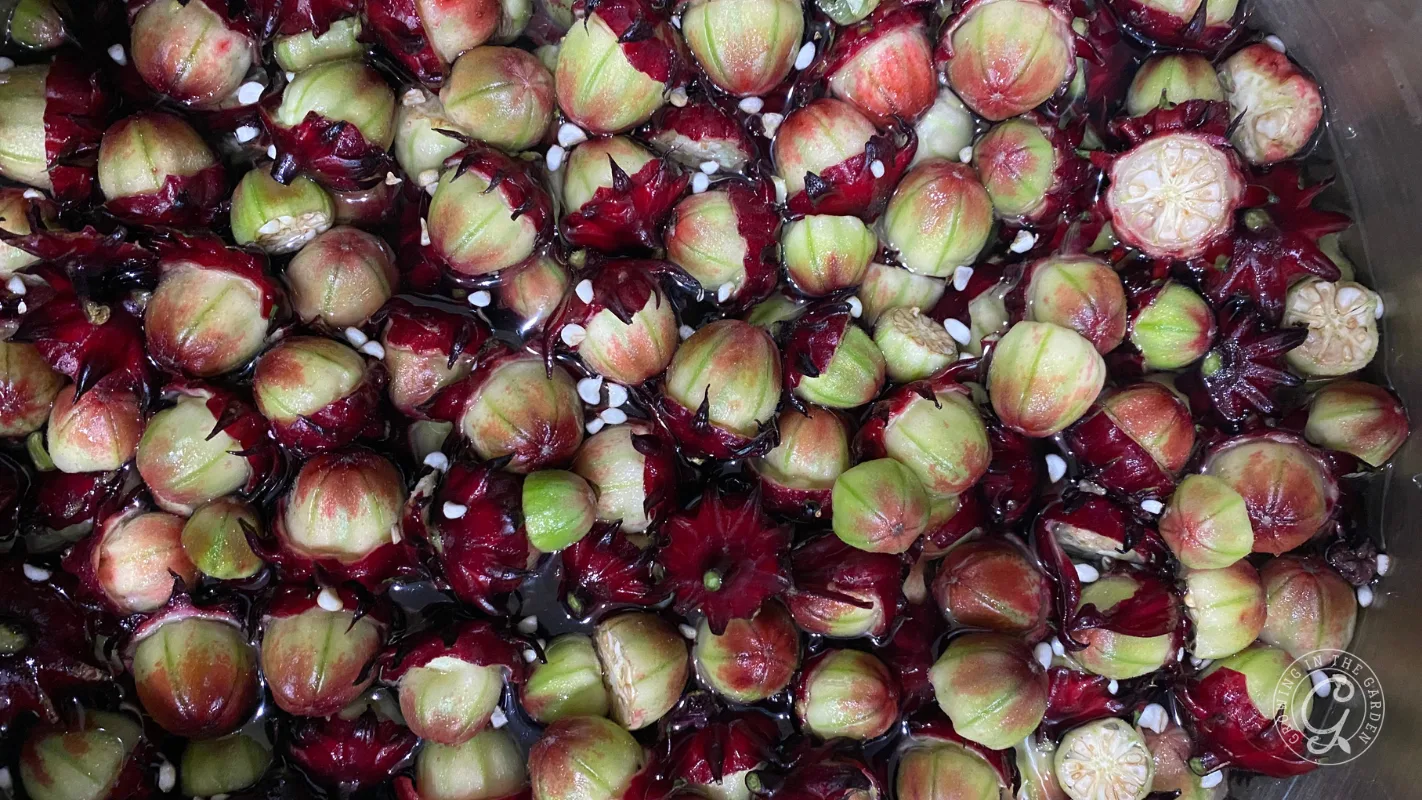
Rinse the roselle well. Cut around the bottom of each calyx and remove the seed pod from the center. Put the red calyx pieces in a large pot and the seed pods in a separate saucepan. I usually rinse the calyces one more time after separating them to get rid of any grit or bits of dried blossom hiding inside.
- Step 2: Simmer the seed pods.
Cover the seed pods generously with water. Use more water than you think you’ll need. The pods absorb quite a bit, and you want plenty of liquid left when they’re finished. Bring to a boil, cover, then lower the heat and simmer for about 30 minutes. The pods will become more translucent, and the liquid will feel thick and slippery.
- Step 3: Strain the pods.
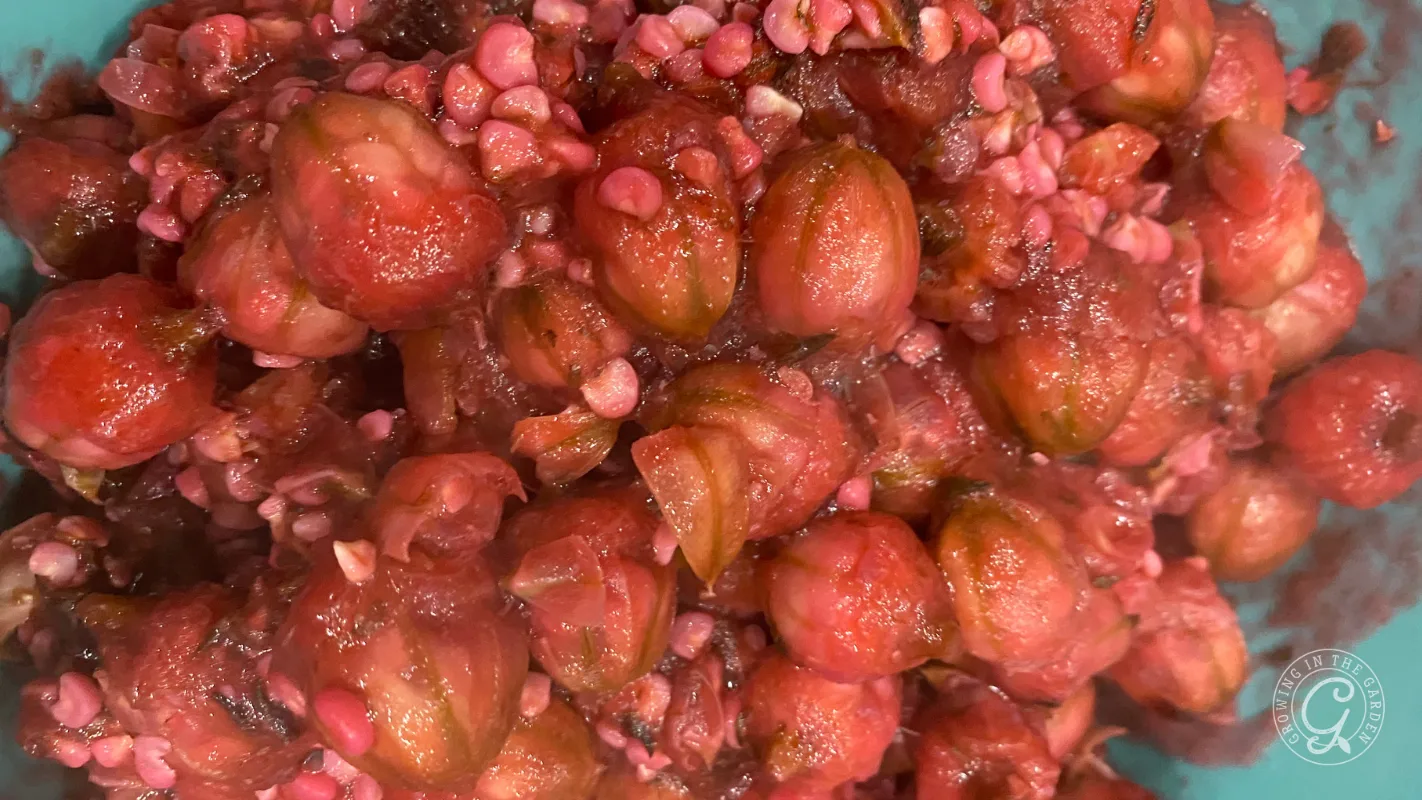
Strain the liquid and discard the pods. Mine usually go into my in-bed vermicomposting bins.
- Step 4: Cook the calyces.
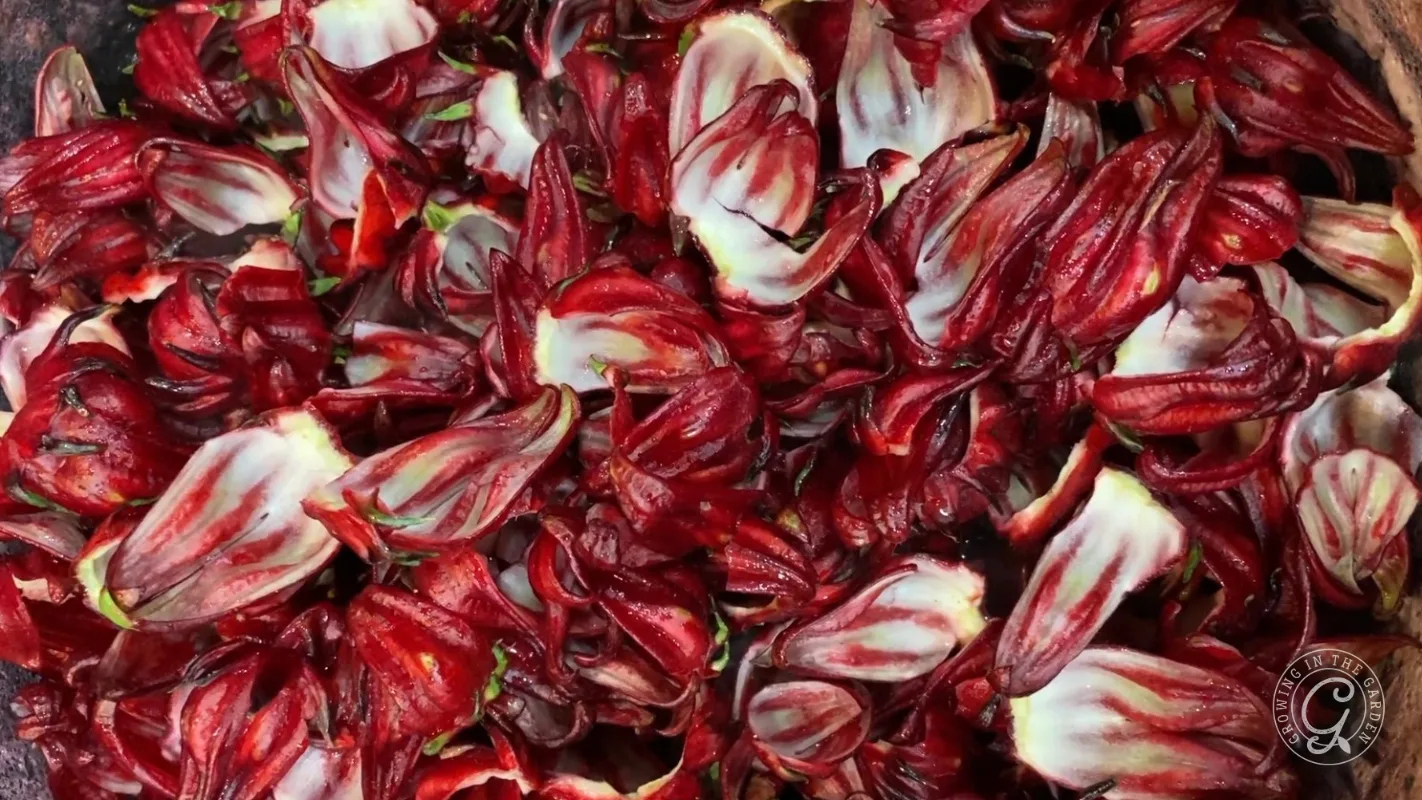
Pour the strained liquid over the calyces. They should be just about covered. Add a little more water if necessary. Bring to a boil, cover, then simmer on low for about 30 minutes, stirring occasionally. The calyces will soften and begin to break apart.
- Step 5: Add the sugar and lemon juice.
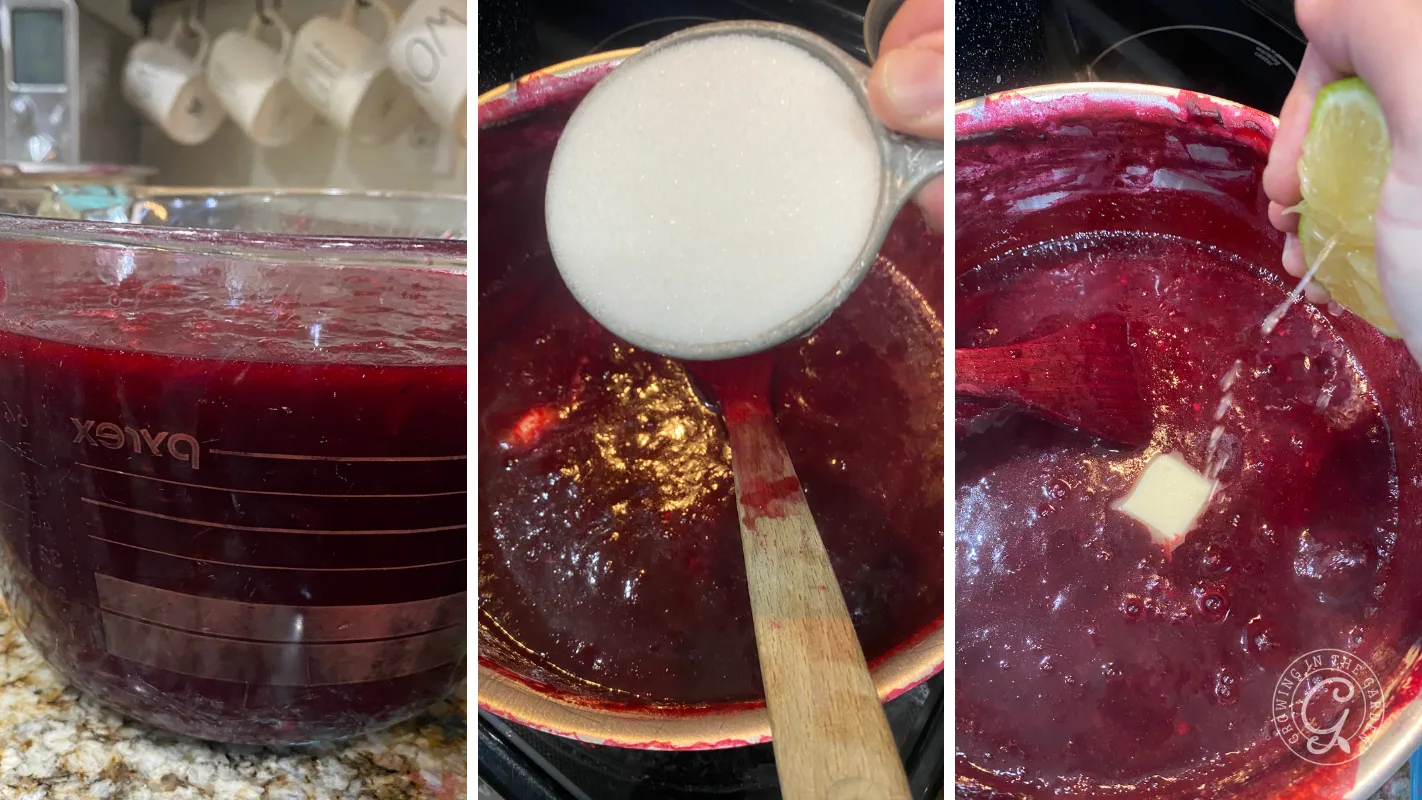
Now measure or estimate how much cooked roselle you have. Add about the same volume of sugar and stir until it dissolves. Add 1 tsp of lemon juice for every 1 cup of sugar. Bring it back to a boil, then reduce the heat and cook for another 5 to 10 minutes.
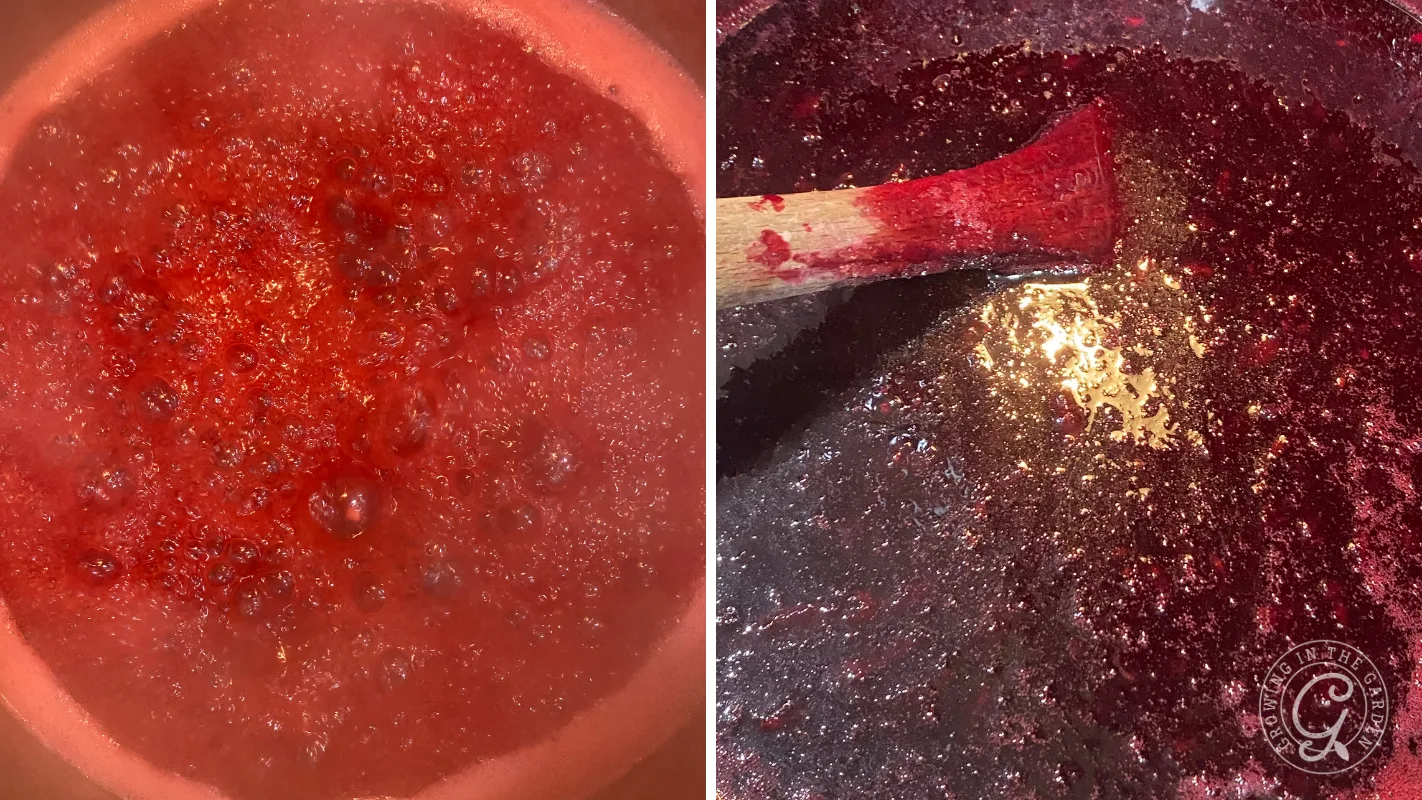
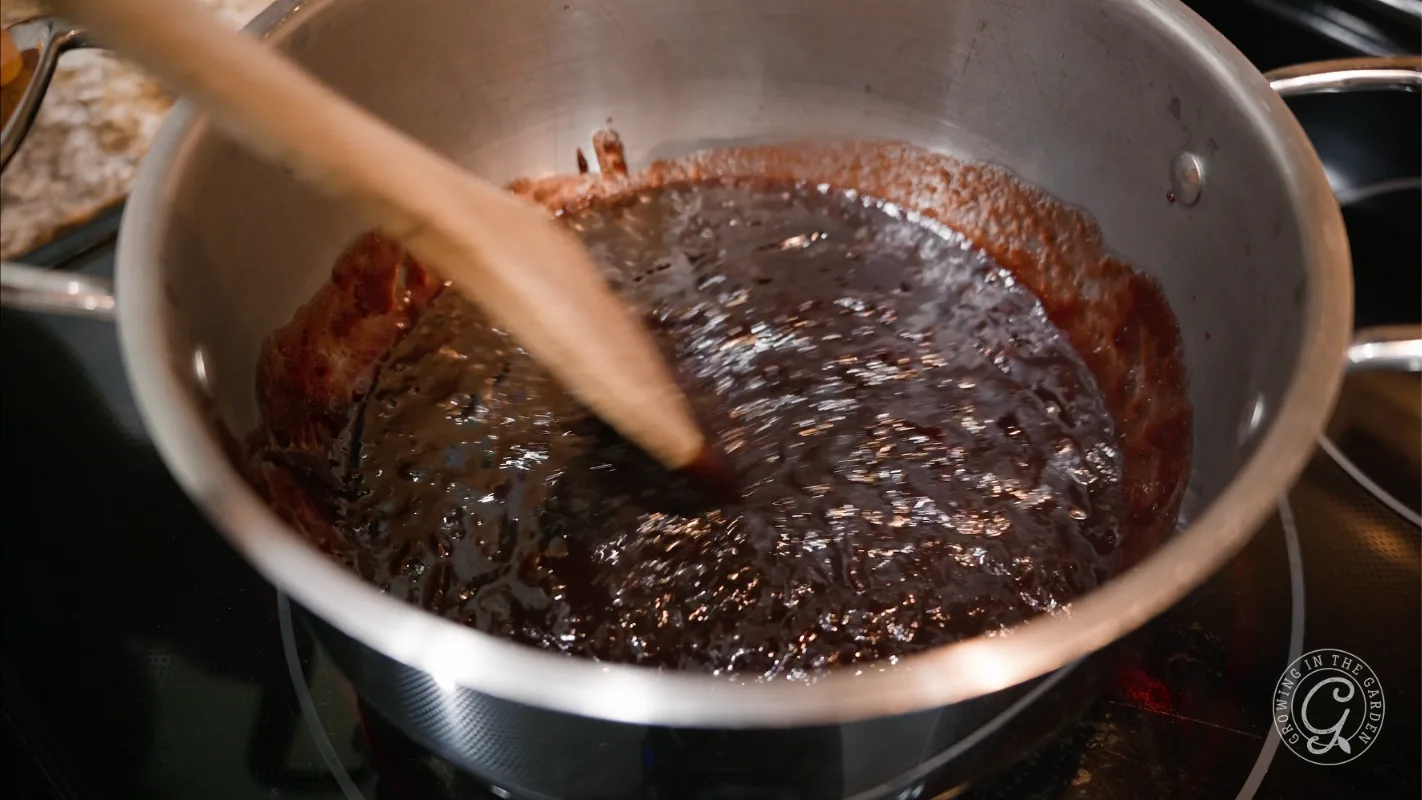
- Step 6: Watch the consistency. (The most important part!)
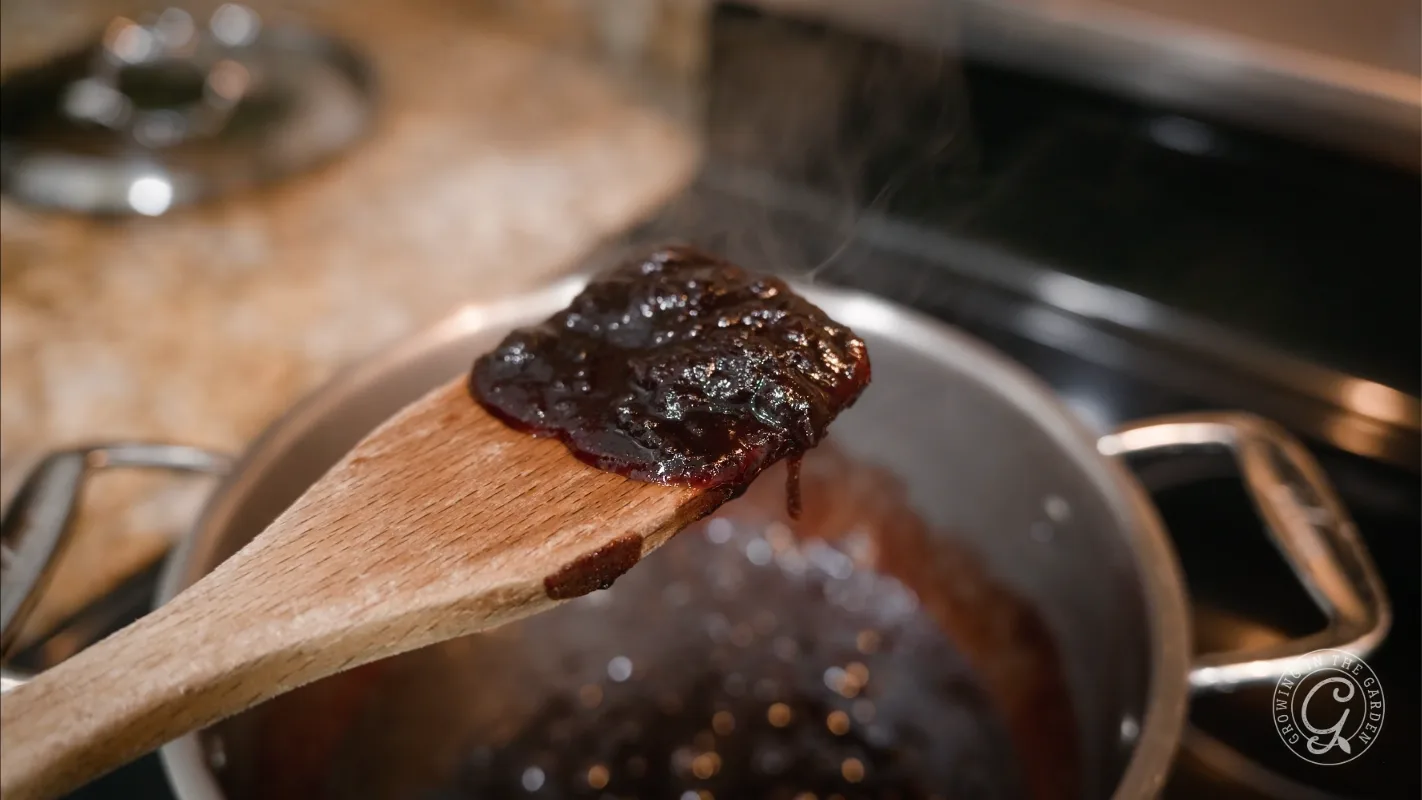
Take the jam off the heat while it still looks a little too thin. Roselle jam thickens as it cools. If you wait until it looks like finished jam in the pot, it may be much too thick once it cools. If foam forms on top, you can stir it back in or add a teaspoon of butter to help break it up.
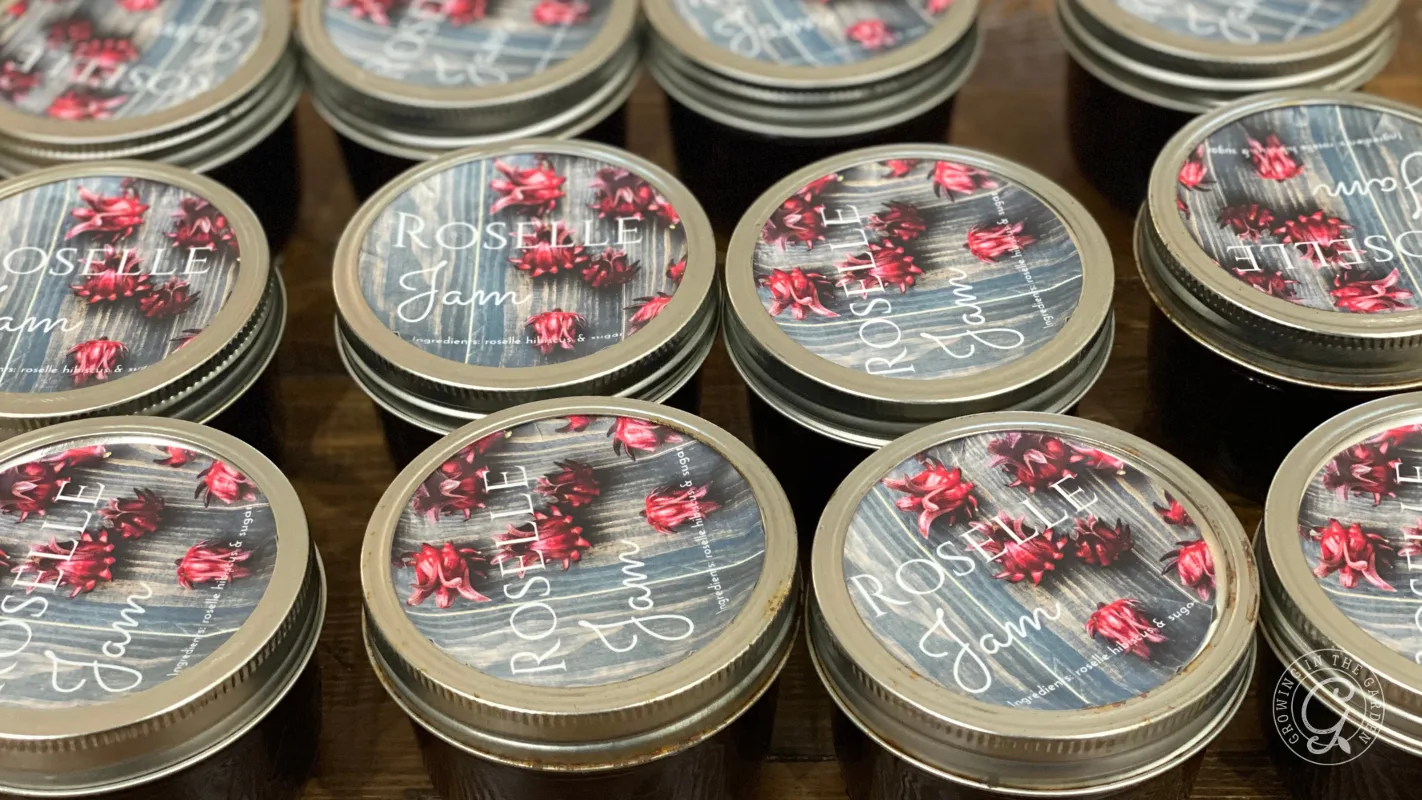
- Step 7: Fill the jars.
Ladle the hot jam into clean jars. If you’re refrigerating or freezing it, let it cool before storing. See the canning information below if you plan to preserve it for shelf storage.
The Biggest Mistake When Making Roselle Jam
Don’t overcook it.
A reader named Faith really confirmed this after making three batches and sending me her notes. Her first two batches were so thick after cooling that they were difficult to spread. For the third batch, she put the jam in the jars while it still seemed too loose.
That batch set perfectly.
She also found that the seed pods absorb more water than you might expect as they simmer, so be generous with the water.
If the jam looks a little too thin when you turn off the heat, that’s probably about right.
Storing and Canning Roselle Jam
Refrigerator
Store the cooled jam in clean, covered jars in the refrigerator.
Freezer
Roselle jam also freezes well. Use freezer-safe containers and leave room at the top for expansion.
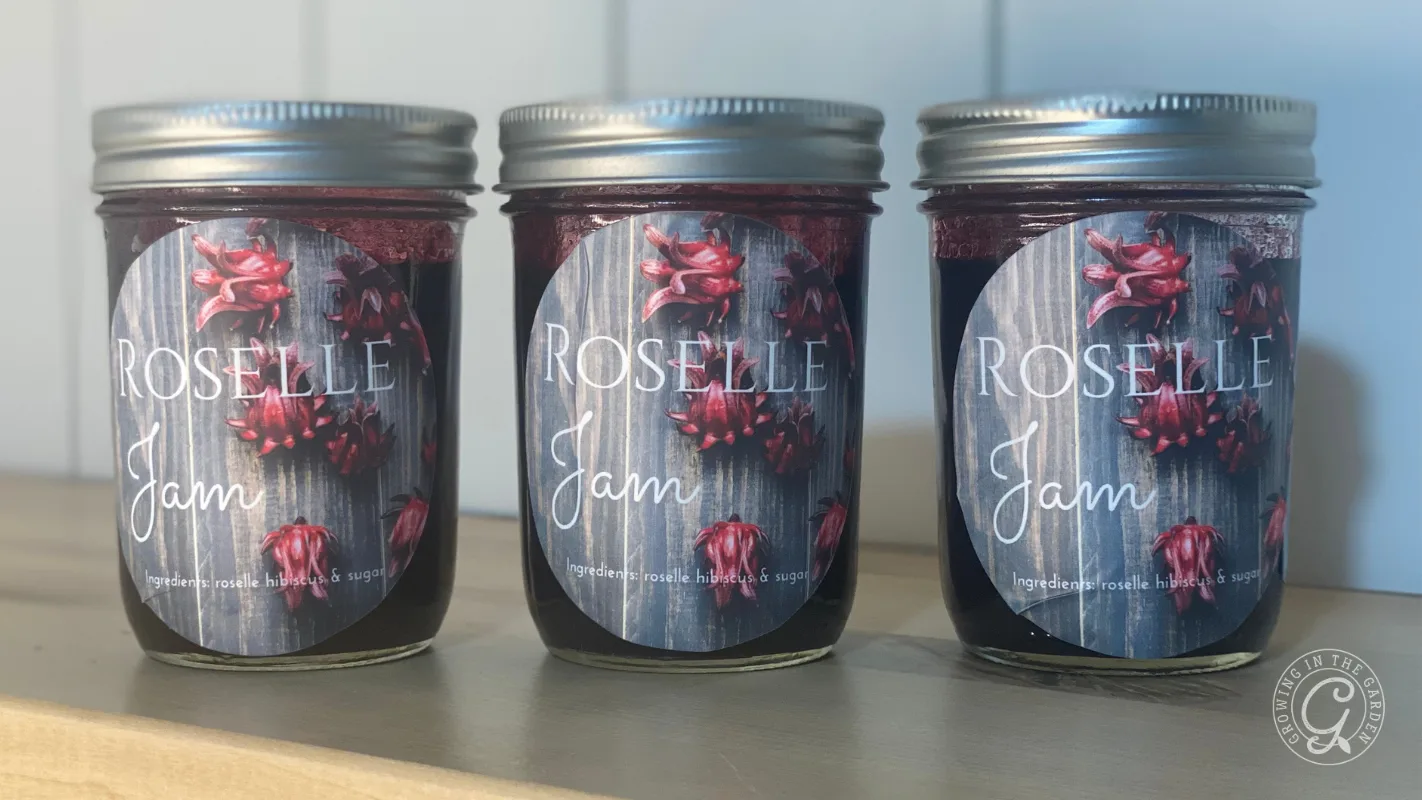
Canning roselle jam
I water-bath can my roselle jam and have done so for years. Rosella jam also has a long history of being preserved, and older Australian recipes use a method very similar to mine.
I do want you to know that I haven’t found a current USDA- or National Center for Home Food Preservation-tested canning recipe for this exact version. Current home-canning recommendations are to use scientifically tested recipes and processing methods for shelf-stable foods.
I still water-bath can my own roselle jam, but that’s my personal practice rather than a tested processing recommendation. If you only use tested canning recipes, refrigerate or freeze this version instead.
Don’t use the older method of turning filled jars upside down to seal them. Use a boiling-water canner and follow current home-canning practices.
Roselle Jam Troubleshooting
My roselle jam didn’t set.
The liquid from the seed pods may not have been concentrated enough, or the jam may need a little more cooking time.
Return it to the pot and simmer it a little longer. Just remember that it thickens quite a bit as it cools.
And if it stays thin, call it roselle syrup and put it on pancakes.
My roselle jam is too thick.
It probably cooked a little too long. Warm it gently and stir in a small amount of water until it reaches the consistency you want.
My jam tastes bitter.
Make sure none of the seed pods ended up in the finished jam. You want the strained liquid from the pods, not the pods themselves.
Why is my roselle jam pale?
Some roselle varieties are lighter or more variegated than others. Dark red calyces will give you the deepest-colored jam.
Roselle Jam FAQ
Use what you have. Cook the calyces down first, then measure the cooked amount and use that to determine how much sugar to add. That makes it easy to make a small or large batch.
No. I use the seed pods that come from the roselle I harvested.
Yes. If I’m not ready to make jam when I harvest, I freeze the calyces and seed pods. The calyces will be softer once they thaw, but that’s fine for jam.
Not with this method. Dried hibiscus sold for tea is usually just the dried calyx. This recipe uses the fresh seed pods to make the thickened cooking liquid.
I add 1 teaspoon of lemon juice for every cup of sugar. I like what it does for the flavor, and it helps balance the sweetness.
For refrigerator or freezer jam, you can use less if you prefer a more tart jam. Keep in mind that reducing the sugar may change the texture and set.
Yes. Cinnamon, cloves, allspice, and ginger all go well with roselle. I leave mine plain. I like the flavor as it is.
To me, it tastes like a cross between cranberry sauce and a tart berry jam.
We eat it most often on toast or fresh bread. It’s also good with:
– Scones
– Yogurt
– Ice cream
– Thumbprint cookies
– Peanut butter sandwiches
– Cheese and crackers
You can also warm it and use it as a glaze for pork or turkey.
Yes. Roselle is Hibiscus sabdariffa. In Australia, you’ll commonly see it called rosella, which is why many recipes are called rosella jam. You may also see it called hibiscus jam or Jamaica sorrel jam.
More Ways to Use Your Roselle Harvest
Roselle Jam
Ingredients
Equipment
Method
- Rinse the roselle well. Separate the red calyces from the seed pods. Place the calyces in a large pot and the pods in a saucepan.
- Cover the seed pods generously with water. Bring to a boil, cover, reduce the heat, and simmer for about 30 minutes. The pods will become more translucent and the liquid will feel thick and slippery.
- Strain out the seed pods, reserving the liquid.
- Pour the strained liquid over the calyces. Add a little more water if needed so the calyces are just about covered.
- Bring to a boil, cover, and simmer on low for about 30 minutes, stirring occasionally, until the calyces soften and break apart.
- Measure or estimate the amount of cooked roselle. Add about the same volume of sugar and stir until dissolved. Add 1 teaspoon of lemon juice for every cup of sugar.
- Return to a boil, then lower the heat and cook for another 5 to 10 minutes.
- If foam forms, stir it back in or add the optional butter.
- Remove the jam from the heat while it is still slightly looser than you want it. It thickens considerably as it cools.
- Ladle into clean jars. Cool and refrigerate or freeze. If you plan to water-bath can the jam, read the canning information in the full post first.
Notes
- Measure the sugar based on the cooked roselle, not the amount of fresh calyces you started with.
- Don’t overcook the jam. It thickens quite a bit as it cools.
- Save the seed pods. Simmering them creates the pectin-rich liquid that helps the jam set without boxed pectin.
- For refrigerator or freezer jam, you can use less sugar if you prefer it more tart, but the finished set may be softer.
- I have water-bath canned my roselle jam for years, but I have not found a current USDA- or NCHFP-tested canning recipe for this exact version. See the canning section in the full post before canning for shelf storage.

A family favorite recipe and why we grow roselle hibiscus every year.