Container Gardening for Beginners: 10 Steps for Success
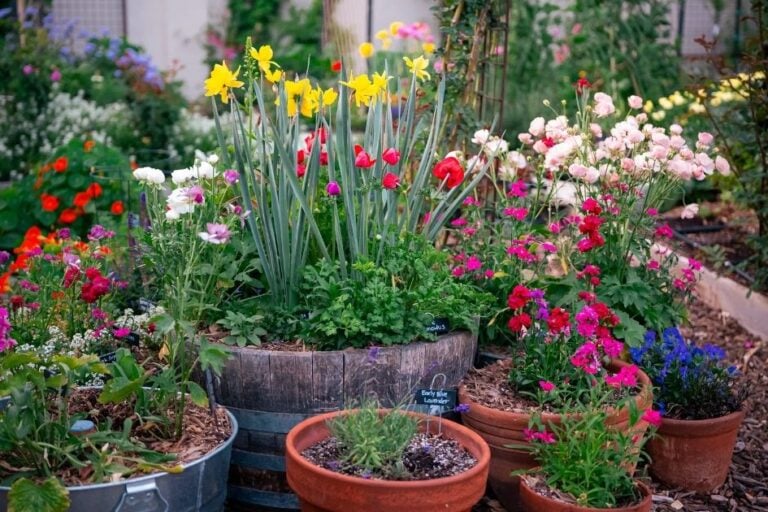
Would you like to start a garden? This post about container gardening for beginners will help. Container gardening is a simple and inexpensive way to get started. One of the best things about growing in containers is that you can garden anywhere. Add a container to your deck, front porch, balcony, or yard and you are ready to go.
Start small—a container or two is a great way to start. This container gardening for beginners blog post will give you all the information you need to get started.
1. Choose the location for your container garden
You can’t grow anything without sunlight. The amount of sun the area receives is the most important consideration. Observe your yard at different times of the day. Ideally, the location for your containers receives 6-8 hours of sun throughout the day. Look for an area that receives morning sun if you can. You’ll need easy access to water as well.

2. Decide what you are going to plant in your container garden
Make a list of what you would like to grow. Grow what you like to eat and maybe try something new as well. Use your planting guide to find out which crops do well in your area and find out the best time to plant them.


Look at your available space and make sure you have enough room to grow everything you would like. Learn about each plant (my blog has over 75 “How to Grow” articles about different vegetables, herbs, flowers, and fruit). Decide if you need seeds or transplants. Head to your local nursery or favorite online retailer for seeds and/or transplants.


3. Choose the right container
Here are two important considerations when choosing your containers:

Size: The size of a plant is usually limited by the container in which it is grown. Larger plants have larger root zones and need adequate-sized containers in order to grow a large enough root structure.
Drainage holes: Make sure the containers you are using have drainage holes.The hole allows excess water to drain out of the container. Too much water can be as damaging to plants as too little. Plant’s roots need air as well as water. Without air, the roots suffocate and die.

If the container is on a hard surface, lifting the container up off the ground with pot feet allows the water to drain freely out of the hole.
4. Fill container all the way up with soil (no filler)
Regular garden soil is too compact and heavy for container gardening, and does not provide the air and water necessary for the roots to grow.
Look for a raised-bed mix or potting soil that contains compost, coconut coir, and vermiculite or perlite. It should be light, fluffy, and drain well. This provides the nutrients, air, and water for the roots.

I use the same soil mixture in my raised beds and in my containers.
Put the pots in your desired location and fill the containers all the way up with soil. Don’t add any filler to the bottom of the container. The more soil, nutrients, and water available for your plants, the better.
If you want to add an olla to your containers, now would be the time. Consider adding an olla if you can; Growoyas are my favorite way to water containers. You’ll see an olla in just about all my containers. Use code GROWING to save.


What is an olla?
A clay pot with a narrow neck and bulging body used as a watering technique that reduces evaporation and makes water available where it is needed by the roots. The wider part of the olla is buried in the soil with the narrow opening remaining above soil level.
The olla is regularly filled with water, which seeps out through the porous wall of the pot into the surrounding soil and root zone of the plant. I use ollas from Growoya in most of my containers.
5. Plant the seeds and transplants in the container
When planting seeds and transplants, here are three things to keep in mind:

Spacing: Adequate space and airflow around plants is necessary for healthy, happy plants. Crowding plants too close together causes problems with disease. Use the spacing guidelines on seed packets or plant labels as a guide when planting.


Transplants: Dig a hole for your plant, and place the transplant in your container at the same level it was in the nursery pot. (Tomato plants are an exception to this rule.)
New transplants dry out more quickly; water them more often until they get established.
Seeds: Typically plant 2 times the depth of the seed. Keep seeds moist until they sprout.
6. Water your container garden correctly

Plants’ roots in containers can’t search out water sources. We have to meet the plants’ watering needs. Many problems in the garden can be traced back to incorrect watering—either not enough or too much water.

Check your containers frequently. Dip your finger into the soil an inch or so (under the mulch) and if it feels dry, it’s time to water. You can also use a moisture meter to give you a more exact idea of how wet the roots are.
Pay attention to your plants. Your plants will tell you if their water needs aren’t being met. Droopy, wilted leaves are a sign you waited too long to water.


Be careful to water the soil, not the plant. Plants absorb water through their roots in the soil, not through their leaves.

Add a 1″–2″ layer of mulch (such as wood chips) to help conserve moisture in the soil.
7. Feed plants in your container garden regularly

Because frequent watering means nutrients are washed away and roots can’t go looking in the ground for additional nutrients, it’s also a good idea to feed some plants regularly. Compost-rich potting soil will feed your garden for the first few weeks. Use a water-soluble organic fertilizer such as fish emulsion or liquid seaweed (or a combination of both). Follow dilution instructions on the bottle.
8. Pay attention to your plants each day
Healthy plants are less susceptible to disease and less attractive to pests. Make it a habit to spend some time in your garden each day.
- Notice the new growth and blossoms forming.
- Check under leaves for pests. Pests and disease are much easier to spot when they are small.
- Clean up fallen leaves and debris.

9. Harvest at the right time

Learn about the plants you are growing so you know the best time to harvest, usually when the crops are young and tender. Fruit and vegetables left too long on the plant can become tough or woody. Picking often encourages the plant to produce more crops.
10. Learn from your experiences


Take time to make a note about your experiences. Documenting your journey helps you learn, such as which types of seeds or transplants you used, the date(s) you planted, what the harvests were like, and any challenges you faced. Learn from your mistakes and enjoy your successes.
Do you have more tips to share for container gardening for beginners? Let me know in the comments.
Growing in the Garden container gardening resources:
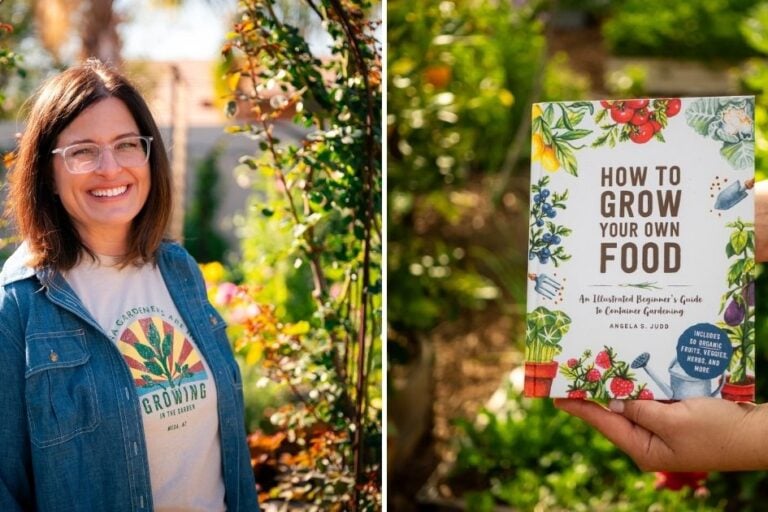
If you’re looking for more resources, I have several videos and blog posts that provide step-by-step guides, tips, and tricks for successful container gardening. I even wrote a book about container gardening, which covers everything from choosing the right containers to harvesting your first crop. You’ve got this!
- Best Vegetables to Grow in Pots
- Guide to Container Sizes: Which Size Container Should I Use?
- The Pros & Cons of Container Gardening
- Gardening in Grow Bags: 5 Tips for Success
- The Best Way to Water Containers
- Grow Anywhere: Smart and Creative Gardening Container Ideas
- Container Gardening Playlist on YouTube
If you enjoy container gardening, you’ll love the benefits of elevated beds—check out my guide, How to Grow in Elevated Garden Beds, to learn how to get started
Looking for more small space gardening ideas? Don’t miss my post on GreenStalk gardening tips, where I share what’s worked (and what hasn’t) in my Arizona garden.
To learn more about gardening in containers, read my book on this topic. Learn more about the book “How to Grow Your Own Food: A Beginner’s Guide to Container Gardening” in this post or purchase the book here.

If you enjoyed this post about how to start a container garden, please share it:


If I had a dehydrator I would dehydrate fruits to take with me on camping trips as I bike across America next year.