
Growing Potatoes in Straw: NO DIGGING!
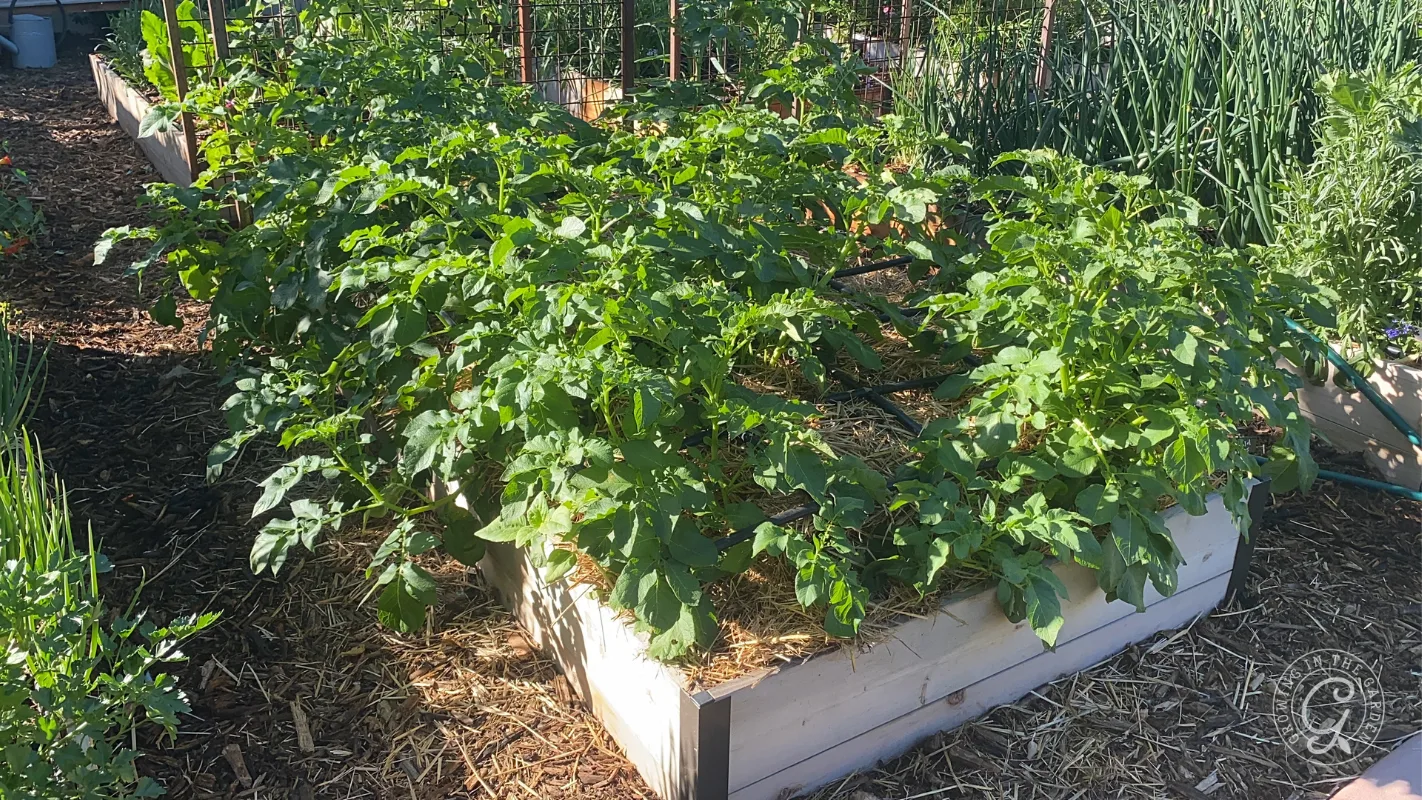
Growing potatoes in straw has become my favorite way to grow them. It’s simple to set up, easier to keep watered, and harvesting takes just a few minutes. I first tried this method in 2022 after growing potatoes in both grow bags and raised beds. Grow bags dried out too quickly in my hot, dry climate, while potatoes grown directly in a raised bed were difficult to find at harvest. I was still pulling up missed potato sprouts the following year.
Straw made the whole process easier. Planting is quick, the soil stays more evenly moist, and you can lift the straw at harvest instead of spending an afternoon digging. All you need is seed potatoes, a bale of straw, and a bed you can dedicate to potatoes for a few months.
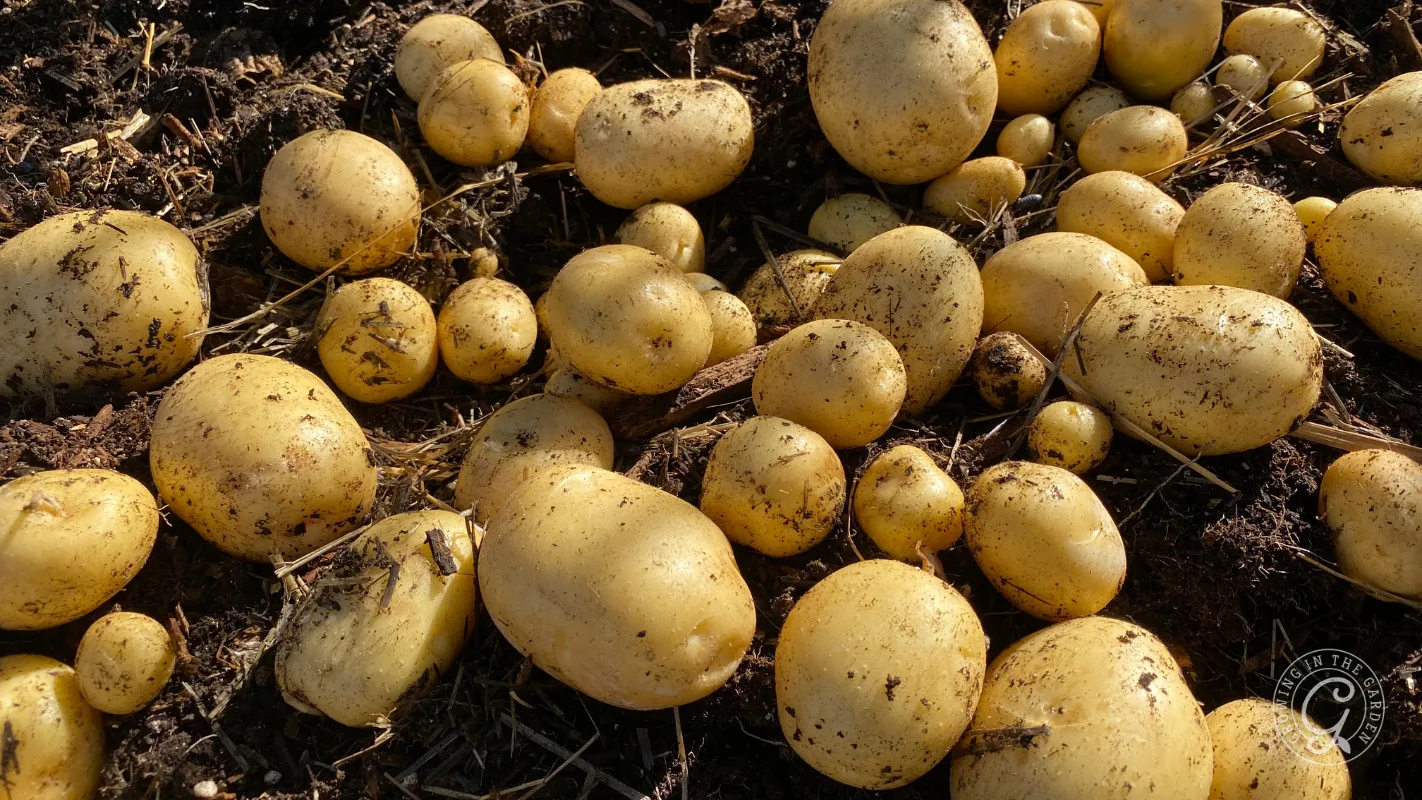
Growing Potatoes in Straw
- Growing potatoes in straw offers an easier and faster method compared to grow bags or raised beds, minimizing water issues and harvest time.
- In the low desert of Arizona, plant potatoes from September to January for the best results, avoiding traditional spring planting guidelines from colder climates.
- Gathering supplies for growing potatoes in straw includes seed potatoes, a bale of straw, and a dedicated planting area; no digging or hilling required.
- Choose early and mid-season determinate varieties for short growing seasons, while longer seasons suit indeterminate varieties; adjust planting based on local climate.
- Care for plants by adding layers of straw as they grow, and harvest when foliage yellows; store potatoes in a cool, dark place to prolong freshness.
What We’ll Cover:
- When Should You Plant Potatoes in the Low Desert?
- What Supplies Do You Need to Grow Potatoes in Straw?
- What Kind of Straw Should You Use?
- Which Potato Varieties Should You Grow?
- How Do You Prepare Seed Potatoes Before Planting?
- How Do You Prepare the Bed?
- How Do You Plant Potatoes in Straw?
- How Do You Care for Potatoes Growing in Straw?
- When Are Potatoes Ready to Harvest?
- How Do You Harvest and Store Potatoes Grown in Straw?
- Can You Save Your Own Seed Potatoes for Fall?
- Frequently Asked Questions About Growing Potatoes in Straw

When Should You Plant Potatoes in the Low Desert?
In the low desert of Arizona, plant potatoes from September through January. September and October plantings give the longest growing window before the heat arrives in spring.
Timing matters because most potato-growing advice is written for colder climates, where potatoes are planted in spring. Follow that schedule in the low desert, and the plants may run into high temperatures before they have enough time to produce a good harvest.
In cold-winter climates, plant potatoes once the soil has warmed to about 50°F and is no longer cold and waterlogged. Cold, wet soil can cause seed potatoes to rot before they sprout. Plan to harvest before the first hard freeze in fall.
What Supplies Do You Need to Grow Potatoes in Straw?
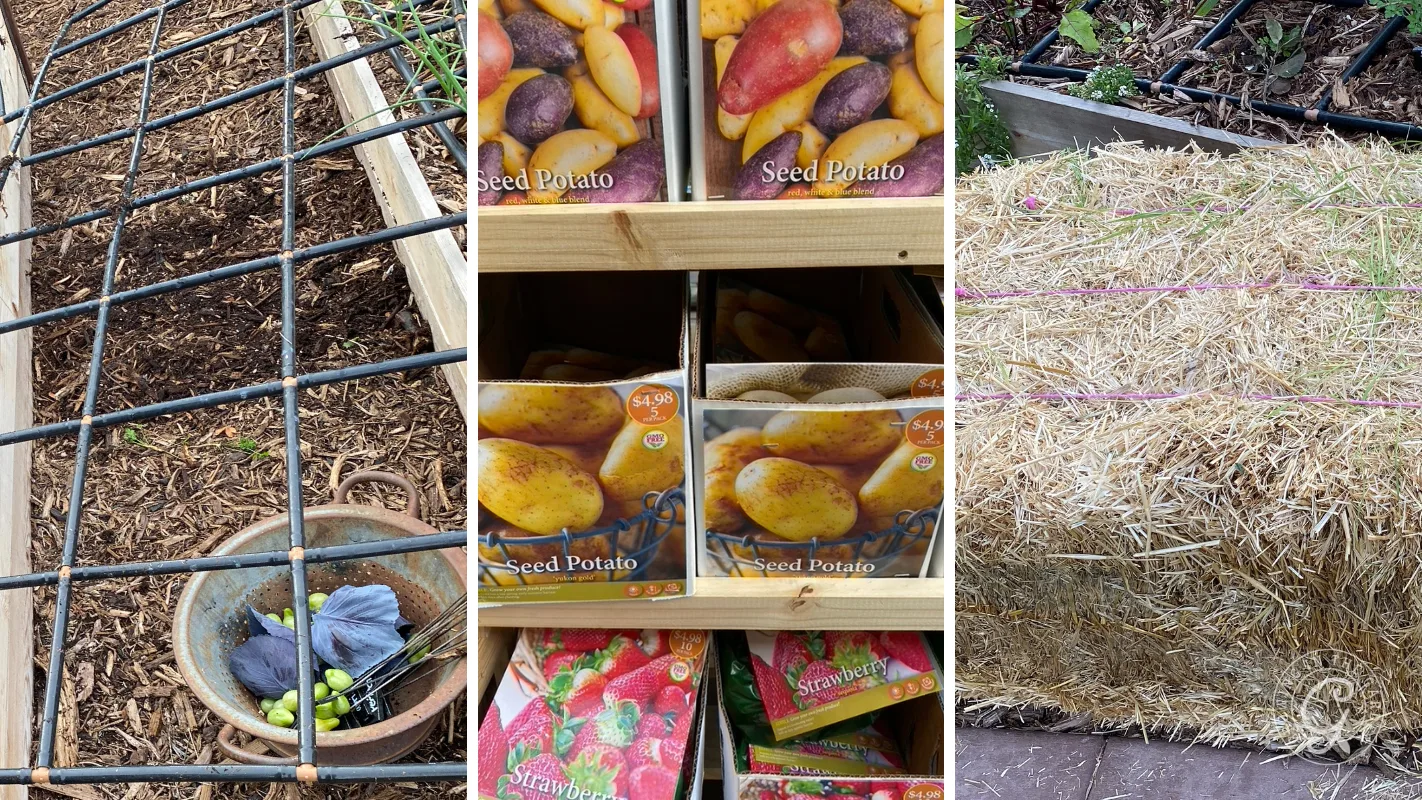
- One bale of straw (a single bale covers a lot of ground)
- Certified seed potatoes
- A raised bed or in-ground area you can leave planted for two to four months
- Watering grids or drip irrigation, or sticks to hold the straw in place
That’s it. No hilling tools, no digging fork, no grow bags.
What Kind of Straw Should You Use?
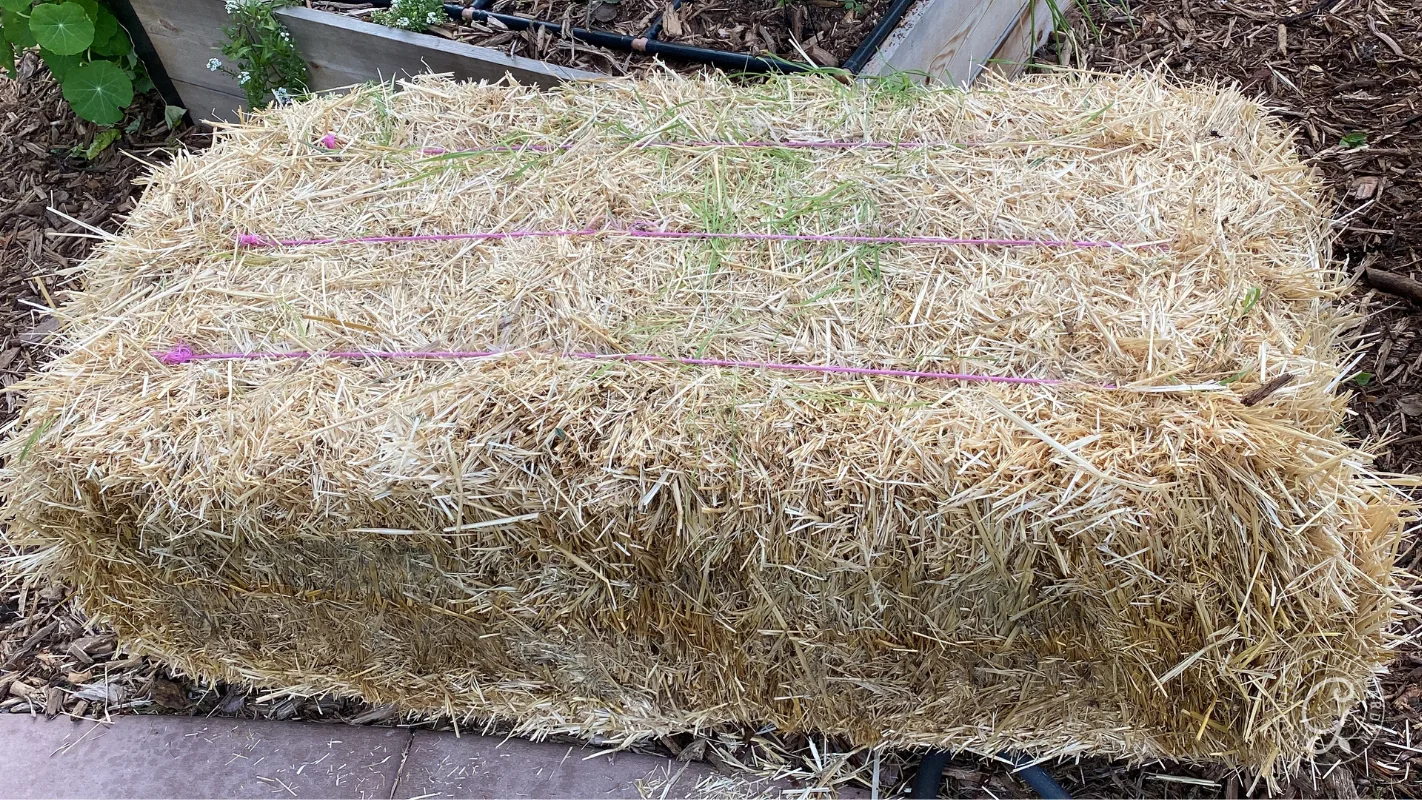
Use straw, not hay. Hay is cut with the seed heads still on it, so you’ll be weeding grass and grain seedlings out of that bed for months. Straw is what’s left after the grain is harvested, so it carries far fewer seeds. I buy mine from a local farm supply store.
Ask where the straw came from and whether the field was sprayed. Some broadleaf herbicides (aminopyralid and clopyralid are the common ones) stay active in straw, hay, and manure long after they’re applied. They pass through composting and through animals. Potatoes are sensitive to them, and so are tomatoes, peppers, beans, and peas.
If contaminated straw gets into your bed, the plants come up twisted, cupped, and stunted, and there’s no fixing it that season.
Two ways to protect yourself:
- Buy from a supplier who can tell you the field wasn’t sprayed. Small local growers usually know.
- If you’re not sure, test it first. Put some of the straw in a pot with potting soil, plant a few bean or pea seeds, and watch them for two to three weeks. Twisted, curled new growth means don’t use that straw.
The test takes almost no effort compared to losing a season of potatoes.
Which Potato Varieties Should You Grow?
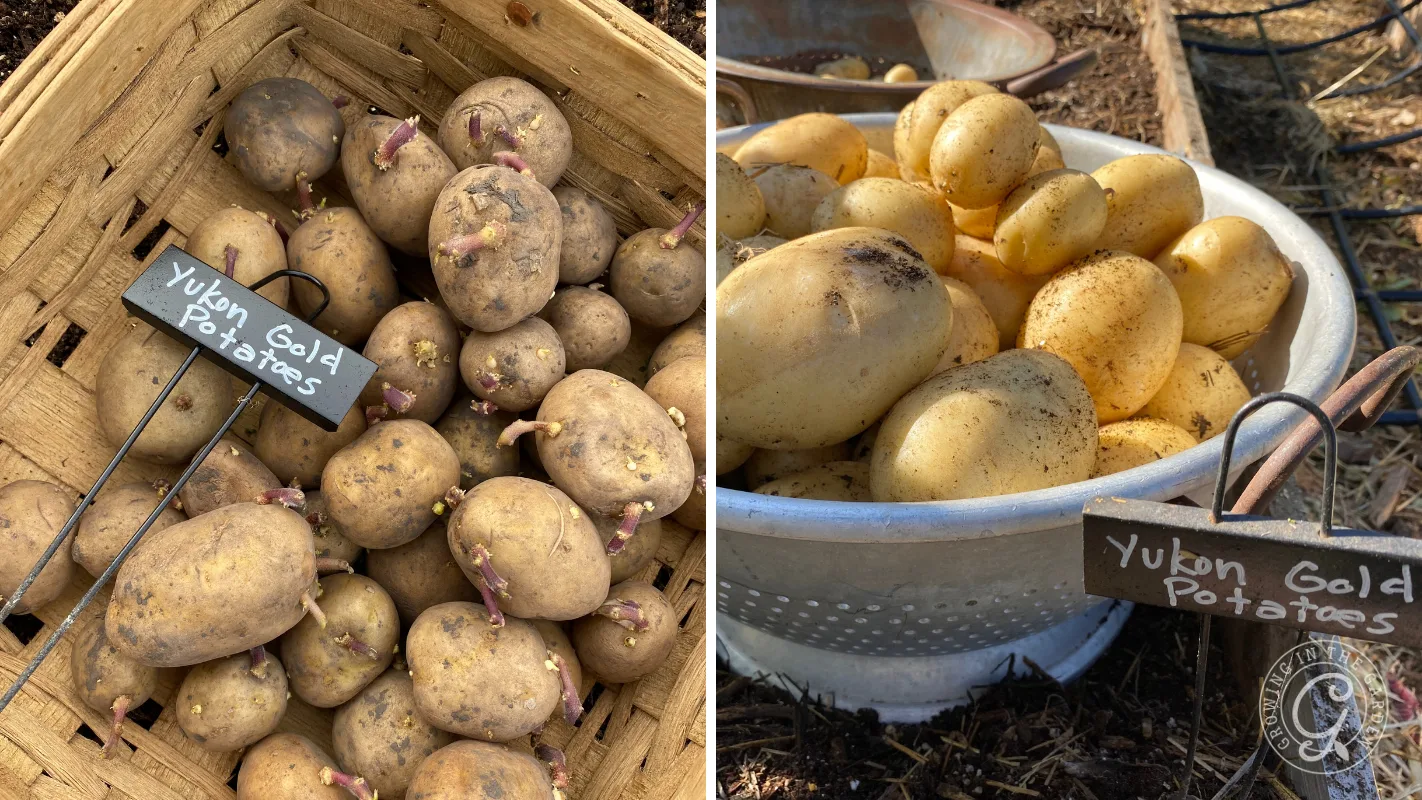
Short growing seasons, including the low desert: Choose early- or midseason potatoes that can mature before conditions become too hot. Yukon Gold and Purple Viking are good varieties to try. Check the estimated days to maturity when ordering, since classifications can vary by supplier and growing conditions.
Longer, cooler growing seasons: Gardeners have more time to grow late-season varieties, which generally need 100 days or longer to reach maturity. Russian Blue, Canela Russet, and Ramona are a few varieties worth trying.
In the low desert, heat sets the deadline rather than frost. Early-maturing potatoes have the best chance of producing a good crop before spring temperatures interfere with tuber development. Late-season varieties may still grow, but they often run out of suitable weather before reaching their full potential.
How Do You Prepare Seed Potatoes Before Planting?
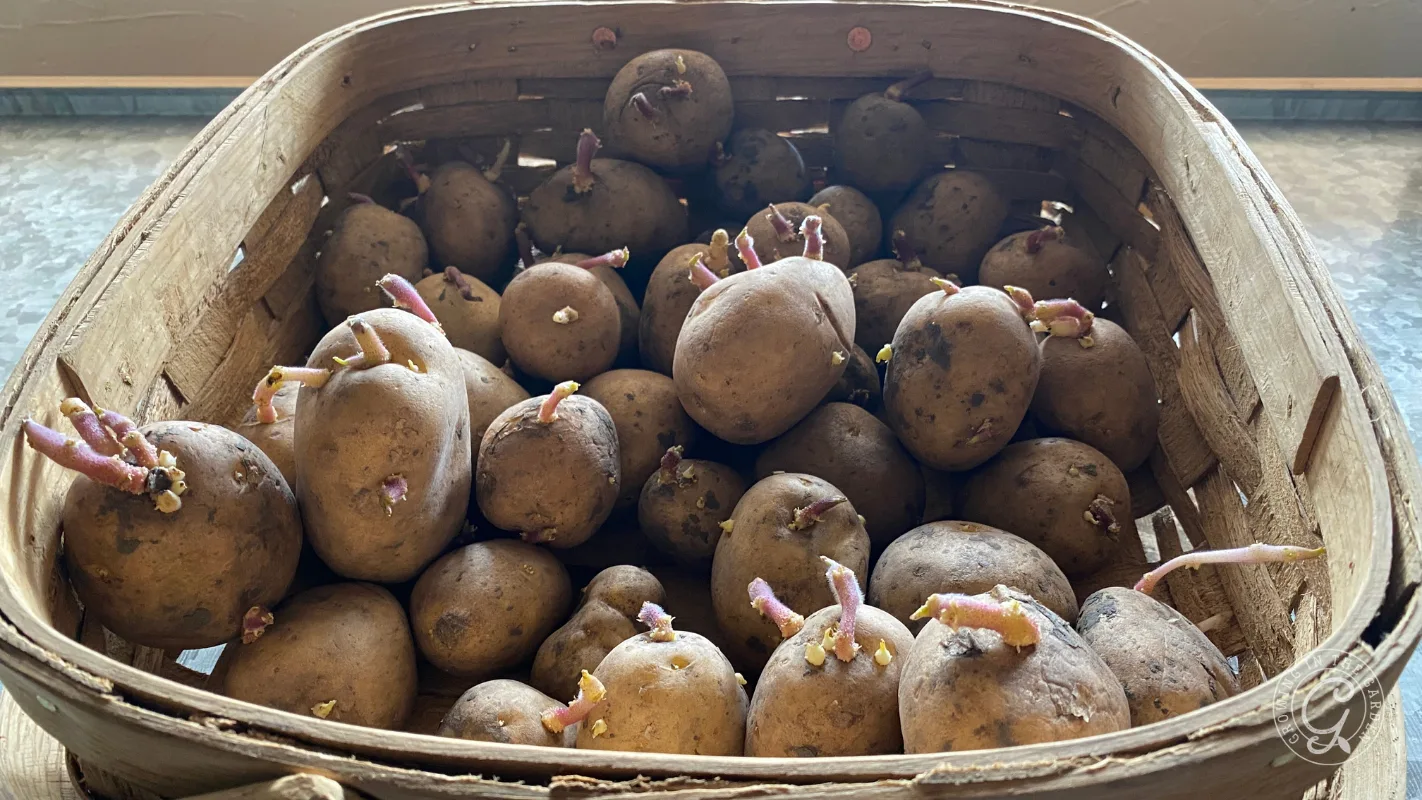
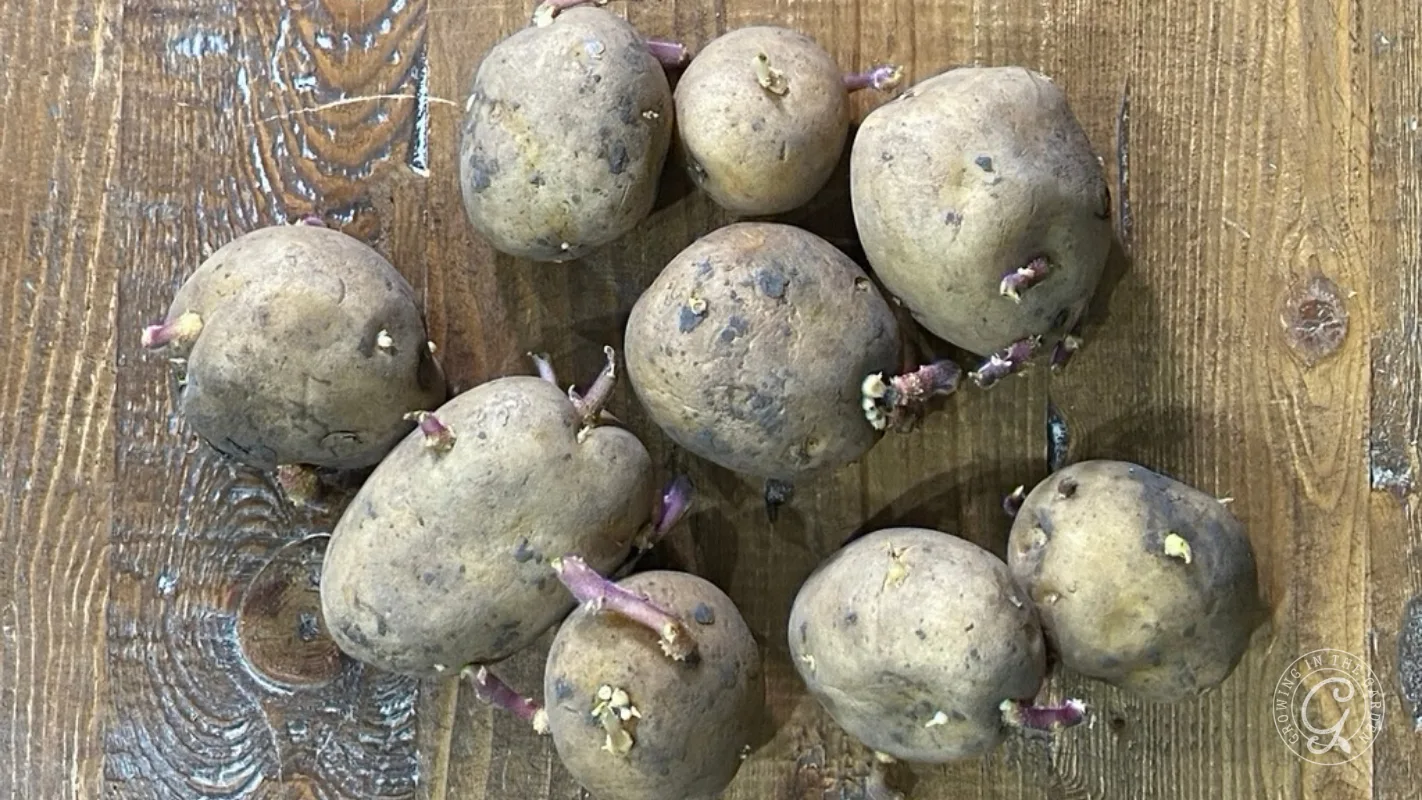
Sprouting seed potatoes before planting gives them a head start and helps them emerge more quickly. This process is called chitting.
Place unsprouted seed potatoes in a cool spot with bright, indirect light. Ideally, temperatures should be around 55 to 65°F, but that can be difficult to find in Arizona in September. Use the coolest indoor location you have and keep the potatoes out of direct sun. Learn more about how to chit potatoes here.
Once sturdy sprouts have formed, cut potatoes larger than an egg into pieces. Each piece should be about 1½ to 2 ounces and have at least one or two healthy eyes. Smaller potatoes can be planted whole.
Finding a cool place is the hardest part for me. I use the coolest area in the middle of my house. It isn’t as cool as recommended, but it works.
How Do You Prepare the Bed?
Choose a sunny spot. Potatoes grow best with at least six hours of direct sun. Fall and winter sun in the low desert is manageable, so full sun is usually best for this crop.
Rotate where you plant. Potatoes, tomatoes, peppers, and eggplants are members of the nightshade family, or Solanaceae. Avoid growing them in the same bed year after year. A three- to four-year rotation is ideal for reducing soilborne disease, but even moving potatoes to a different bed each season helps.
Plant after a summer cover crop. The timing works especially well in the low desert. Around the time potatoes go in, I’m usually cutting back the cover crops that have been growing all summer.
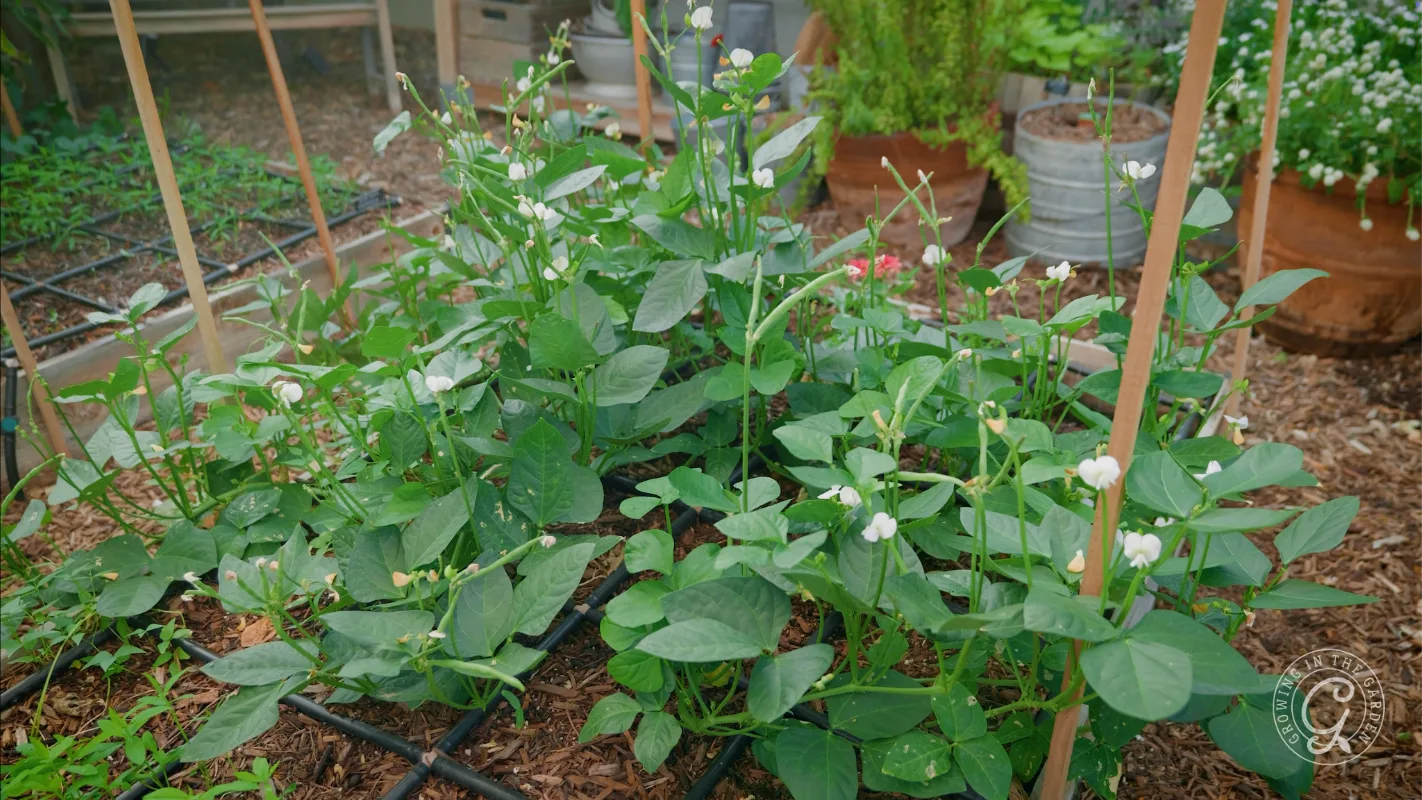
Black-eyed peas are one I use. I cut the plants at the soil line and leave the roots in place. Move the cut growth aside, place the seed potatoes on the soil, and then use the plant material as mulch before covering everything with straw.
This gives you an empty bed and plenty of organic material just as potato-planting season begins. Find more information on what to grow as a cover crop and why.
Go easy on nitrogen. Too much can produce lots of leafy growth and delay tuber development. In my fertile raised beds, compost and the residue from a legume cover crop are usually enough at planting. If your soil is less fertile, use a soil test to determine what it needs rather than automatically adding a high-nitrogen fertilizer.
Don’t try to overhaul your soil pH for one crop. Potatoes prefer slightly acidic soil, but most soil in the low desert is alkaline, and changing that takes time. I’ve grown good potatoes in alkaline raised bed soil for years. Loose, well-drained soil, organic matter, and even moisture make the biggest difference.
One honest note: common potato scab is more likely in alkaline soil. It causes rough, corky patches on the skin, but affected potatoes are still edible. Peel away the damaged skin and use the potatoes as usual.
How Do You Plant Potatoes in Straw?
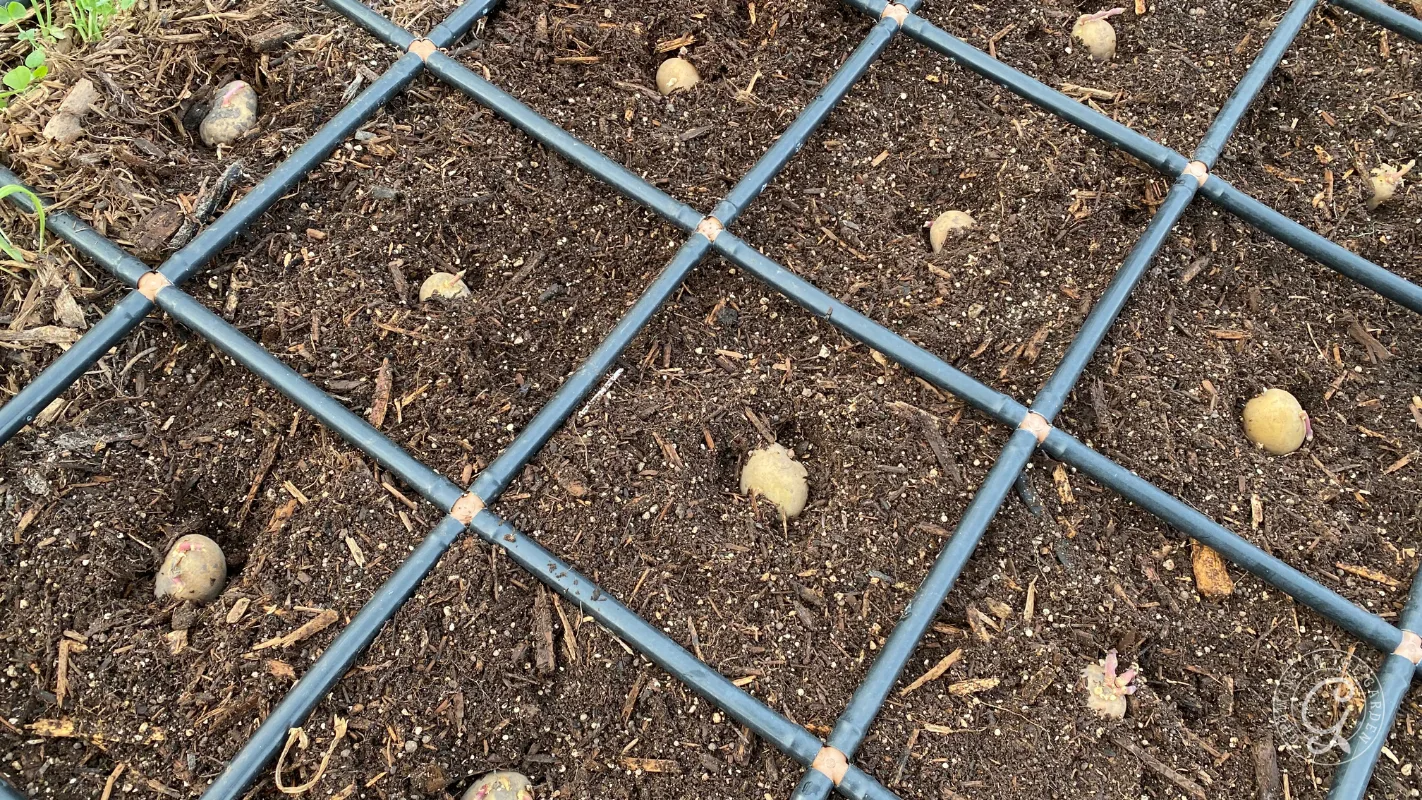
- Space one sprouted seed potato every 10 to 12 inches. If you use square foot gardening, that’s one potato per square.
- Set each potato on the soil surface with the sprouts facing up. Gently press it into place, but there’s no need to bury it.
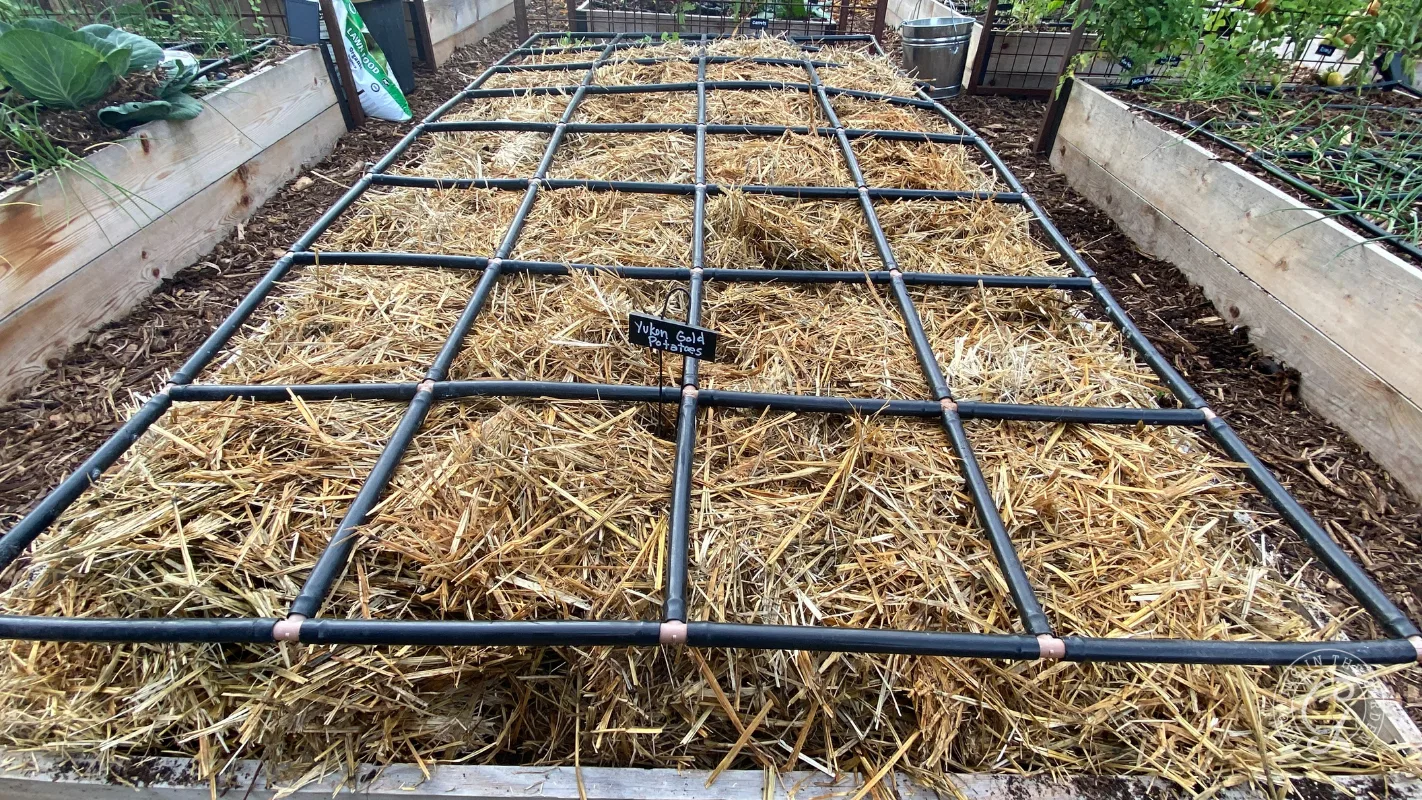
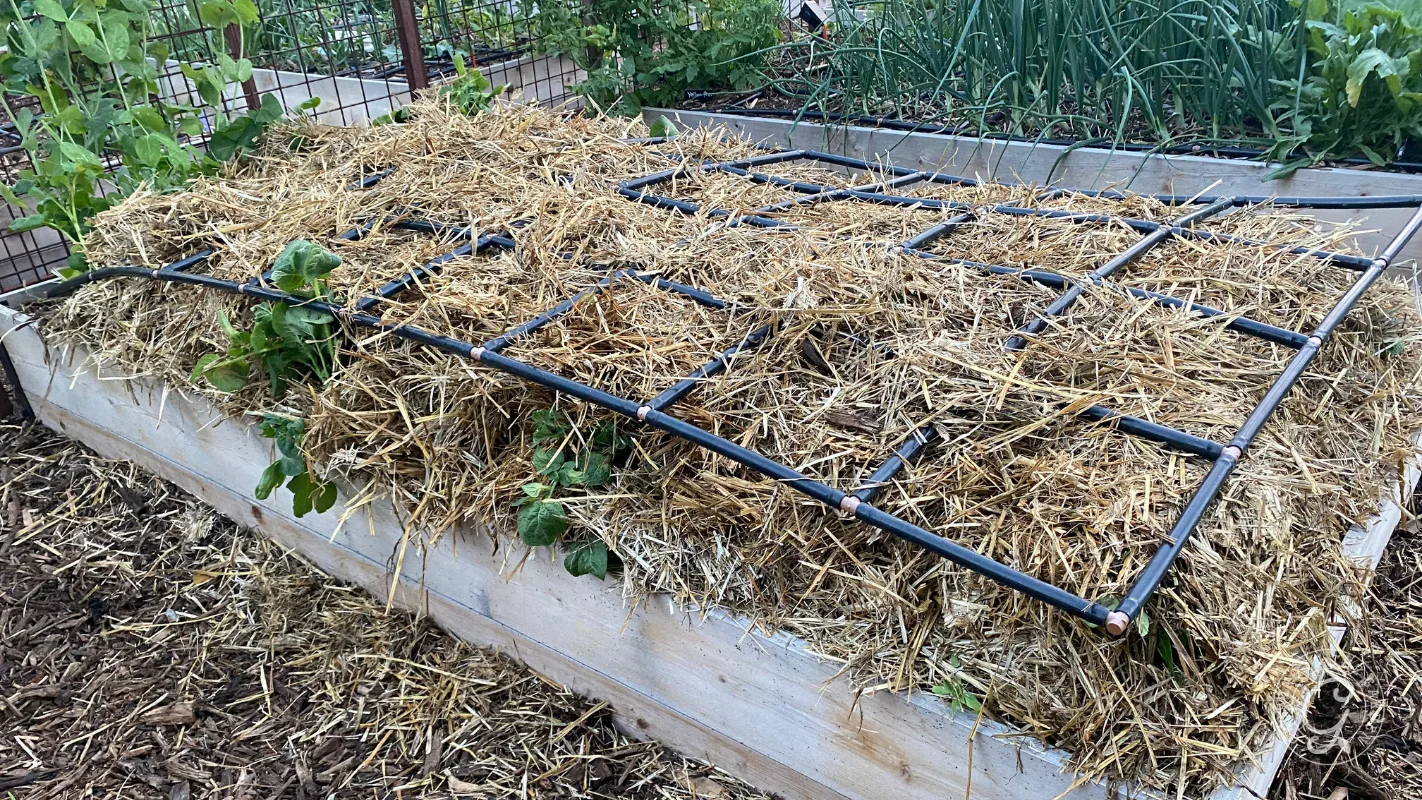
- Cover the entire bed with about 6 inches of loose straw.
- If you use watering grids place them on top of the straw. Without grids, lay a few sticks across the bed to keep the straw from blowing away.
That’s the whole planting process. No trenching, soil hilling, or digging.
How Do You Care for Potatoes Growing in Straw?
Green shoots should begin pushing through the straw within a couple of weeks.
When the plants are 6 to 12 inches tall, tuck another thick layer of straw around the stems, leaving the upper leaves exposed. This is how you hill potatoes with straw. It keeps developing potatoes covered and protected from light while giving the plant more covered stem where stolons may form.
If you’re using watering grids, carefully lift the grid so you don’t break the foliage. Add the straw, then set the grid back on top. The grids also help hold the straw in place.
Water deeply enough to moisten the soil beneath the straw. The surface of the straw may look dry while the soil underneath is still moist, so check the soil before watering again. Keep it evenly moist but not waterlogged, especially once the potatoes begin forming. Uneven moisture can affect tuber development and quality.
I usually water about once a week during our cooler months, but the timing will depend on the weather, your soil, and how thickly you applied the straw. The shoots will grow through the new layer of straw. After that, let the foliage grow and continue checking the moisture beneath the straw.
Watch the forecast for frost. Our low desert winters have been mild lately, but potatoes can be damaged or killed by a freeze. A light frost may only damage some leaves, while a harder freeze can kill the foliage completely.
If freezing temperatures are expected, cover the plants with frost cloth and secure it to the ground to hold in warmth. The thick straw layer helps insulate the potatoes below, but it won’t necessarily protect the foliage above it.
If a freeze kills the plants, don’t assume the potatoes are lost. The tubers may still be fine as long as they didn’t freeze. Stop watering, check a potato, and harvest once the skins have had time to toughen.
When Are Potatoes Ready to Harvest?
The plants will begin yellowing and dying back as the potatoes mature. Once the foliage has died back, stop watering.
Check one potato before harvesting the entire bed. Rub the skin gently with your thumb. If it comes off easily, the potato isn’t ready for storage. Leave the crop in place for another week or two so the skins can toughen. Mature skins are less likely to bruise and hold up better in storage.
Use the variety’s estimated days to maturity as a general guide. Weather, planting conditions, and variety all affect the actual harvest date.
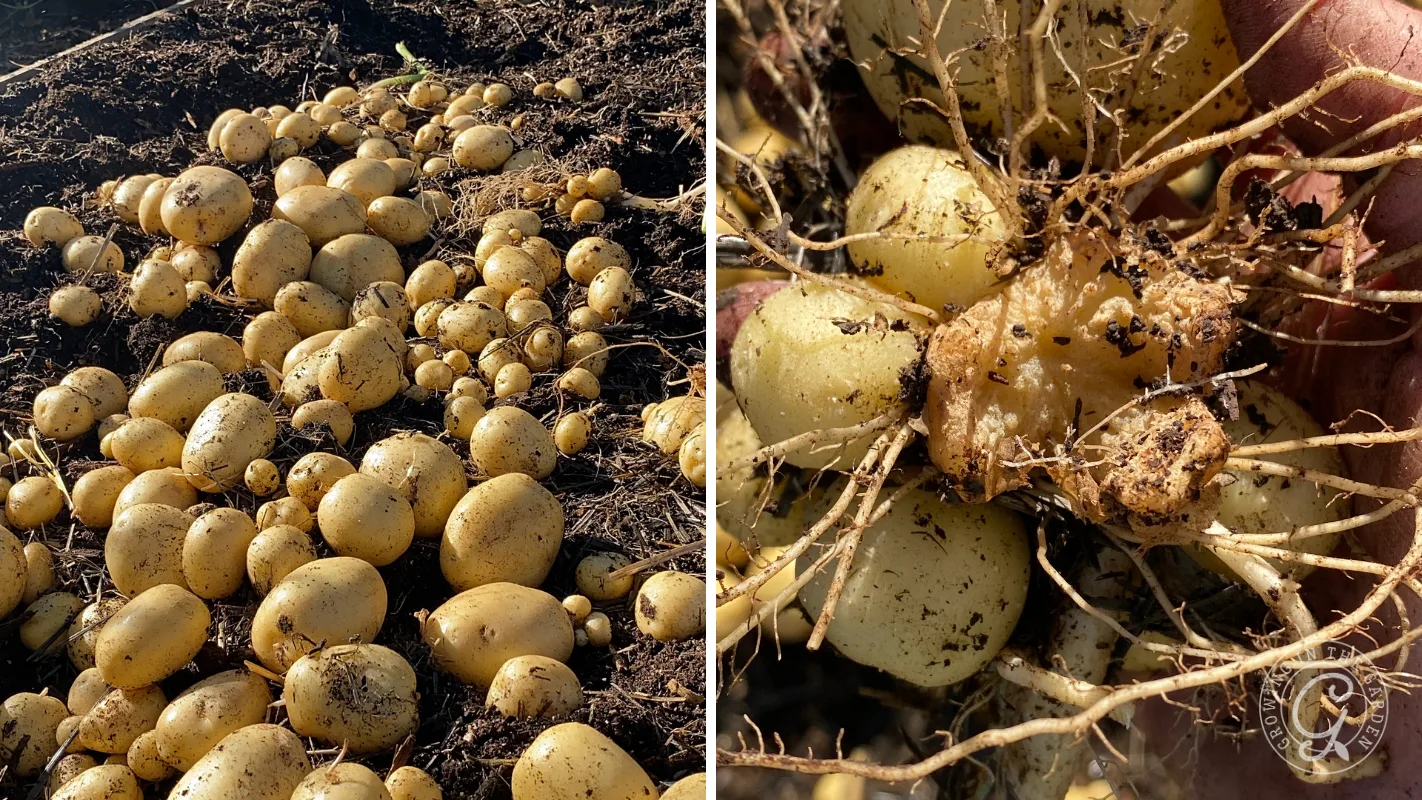
You can also harvest potatoes earlier as new potatoes. They have thin skins, more moisture, and a creamy texture, but they don’t store as well. Plan to use them soon after harvesting.
How Do You Harvest and Store Potatoes Grown in Straw?
This is the part that sold me on the method.
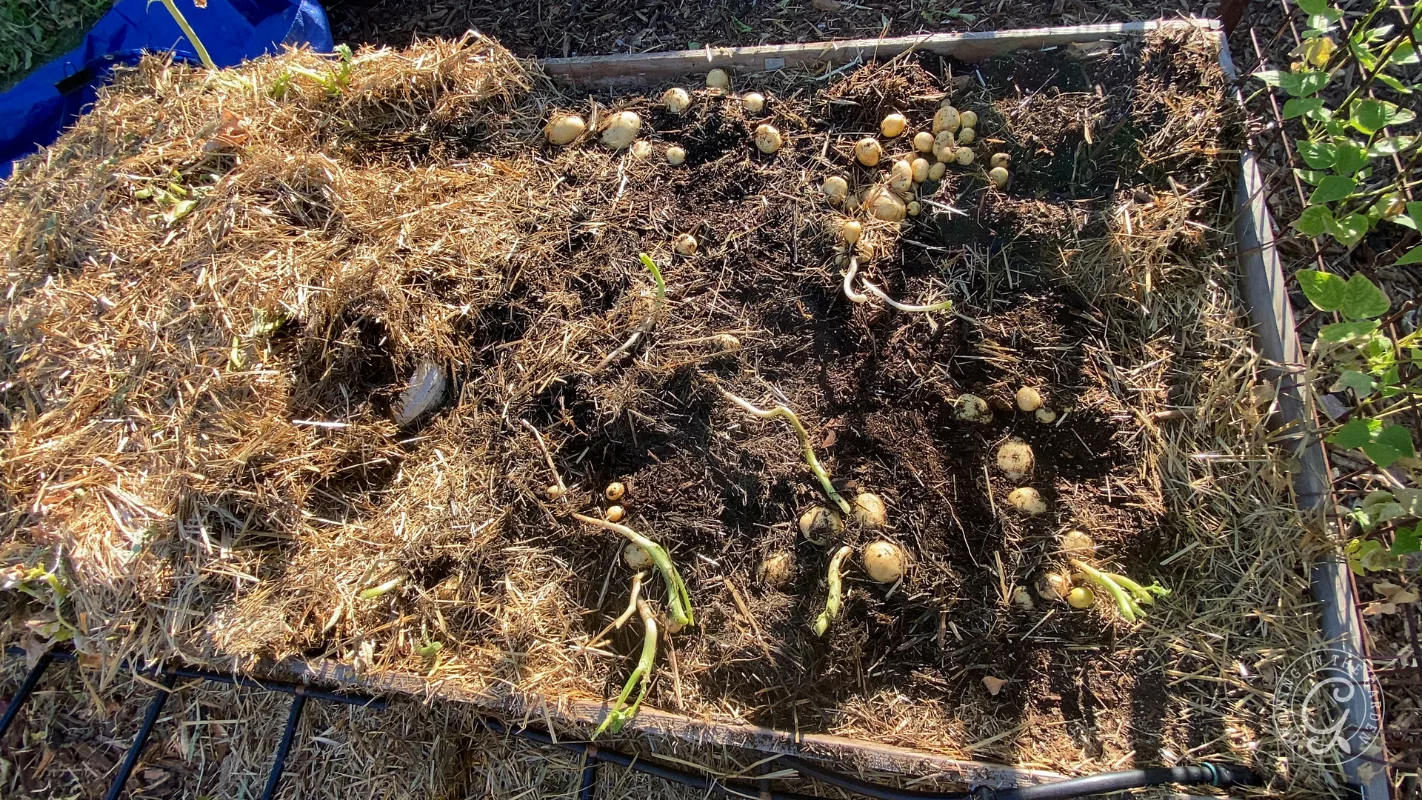
- Cut back the foliage, then pull away the top layer of straw. If the straw is clean and free of disease, move it to another bed or add it to the chicken coop.
- Sift through the lower straw and the top inch of soil. Most of the potatoes should be in the straw, resting on the soil surface, or barely beneath it.
- Keep the potatoes out of direct sunlight while you work. Gently brush away loose soil, but don’t wash potatoes you plan to store. If they must be rinsed, let them dry completely before putting them away.
If you plan to store the potatoes, cure them first. Place them in a dark, well-ventilated location at about 55 to 65°F for at least 7 to 10 days. This gives the skins time to set and allows small harvest wounds to heal.
After curing, store potatoes somewhere cool, dark, and well ventilated. Ideally, the area should also have enough humidity to keep them from shriveling. Very cold temperatures can cause some of the starch to turn to sugar, while warmer temperatures shorten storage life and encourage sprouting.
Light causes potato skins to turn green. The green color itself is chlorophyll, but it can indicate increased levels of naturally occurring compounds such as solanine. Cut away small green areas generously, but discard potatoes that are extensively green or taste bitter.
I don’t have a root cellar, so my harvest comes inside. I keep it in the coolest dark place I have, check it regularly, and use any damaged or soft potatoes first. At normal indoor temperatures, they won’t last as long as they would in ideal storage conditions, so we eat through them over the following weeks..

If you’re harvesting potatoes this season, don’t miss my go-to recipe: Blue Cheese Thyme Scalloped Potatoes. It’s simple, satisfying, and seriously delicious.
Can You Save Your Own Seed Potatoes for Fall?
Yes. I tried it in 2022, and it worked. When I harvest in spring, I sort the crop. The larger potatoes go to the kitchen. The smallest ones get set aside as seed potatoes for fall.
Storing them through an Arizona summer is the tricky part. I keep them in the same interior closet I use for chitting: dark, no windows, as cool as anywhere in the house gets. Some shrivel, and some sprout early, so I save more than I think I’ll need.
I don’t grow potatoes every season, so I don’t save seed every year. When I know I want a fall crop, saving my own is the easiest way to get it.
Seed potatoes are almost impossible to find in September. Suppliers stock them in late winter for spring planting in cold climates, which is the opposite of our schedule. Saving my own means I’m not depending on anyone’s shipping calendar.
Certified seed potatoes are certified disease-free, so if a plant looked diseased, don’t save from it. If you ever end up with a bed that struggles, start over with certified stock the next season.
Frequently Asked Questions About Growing Potatoes in Straw
You can, and people do. Sprout them first so you know they’ll grow. Many grocery store potatoes are treated with a sprout inhibitor and won’t do anything in the ground. Organic ones are usually a safer bet. Certified seed potatoes are still the more reliable choice.
No. Not all potato varieties flower, and flowering is a good sign. It means the plant is setting potatoes below ground. Leave them.
An interior closet, a pantry, or any room without windows on the cool side of the house. It won’t be a perfect 65°F and that’s fine. Dark and as cool as you can manage is enough to get them started.
No. Lime and sulfur are for changing soil pH, and they have nothing to do with chitting. Chasing a specific pH in desert soil is a lot of work for very little return. Add compost and plant.
Bring them inside and let them cure indoors in a cool, dark spot. They won’t store as long as fully cured potatoes, so move them to the top of your eating list.
Adding the second layer of straw is the hilling. You’re doing the same job with straw instead of soil, and it’s easier to move.
Yes. The bed just gives you a defined edge that keeps the straw contained. In an in-ground area, lay sticks or boards along the edges to hold the straw.
Light exposure. Green skin means solanine has formed. Cut those areas away, and cover exposed potatoes with more straw next season.
Yes. Pull the top layer off at harvest and move it to another bed as mulch, or add it to the compost pile. The lower layer is usually broken down enough to work right into the bed.
you forgot to remind us to watch out for rain and monsoon time mine rotted I had 94 seed potatoes I spend $100 dollars on and they all rotted during monsoon in late September. We can’t grow in Arizona soil we have to grow in beds here and you forgot to warn about rotting the straw stays wet and does not allow the soil to dry out underneath and the potatoes rot quickly with constant rain and then it gets 100+ degrees after and the potatoes rot
Oh no, that’s a lot of potatoes to lose! I’m sorry that happened. Drainage is definitely important when growing potatoes, especially during periods of heavy rain. Potatoes can be grown successfully in native Arizona soil, raised beds and containers, but good drainage is essential in all three. I appreciate you sharing your experience.
Hey Angela,
It’s Whitney from good ol’ St. George again. My potatoes have died frost a couple of freezing nights we have had. (The weather couldn’t make up her mind about changing to winter or summer, so planting has been finicky.) I lifted up the hay and just like you said I checked and the skin rubs off. Can I leave them for two weeks or is it not good with the colder temps?
I’d bring them inside and let them cure indoors.
Angela I’m obsessed with your blog! I planted my potatoes in September and one of the plants is starting to flower. Is that a bad- none of the other plants are doing that. Do I need to snip them off? As always thank you for sharing your knowledge! It has been so beneficial here in southern Utah!
Hi Whitney. No that’s not a bad thing. You don’t need to cut them off. Not all potatoes flower, but when they do it means there are great things happening below ground. I’m so glad the information has been helpful. We used to live in St. George. Southern Utah is so beautiful, enjoy!
Hi Angela,
I was told by a farmer in Prescott that I should chitt the potatoes then add lime to the soil before placing the potato on the soil. I have looked online to an extreme extent & can not find adding lime would be beneficial. I have read however adding sulfur could help. I am confused, is it necessary to add lime or sulfur to the soil if the potatoes are chitted. Thank you!
@Linda, Chitting has nothing to do with adding lime or sulfur. This is done if you want to to correct the ph of your soil. If it is too acidic you add lime. If it is too alkaline you add sulfur.
Always thank you for sharing your knowledge! If I may ask, where in your home did you do the chitting? Just thinking of our AZ homes not getting that cool right now. Thanks you so much.
I have a closet in the middle of my house I use. Not super cool, but it works.
@Angela Judd, thanks for sharing. That helps as I have a closet under stairs that might work.
Hey! Great article! Thank you. We’d like to try this in September. Can we use organic yukon gold potatoes purchased at the store? Thanks again for all your info–it’s been so helpful as we start our gardening adventure.
You’re welcome. Yes, give those a try. Presprout them to make sure they sprout, sometimes grocery store potatoes are treated and won’t sprout.