How to Choose the Best Location for Your Raised Bed Garden
Choosing the location for your garden is one of the most important decisions you will make about your garden. The right spot makes everything easier. I also know you do not always get to choose. When we moved into our home, the only available space I had for a garden was a narrow side yard. It was not ideal and did not get enough sun, but I gardened there for years and made it work. Later, when I added beds in sunnier areas, the difference was dramatic. Plants grew faster with more light.
Location is not everything, but it matters. Use the steps in this guide to choose the best location for your raised bed garden.
Key Takeaways: How to Choose the Best Location for Your Raised Bed Garden
- Choosing the right location for your garden is vital for plant growth and ease of management.
- Map sun and shade to ensure 6-8 hours of sunlight, preferably morning sun.
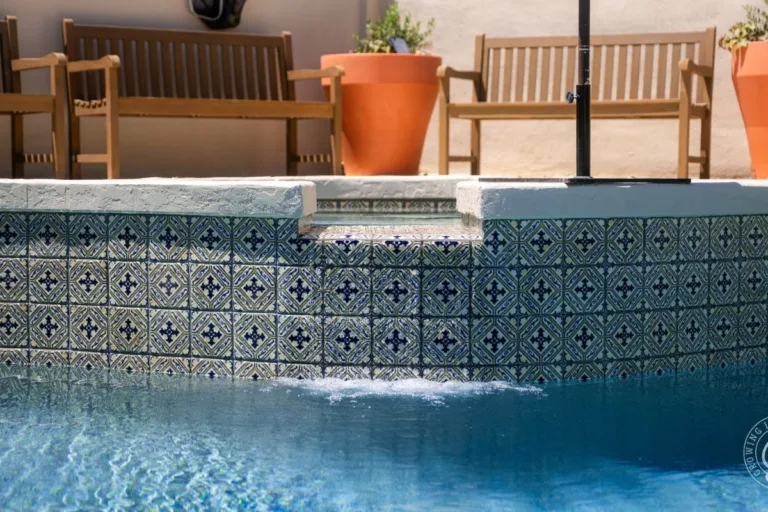
- Check site slope and drainage to prevent root rot; an ideal drain time is 1-4 hours.
- Allow easy access to water; keep beds within a comfortable hose length, ideally 25-50 feet.
- Plan for pests and avoid utility lines to prevent future issues with your raised bed garden.
What You’ll Find in This Guide
- 1) Map the Sun and Shade
- 2) Check the Site Slope and Drainage
- 3) Plan for Wind and Reflected Heat
- 4) Ensure Water is Within Easy Reach
- 5) Leave Room for Wide Pathways
- 6) Watch for Trees and Roots
- 7) Protect From Pests and Avoid Utility Lines
- 8) Mock Up the Layout Before You Build
- Maximize Benefits and Understand Challenges
- FAQ: Choosing the Best Location for Raised Beds
1) Map the Sun and Shade
Goal: At least 6 to 8 hours of direct sun. Morning sun is preferred, especially in hot climates. The sweet spot in your yard receives first morning light for at least 6-8 hours and natural afternoon shade.
If you can, consider gardening in containers while you get to know your property’s sunlight patterns. Then watch how the light changes through the seasons before you commit to a permanent location, especially if you’ll be in your home for a while. Misjudging sunlight is one of the most common raised bed mistakes—and one of the hardest to fix once your beds are in place.
Do this:
- Visit the space morning, midday, and late afternoon throughout the year. Note where shadows fall.
- In hot summers, look for natural afternoon shade from a fence, tree, or shade cloth.
- Gardening in a mild winter climate? Prioritize winter sun and avoid cold, low spots.
If your options are limited: Aim for morning sun, grow greens and herbs in partial shade, and use seasonal shade cloth in peak heat. You can still harvest plenty.
If you have a choice: Prioritize 6–8 hours of sun, good drainage, and easy water access. You’ll notice faster growth and fewer headaches.
2) Check the Site Slope and Drainage
Goal: Beds sit level and water drains within a few hours. Wet roots cause root rot and unhealthy plants. Don’t wait for your plants to die before you realize there is poor drainage.
I have a low spot in my garden, and I have to take care not to overwater or the plants in that bed struggle.
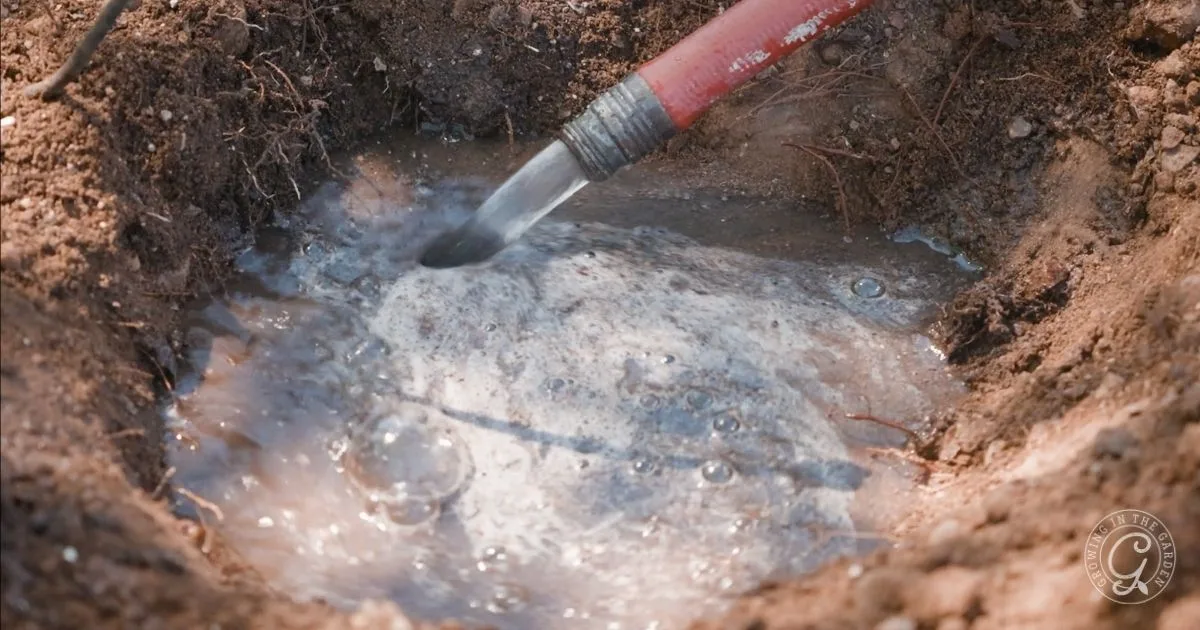
Quick drain test:
- Dig a hole about 12 inches wide and 12 inches deep.
- Fill with water and let it drain completely.
- Refill and time the drain.
- 1 to 4 hours is ideal
- Over 8 hours drains too slowly
If it drains too slowly or puddles:
- Move uphill or terrace a gentle slope.
- Raise bed height and keep the interior filled with your standard raised bed mix.
- Grade paths so water moves away from beds.
3) Plan for Wind and Reflected Heat
Goal: Block the wind and avoid hot block walls that retain heat. Both of these conditions make gardening more difficult.
Do this:
- Notice prevailing wind. Is your garden often windy? Use fencing, hedges, or a trellis wall to block or slow wind.
- Keep beds 18 to 24 inches off south or west block walls that radiate afternoon heat.
- Install sturdy anchors so it’s easy to add shade when temperatures climb in the summer.
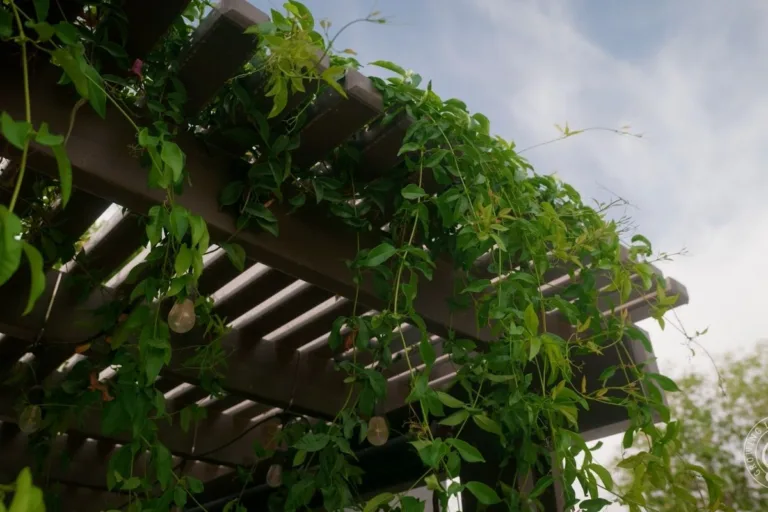
Trellis tip:
- Place trellises on the north side so they do not shade sun lovers.
- In very hot regions, a south-side trellis can filter harsh afternoon sun for tender crops.
4) Ensure Water is Within Easy Reach
Goal: Simple, reliable watering you can manage every day. Regular watering prevents stressed-out plants. If watering is complicated, you’ll be less likely to be consistent with watering.
Do this:
- Keep beds within a comfortable hose length of a spigot, ideally 25 to 50 feet.
- Choose a shaded spot for a timer, filter, and pressure regulator.
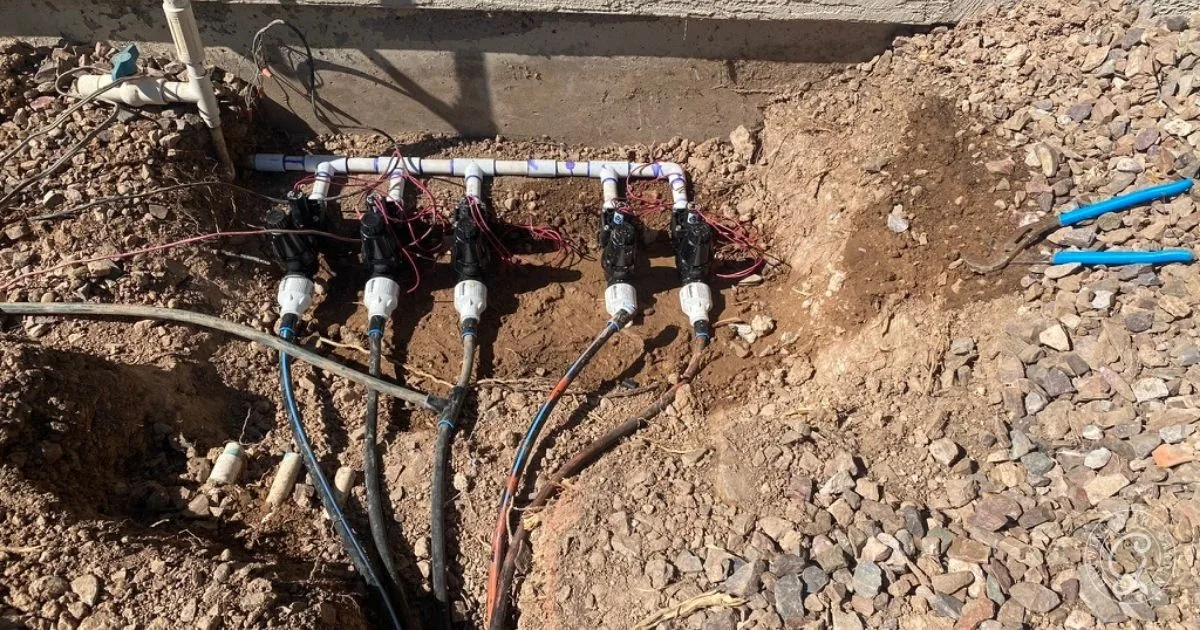
- Run a main line along the garden edge and branch to each bed.
- Install irrigation before planting so you do not disturb seeds and roots.
- Leave extra ports on the manifold if you plan to add beds later.
Keep it simple:
- Make sure a hose or quick-connect reaches every bed without dragging over plants.
- Keep shutoff valves reachable from a path.
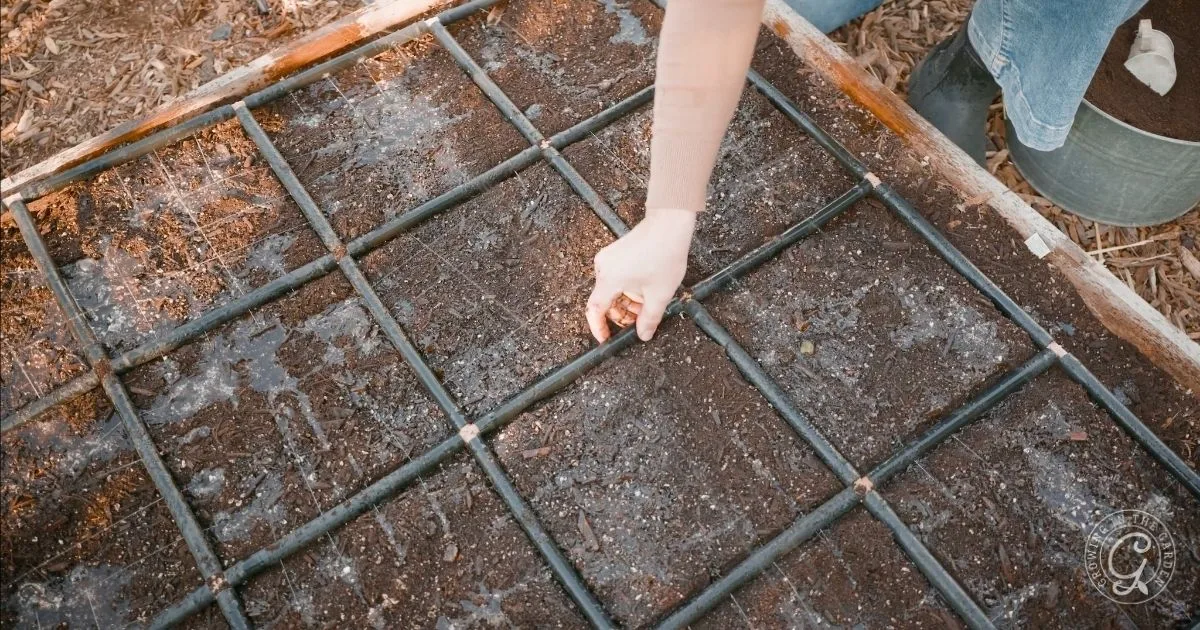
I use Garden in Minutes Garden Grids in all my beds. They install quickly, water evenly, and flip up out of the way to make seasonal changes simple. (Use code Angela10 to save $10 off $100 or ANGELA to save 7% on any size order.)
Learn more: How to Water Your Garden and The Best Way to Water Raised Bed Gardens.
5) Leave Room for Wide Pathways
Goal: Comfortable paths that are easy to maneuver. You won’t regret the ease and look of wide pathways. You will regret placing beds too close together.
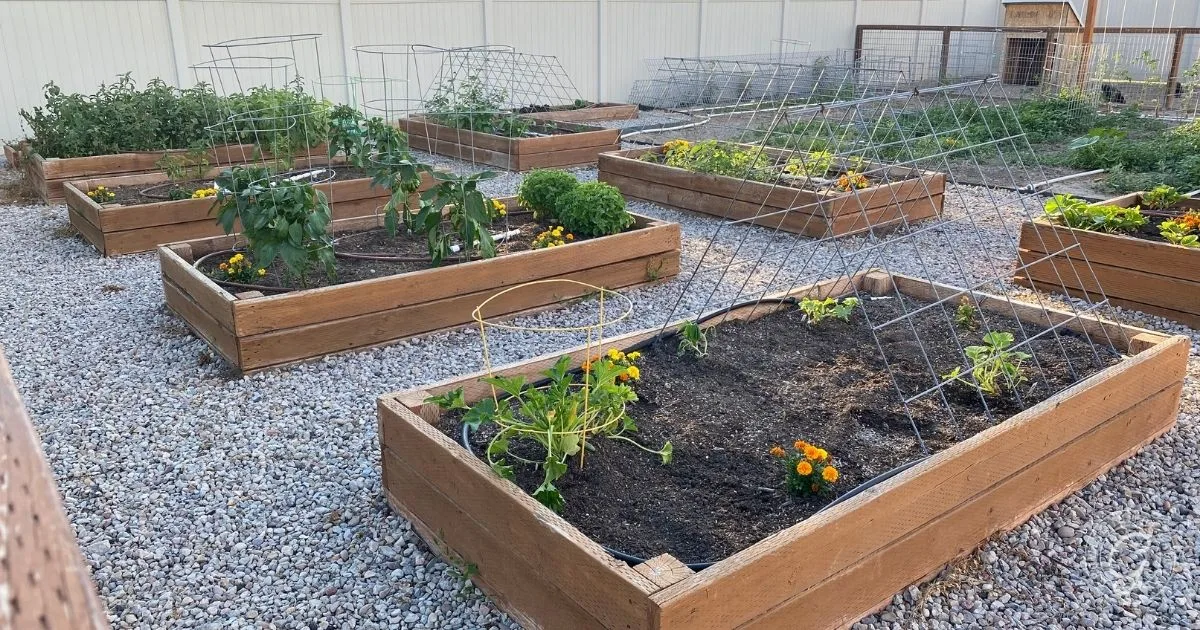
Do this:
- Paths at least 3 feet wide. Go 4 feet if you wheel a cart or share the space.
- Keep one utility lane wide and straight for hauling soil, compost, and transplants.
- Confirm the gate is wide enough for a wheelbarrow or garden cart.
- If you plan arches between beds, measure their footprint and keep paths centered.
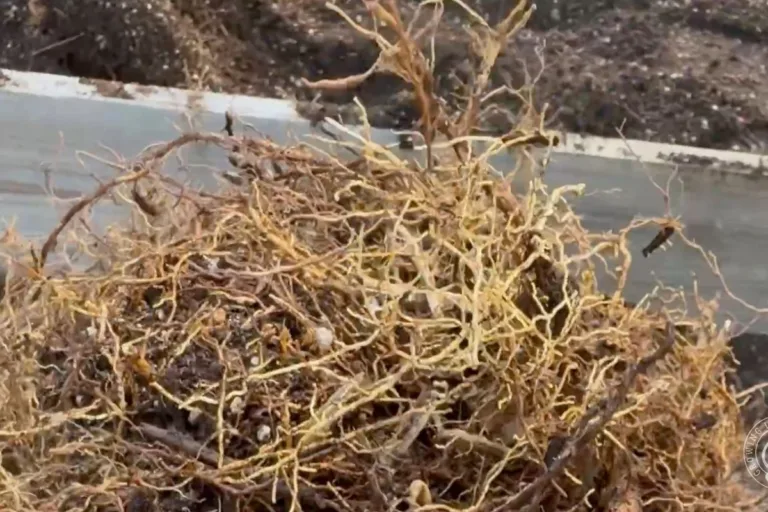
6) Watch for Trees and Roots
Goal: Avoid root competition and too much shade. Nearby roots would love the rich soil and regular water of your raised beds. Place your beds as far away as possible to avoid tree roots filling your beds, or plan to dig out roots every couple of seasons. When you can’t place beds away from trees, a deep barrier will block tree roots from reaching the bed. Learn how to keep tree roots out of raised beds here.
Do this:
- Stay outside the dripline of trees and shrubs.
- Remember, shade grows as trees grow. Leave room for a future canopy.
7) Protect From Pests and Avoid Utility Lines
Goal: Avoid surprises. Don’t guess, find out where the utility lines are in your yard. If gophers or other digging pests are problematic, prevention is the best way to combat them.
Do this:
- Gophers or voles in your area? Add hardware cloth under beds before filling. Learn more about how to trap them in this guide.
- Call before you dig to mark underground lines.
- Check HOA rules or local setbacks for structures and fencing.
Contact Arizona 811 from anywhere in Arizona at least two full working days prior to digging. Call 811 and you’ll be connected with the Arizona 811 Center. Tell the Locate Specialist where you plan to dig and what type of work you’re doing, and the affected local utility companies will be notified.
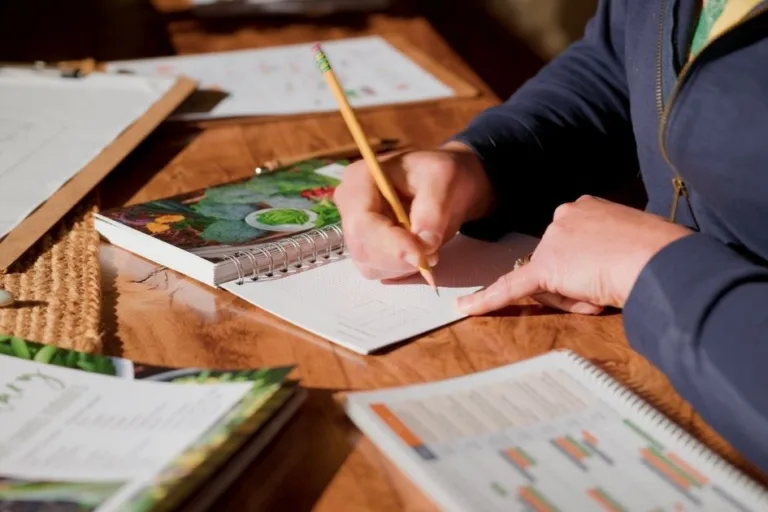
8) Mock Up the Layout Before You Build
Goal: Test the flow in real life. It’s one thing to see it on a screen or paper, it’s another to walk around the beds and be in the garden. It can look and feel very different.
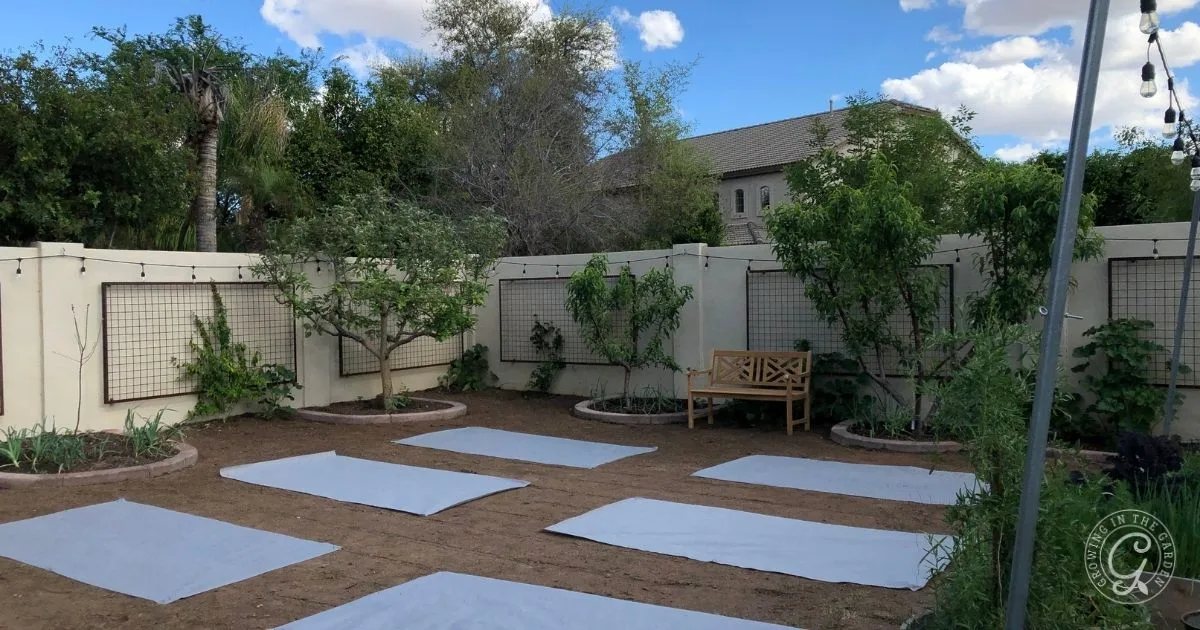
Do this:
- Cut cardboard or weed cloth to your bed sizes. Lay them out where you think they should go.
- Walk the paths with a hose and a wheelbarrow. Practice where a trellis might stand.
- Adjust spacing until turns feel natural and not too tight.
- Once it feels right, place and level the beds, run main water lines, then add soil and install irrigation inside the beds.
Maximize Benefits and Understand Challenges
Do your best to understand the particular microclimate of your yard and garden. Which challenges are you trying to overcome? Here are a couple of examples to consider:
- Hot summer, mild winter: Morning sun plus light afternoon shade is ideal. Maximize sunlight during cool seasons and provide additional shade as needed throughout the summer. Learn how to add shade to your garden in this guide.
- Partial shade yard: If you struggle to have enough sunlight, know that crops will probably grow more slowly than they would in areas that receive more sun. To maximize production, give each crop plenty of space so they aren’t shading one another, and focus on shade-tolerant crops.

Next step: Ready to place beds and plan the full layout, soil, and irrigation? Read Raised Bed Garden Design: 10 Tips for a Productive, Beautiful Layout and see how it all comes together.
FAQ: Choosing the Best Location for Raised Beds
Aim for 6 to 8 hours of direct sun. Morning sun is preferred in hot climates because it is less harsh than late afternoon sun.
Yes, but grow greens, herbs, and shade-tolerant crops there. Save your sunniest area for tomatoes, peppers, squash, beans, and melons.
What matters most is where the sun actually hits. Place taller crops or trellises on the north side so they don’t shade shorter plants.
Yes. Leave at least 18 to 24 inches between the bed and south or west masonry to reduce reflected heat. Keep enough space to walk behind if you’ll need access.
Stay outside the tree’s dripline to avoid root competition and growing shade. Remember that shade increases as trees mature.
They should be level so that water distributes evenly. On a slope, terrace into flat benches before setting beds.
Dig a 12 by 12 inch hole, fill with water, and let it drain, then refill and time it. 1 to 4 hours is ideal. Slower than that means move uphill or raise the bed height.
Yes, but avoid the lowest spots. Place beds on higher ground, raise bed height, and grade paths so water moves away from the beds.
Use fencing, hedges, or trellis panels on the windward edge to slow gusts. Plan sturdy anchor points now so you can clip on shade cloth during extreme heat.
Keep them within a comfortable hose length, ideally 25 to 50 feet. Choose a shaded, splash-free spot for a timer, filter, and pressure regulator if you’ll automate watering.
At least 3 feet. Go 4 feet if you use a wheelbarrow or want two people to pass comfortably.
Yes. Make sure the bed depth is at least 12 to 18 inches, and plan consistent irrigation. On hot concrete, mulch around the base to reduce heat.
Yes. Mow low, cover with cardboard, and set the bed. Fill with your raised bed mix. The grass will break down under the barrier.
Call to mark underground lines before digging, and check local or HOA rules on setbacks, height, and fencing.
If gophers or voles are common, add hardware cloth on the bottom before filling. It’s much easier to do this at the start.
Cut cardboard or weed cloth to bed size, lay them out, and walk the paths with a hose and a wheelbarrow. Adjust until the flow feels natural, then place and level the beds.


Leave a comment on How to Choose the Best Location for Your Raised Bed Garden