Garden Planning: How to Plan Your Garden
Garden planning helps you make the most of your garden’s available space and sunlight. Each new season can feel overwhelming. Knowing what to plant, when to plant, and where to plant is a juggling act for even experienced gardeners. Taking the time to make a plan helps you feel confident, buy only what you need, and give each plant the best chance to produce.
When you plan, you can prioritize space for the crops you care most about. Planting in the best location and at the right time leads to better growth and better harvests. Instead of grabbing random seeds and hoping it all fits, a plan helps you match your garden space to your goals.

Before you start: choose the best planning tools
You can plan a garden with a simple sketch and a list, but the right tools make it much easier to stay organized and plant at the right time. I’ve worked hard to create resources that take the guesswork out of timing because in the low desert, timing is often the difference between a garden that struggles and one that produces.
My Calendars, Guides, and Garden Planner and Journal are designed for the low desert of Arizona (warm desert areas below about 3,500 feet), where planting dates can be very different than many other regions. If you garden in another area, learn how to find a planting calendar for your location.
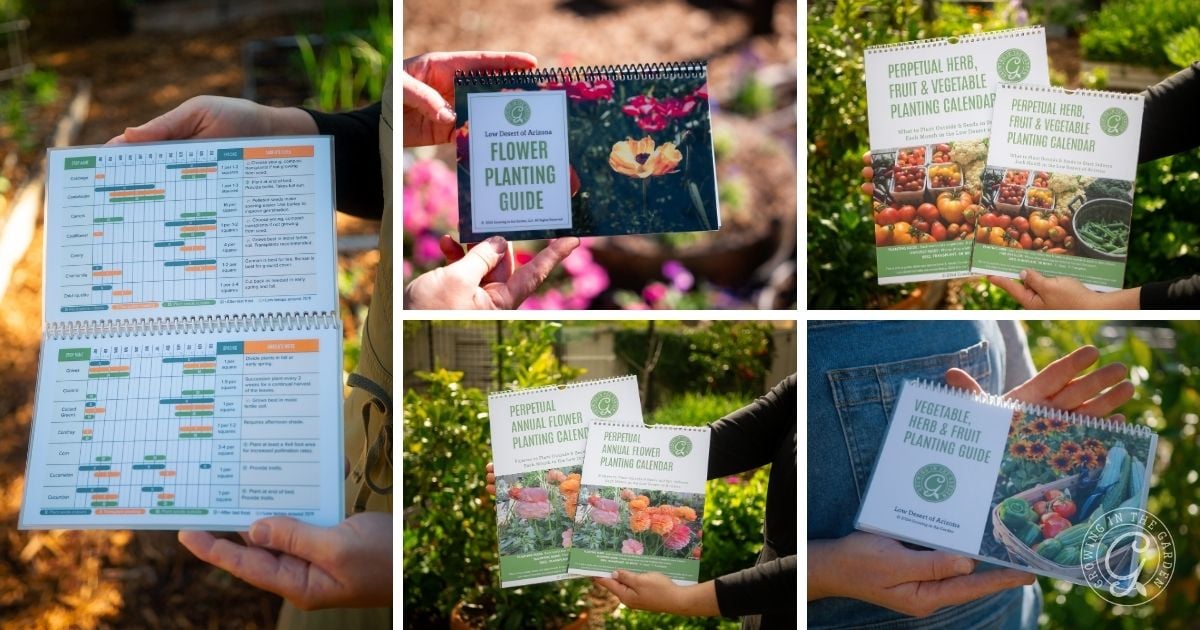
Below is a quick overview of the planning tools I offer, so you can choose the method that best fits your garden.
Start with the free planning resources on my website

Visual Planting Guides
These visual planting guides are a great place to begin. They help you quickly see what to plant and when, then you can use the calendars, crop guides, or planner to get specific.
- Arizona Vegetable Planting Guide
- Visual Guide for Low Desert Herbs
- Arizona Fruit Planting Guide
- Arizona Annual Flowers Visual Guide
- Low Desert Flowering Bulb Planting Guide
- Arizona Vine Planting Guide
Monthly planting lists
If you like to plan one month at a time, my monthly planting lists tell you what to plant outside now and what to start indoors so you can stay on track without feeling overwhelmed.
Garden Calendars: month-by-month at a glance
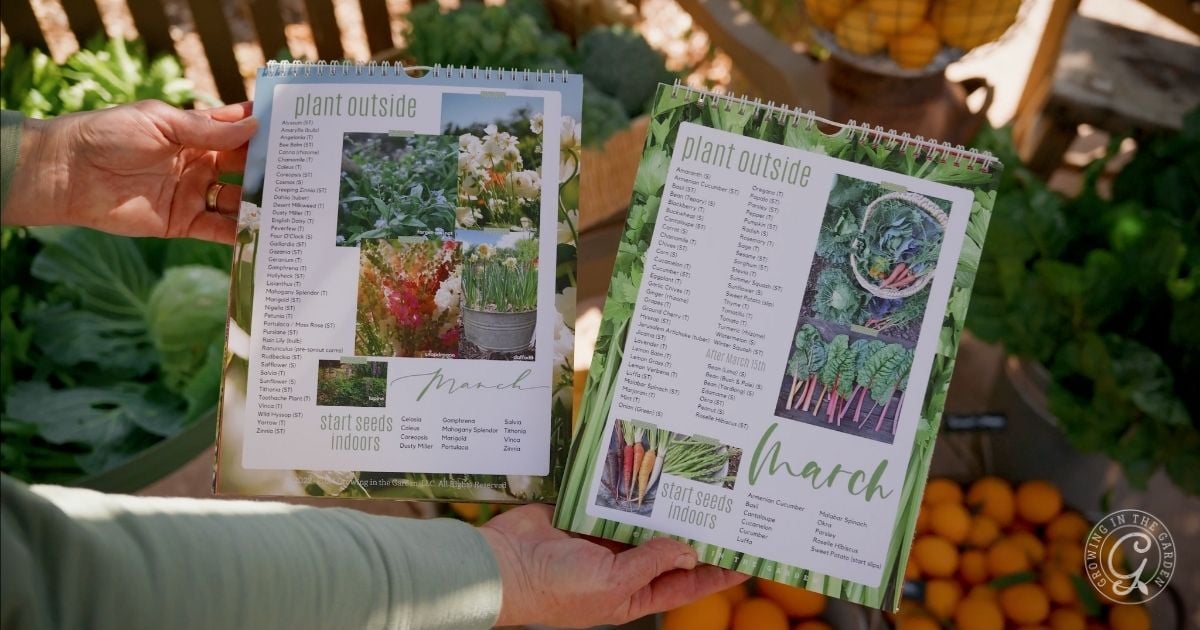
Use these when you want an easy visual monthly reminder of what to plant each month.
Calendars help you:
- See what to plant outside this month
- See which seeds to start indoors this month
- Stay seasonal with photos of what is typically blooming or ready to harvest that month
Best for: gardeners who like an at-a-glance monthly check-in and want to stay on track without overthinking. Purchase the planting calendars here.
Crop Planting Guides: each crop’s full-year cycle on one page

Use these when you want to plan a season (or a whole year) around specific crops.
Guides help you:
- See the full-year planting window for one crop at a time
- Know when to start seeds indoors and when to plant outside
- Use spacing, timing notes, and practical tips to avoid common mistakes
Best for: gardeners who want to grow specific crops well and avoid planting at the wrong time. Purchase the planting guides here.
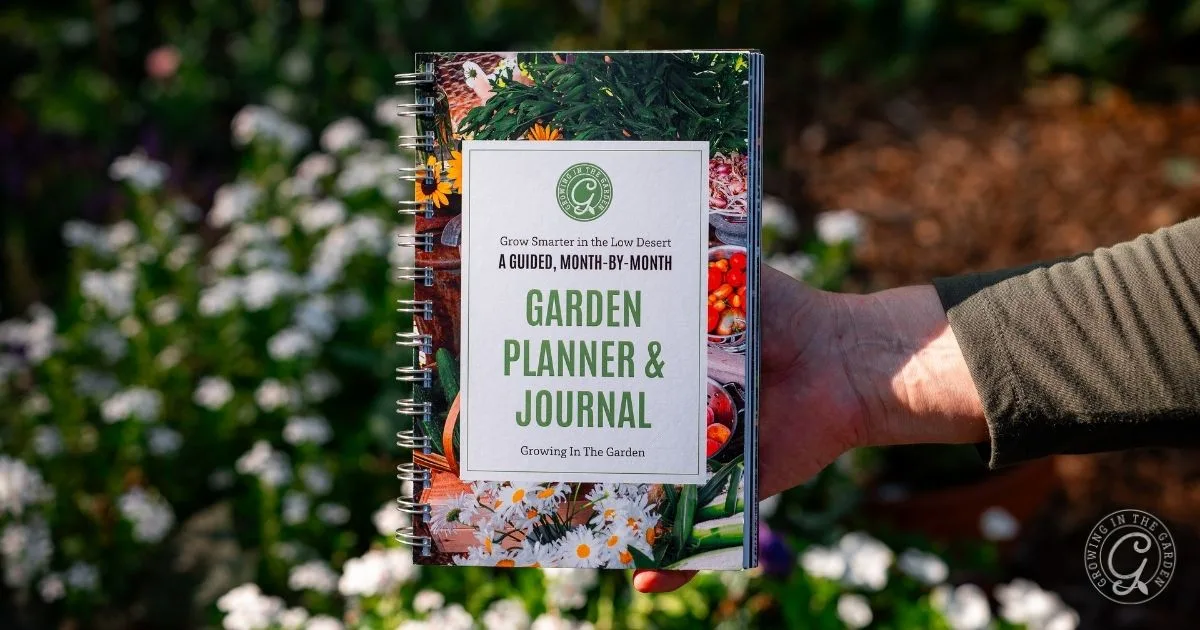
Garden Planner and Journal: planning pages plus tracking and lessons learned
Use this when you want everything in one place, and you want to improve each season.
The Garden Planner and Journal helps you:
- Plan monthly indoor and outdoor planting for vegetables, herbs, fruit, and flowers
- Follow updated monthly to-do lists with watering guidelines, fertilizing, and pruning reminders
- Map beds and track seeds, harvests, pests, and what you learned
Best for: gardeners who want a simple system they can repeat every year, plus a record of what worked. Purchase the garden journal here.
The simplest way to use all three together
- Start with the Perpetual Calendar to see what is timely this month.
- Use the Vegetable and Flower Guides to choose your crops and confirm spacing and timing.
- Use the Garden Planner and Journal to map where everything goes and track what happens.
5 Steps to Plan Your Garden
1. Draw out the layout of your garden

Use graph paper, Google Earth, and online garden-planning tools (or a combination of all three) to create an aerial view of your garden beds and planting areas.
Diagram your garden and add as much detail as possible, including raised beds, containers, and in-ground areas.
- Create separate “zoomed-in” diagrams of each bed if desired.
- Label any trellises or vertical structures so you know where vertical gardening is an option.
- Label areas by the amount of sunlight they receive (full sun, part sun, afternoon shade, etc.). This may change depending on the season, and in hot summer areas it may change if you add shade cloth.
- Assign each planting area a number or letter on your layout. This makes it easy to describe where crops will be planted on your Garden Planning Worksheet (get the free printable at the top of this post).
2. Make a list of what you would like to plant
Use calendars or monthly planting lists to narrow your options
Start with the current month and the upcoming month. Get ideas for what you would like to plant.
- Make a list of what you can plant outside now.
- Note what you can start indoors now.
- If you feel behind, the Calendar helps you quickly see what is still worth planting.
Use the Vegetable and Flower Guides to choose what you plant
Once you have a short list, read the “How to Grow” guides for the crops you are considering.
- Confirm timing for starting seeds indoors and planting outside.
- Check spacing to see what realistically fits.
- Read the timing notes and practical tips so you don’t have to guess.
Then fill out your Garden Planning Worksheet
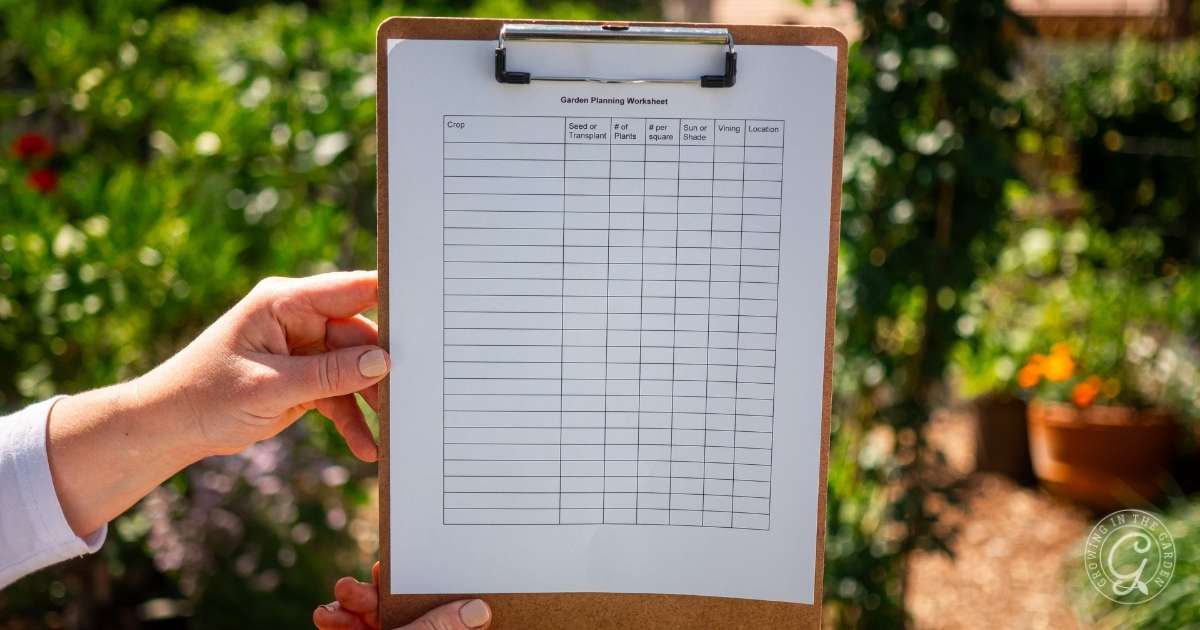
Use your local planting guide to list what you want to plant on your Garden Planning Worksheet (download the free printable at the top of this article). Complete as much information as possible. The more information you include now, the easier it is to decide what goes where.
Fill in the following information for each crop:
- Whether you will plant from seeds or transplants
- How many you would like to plant
- Spacing requirements for each plant (square-foot gardening makes this step simple)
- Sunlight requirements (especially important in hot summer areas like the low desert of Arizona)
- Whether the crop grows best vertically and needs a trellis
Tip: If you use the Garden Planner and Journal, this is a great place to write your “priority list” for the season. What do you want most, and what is optional if space runs out?
3. Decide where to plant each crop
Take note of what is already growing in your diagram. In warm climates, many crops remain in place year-round, such as peppers and perennial herbs.
Now decide where to plant each crop using the information from your Garden Planning Worksheet and garden diagram.
Write the area (the number or letter you assigned to each garden area) on your Garden Planning Worksheet. Use a pencil if you are writing it out. This step takes some adjusting.
Use your Planner and Journal to make this step easier

If you are using the Garden Planner and Journal:
- Sketch each bed on the mapping pages.
- Assign crops to each bed based on spacing and sun needs.
- Track what you planted where so crop rotation is easier next season.
- Make quick notes on pests, varieties you loved, and what did not work.
Things to keep in mind as you place crops
- Rotate where you plant crops each season. Planting in the same location can lead to pest and disease build-up in the soil. Rotate legumes, root crops, fruit crops, and leaf crops from year to year.
- Use seasonal checklists to help you prepare for the upcoming season (Spring Garden Checklist, How to Prepare Your Garden for Summer, Fall Planting Guide).
- Plant a variety of crops in each bed to increase biodiversity and attract a wider range of beneficial insects and pollinators. Resist the urge to plant all of one crop in one location.
- Try planting different varieties of the same crop in different parts of the garden. Corn is the exception, grow it together for pollination. Learn how to successfully companion plant.
- Pay attention to spacing and avoid over-planting. Good airflow matters.
- Adjust planting amounts as needed if there is not enough room or if you have extra room.
Including a Three Sisters bed in your seasonal plan is a great way to maximize space and harvest multiple crops from one bed.
Once you’ve planned your crops, this post shows how to bring that plan to life with raised beds and backyard layout ideas.
4. Purchase seeds and transplants
Let’s be honest, sometimes this is the first thing we do, and then we have to figure out how to make it all fit.
Look at your list and decide:
- Which plants you will sow from seed directly in the garden
- The seeds you will start indoors
- Which crops you will purchase as transplants
Some plants do best when started from seed directly in the garden. Here you can learn when to plant seeds indoors and when to direct-sow.
- Purchase seeds. See my favorite seeds here.
- Start seeds indoors.
- Purchase transplants.
5. Plant and enjoy your garden
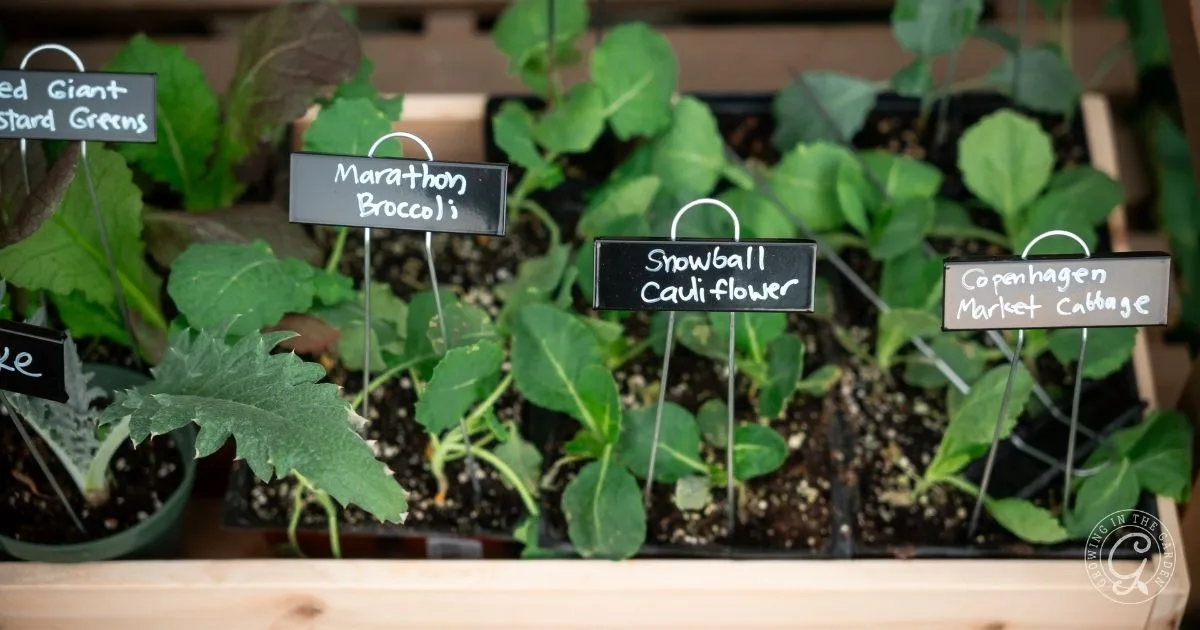
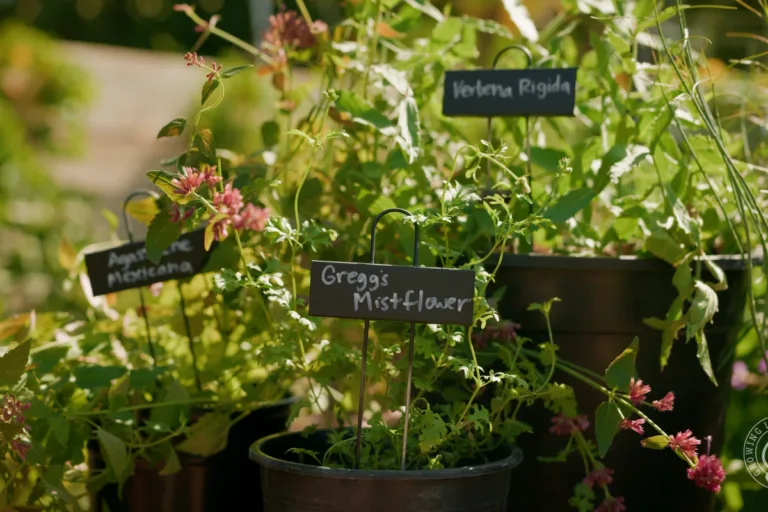
Using your plan, plant seeds and transplants in your garden. Don’t forget to label plants.
Make changes and adjustments as needed. Note changes on your Garden Planning Worksheet and update your garden diagram. Keeping that information accurate helps a lot when it is time to rotate crops and plan the next season.
If everything doesn’t go according to plan, that’s okay. Enjoy the process. Build on what you learn each season.
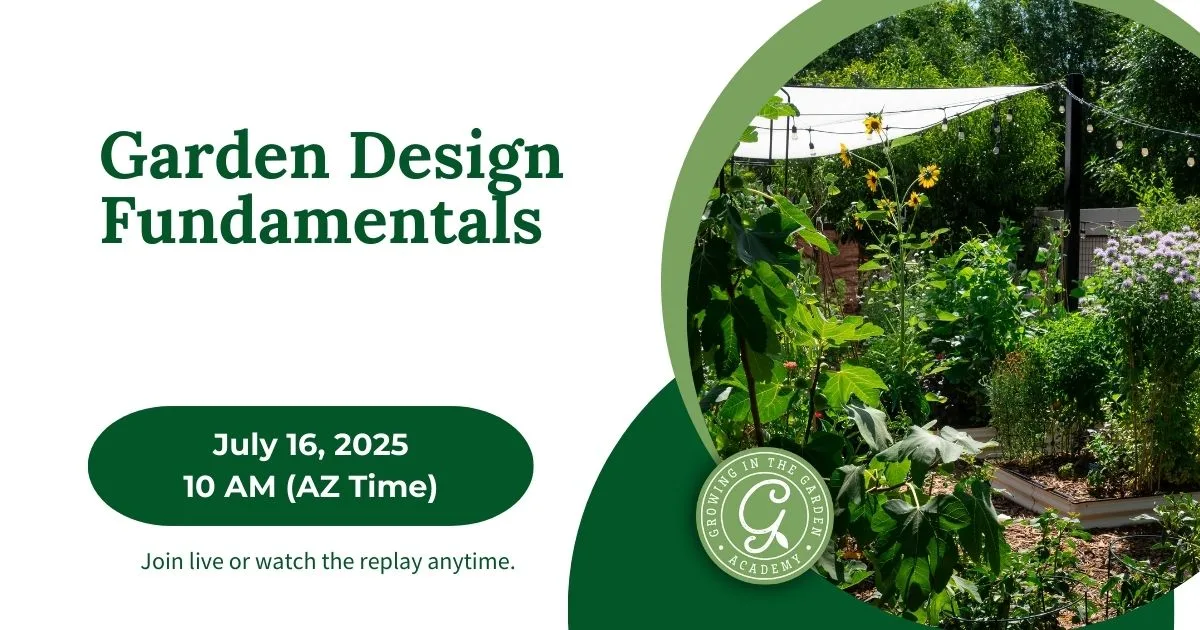
Ready to learn more about garden design? Join me for in-person classes or online in my monthly Growing in the Garden Academy. I cover this and dozens of other timely gardening topic. Visit Patreon to start learning today, and don’t miss my class: Garden Design Fundamentals.

Learn other ways to become a self-sufficient gardener in this article.


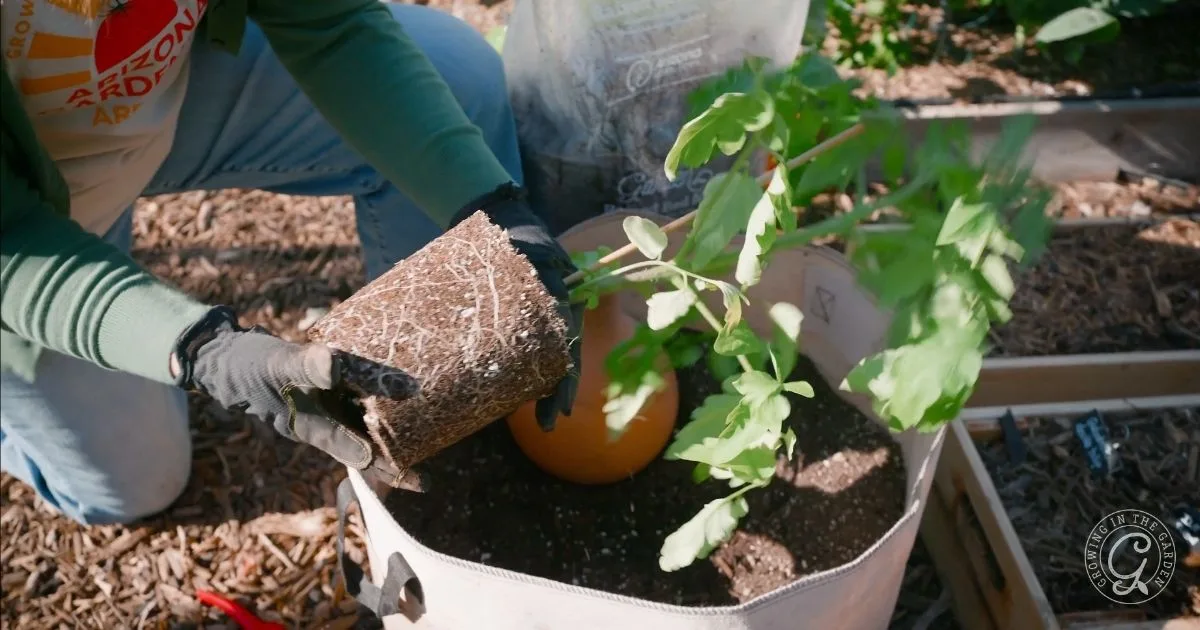
Hi! I have to use grow bags for my garden and I’m wondering if it would be successful using the grow bags placed in a square foot gardening arrangement?
Grow bags are an excellent option. Map out each bag and treat them like how many square feet they are. Putting them close together helps keeps them from drying out as quickly too. Here is a blog post with more information about square foot gardening: https://growinginthegarden.com/gardening-in-grow-bags-5-tips-for-success/
Angela I am really torn on whether to pull my zucchini plants. They keep flowering and trying to produce squash. Most of the zucchini gets a few inches long, turns yellow and dies. I have a few odd looking Zach’s that are bulbous on one end and I will pick them when they get about 7 inches. I am cleaning the garden out and getting ready for fall planting. Should I leave them or pull them?
Have you tried hand pollinating? That may be an issue. Not sure where you live but here in Arizona we have been very hot and that has an effect on the pollen as well. If the plant is otherwise healthy you could leave it and hope for harvests as temperatures cool.
@Angela Judd, yes I am across the valley from you and I do think it is the heat. I will leave them in till mid October and see what happens. Thank you for your amazing knowledge. I refer to you constantly when I discuss gardening with people.
Great info…thank you. I am starting a brand new garden area as we moved to a different location in Mesa. Currently planning the placement of garden beds, one of which I would like to devote to asparagus but part of the box will be shaded in the dead of winter due to sun shift and back wall will cast shade. Do you think it can handle a couple of months of shade while it is dormant? I’ve read your “asparagus” page several times and want to start with crowns but no clue where to purchase as I have called many nurseries this morning to ask if they will carry this fall and answer is no. ;(
As long as it gets enough sun while it is actively growing, that would be ok. It definitely grows best with plenty of sunlight. Check online for crowns. You can also check Home Depot, they usually carry the crowns in the fall/winter as well.
Hello Angela!
I cannot tell you how much your site has helped me over the last year as I started my first garden here in Az, after growing up in the northeast. Thank you so much!
My biggest ‘garden planting’ challenge is that I don’t have a very large garden and want to plant everything, so I am making sure that as one thing is done and comes out, there is something ready to take it’s place – but all the planting guides say when things get planted not when they are ‘done’ which makes planning harder! (In the northeast, it’s easy – snow ends everything).
Do you have any advice on how to know about when things come out of the garden so a novice can plan around that? Thanks again for all your wonderful work here on this site.
I’m so glad the information has been helpful for you. Thanks for the feedback. Many plants here are warm season, or cool season crops, so as things cool down or heat up they will be done. Many crops like carrots or cauliflower are also one and done crops. You harvest it when it is ready and then plant something else there. Other crops tend to slow down production (beans, peas, tomatoes) and get diseased or pests as they reach the end of their life cycle. Plan on most crops staying in place for a season (either the cool season, or the warm season) but as spots open up if things finish early be ready to plant something in its place. Learn all you can about each crop you plant and that will help you know when it is done as well. You will learn by experience. Gardening isn’t an exact science, especially when we can garden year-round, so many factors come into play. Hope that helps.
Hi Angela,
Thank you for your amazing blog! As a newbie Arizona gardener, I’ve relied on your planting guides and my garden is flourishing! I’ve even gotten my husband to eat garden fresh peas for the first time this spring, and he’s asked I plant more next time!
Quick question about crop rotation- I have to use planter bags for my garden and am mainly focusing on growing several types of tomatoes and peppers. What do you recommend planting after my tomatoes in the same containers after I amend the soil? Same question for the peppers? And how soon can I use that same container to plant tomatoes and peppers again?
Thanks!
A good way to think of crop rotation is: Root – Fruit – Bean – Shoot: Tomatoes and peppers are a fruiting crop so I would plant a legume or bean in those bags next. Keep amending with compost and refresh with raised bed mix as needed too. I’d say at least a couple seasons before you plant the same crop in the same bag again.
Where did you get your trellis?
I got it from twobrothersmetalworks.com
Thanks Angela!
Hi Angela! Which online garden planning tool do you recommend?
Hi Connie. I used the garden planning tool on Grow Veg.