How to Transition Your Garden from Summer to Fall
As temperatures shift from scorching hot to just hot, transitioning from summer to fall is one of the most important garden resets of the year, especially in hot climates like the low desert. In this post, I’ll walk through how I’m evaluating what to keep, what to replace, and how I’m preparing the soil, beds, and containers for a fresh start this fall. Early fall is also a great time to think about succession planting so you can keep harvests coming as the seasons change.

Key Takeaways: Transitioning Your Garden from Summer to Fall
- Transitioning from summer to fall involves evaluating the garden’s performance and preparing for new crops.
- Identify successful plants and those that struggled, and keep records so you can make necessary adjustments.
- Open up the garden light by removing tall plants and managing shading for fall crops.
- Prepare beds with cover crops and refresh worm bins for healthy soil.
- Water less often as temperatures cool, but still water beds deeply.
What We’ll Cover:
- Step 1: Evaluate how your garden did over the summer
- Step 2: Note what struggled
- Step 3: Open the light for fall
- Step 4: Prep beds (cover crops, worm bins, and timing)
- Step 5: Shift watering for fall (but keep it deep)
- Step 6: Tomatoes & peppers (quick fall care)
- Step 7: Feed to finish strong
- Step 8: Plant with me: i’itoi onions
- Step 9: Clean up (with restraint)
- Looking ahead
- Garden Transition from Summer to Fall FAQsF

If you’re just starting a fall garden or want more tips for a successful fall garden check out these resources.
Step 1: Evaluate how your garden did over the summer
Every season teaches us something. Here’s how a few of my crops performed this summer—and what I learned.
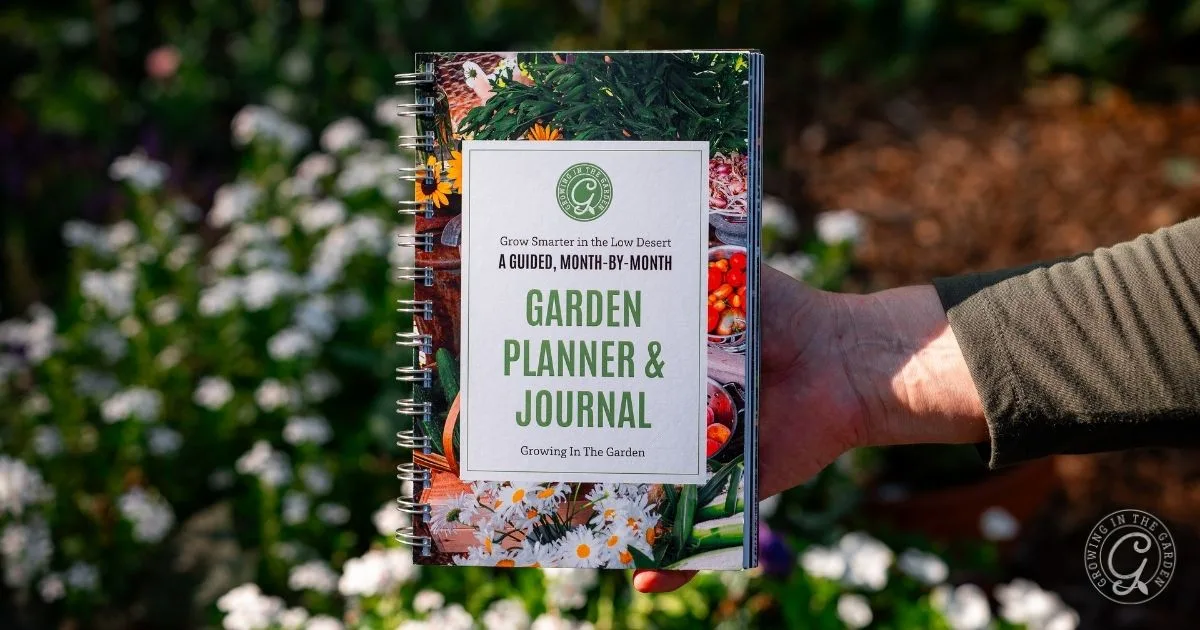
Do the same kind of review in your garden to spot both wins and misses. If you have my Low Desert Garden Planner & Journal, use the journal pages to record notes so you can learn from each season.
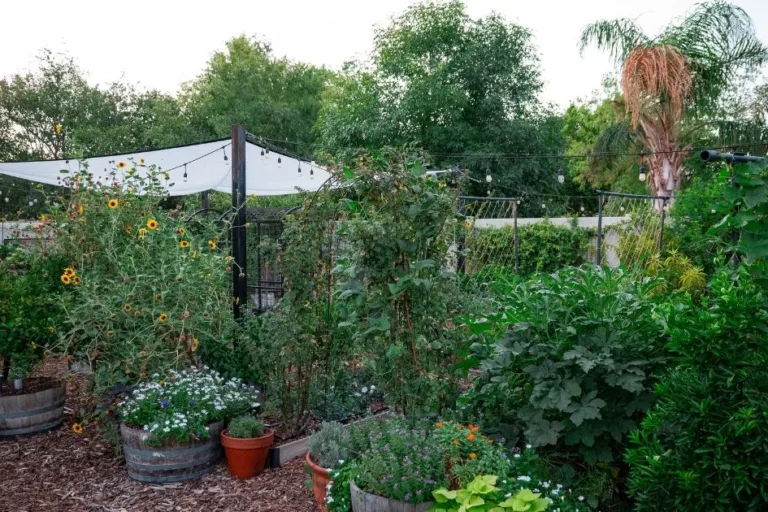
- The sweet-spot bed: Morning sun and afternoon shade made this bed a standout. Okra is thriving, gomphrena is happy, and I’ve been chopping back cowpeas to use as green manure. Learn how to choose the right spot for a raised bed here.
- Maximilian sunflowers: Planted from seed two years ago. They struggled at first but came back strong—finally blooming this year.
- Sweet potatoes: I’m letting the vines grow; more vines mean more tubers. I’ll harvest a week or two before Thanksgiving so they have time to cure. Read more on growing sweet potatoes.
- Marigolds + Armenian cucumber (trellis): A cooler summer helped the marigolds hold on, along with zinnias like Ballerina, Zowie Yellow Flame, and Zahara (great in containers or beds). Learn how to grow marigolds and how to grow Armenian cucumbers.
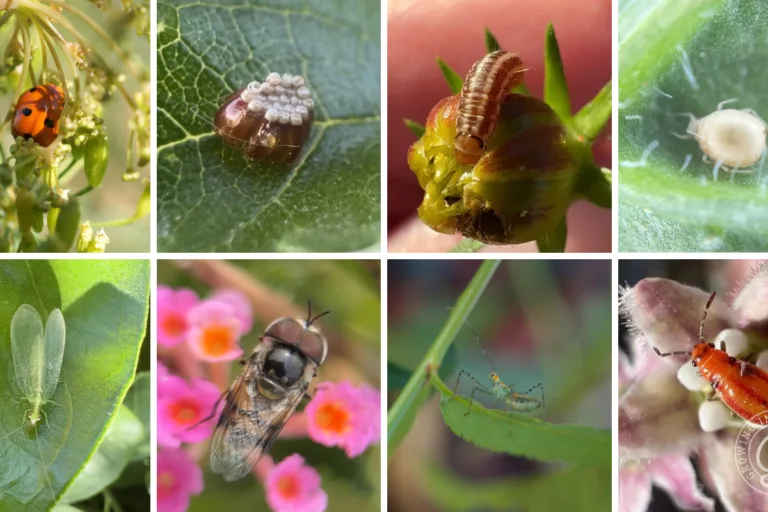
- Watermelon (aphids + ants): Aphids were a problem until I put out ant baits. That handled the ants, and the aphids followed. These are the ant baits I use on Amazon. Learn how to grow watermelon and how I get rid of aphids.
- Peppers (including chiltepin): Chiltepin, a native pepper, is loaded with blooms and going strong after several years. Other peppers are setting fruit. Don’t prune them now or you’ll delay the harvest. Read more about growing peppers.
- Cantaloupe and gomphrena: Both are still going strong—heat lovers that don’t need much help. Learn how to grow cantaloupe and how to grow Gomphrena.
- Texas ageratum (Gregg’s mistflower): Planted in May (which is tricky), but it’s thriving and attracting queen butterflies. I need more plants like this that can handle the heat. Read the article on how to grow Gregg’s mistflower.
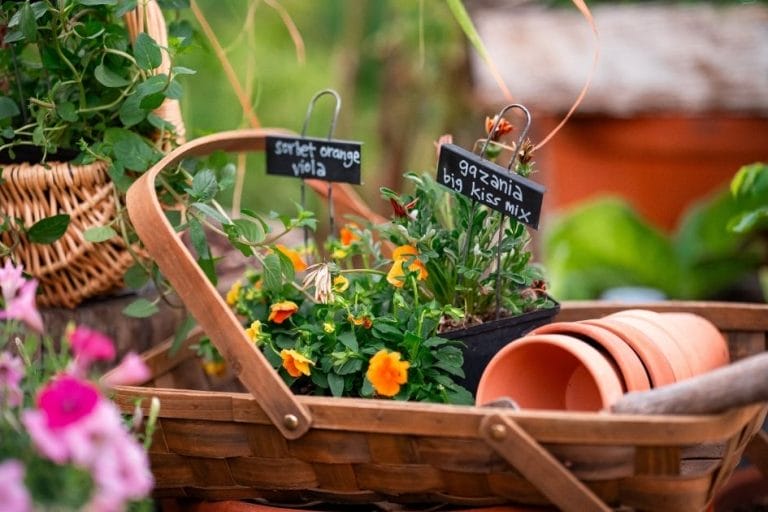
- Container flowers: Vinca, angelonia, gomphrena, sweet potato vine, and lisianthus are still blooming. I’ll keep them going until frost or until I swap them out in October/November. A little flower food and worm castings helps. For instant fall color, plant geraniums or dianthus. Find my container gardening resources here.
- Peanuts: They love the heat. The tomatillos behind them didn’t. I’ll harvest the peanuts once the leaves start to yellow—usually 4–5 months after planting. Learn how to grow peanuts.
Step 2: Note what struggled
Some plants didn’t love the summer—but that’s part of learning too. Here’s what needs help and how I’m handling it:
- Roses: A little stressed but still going. I’m adding worm castings and a light dose of Nutrient+ now. Once nights drop into the 70s, I’ll fertilize and give them a light shape-up. Learn about how to grow roses in the heat here.
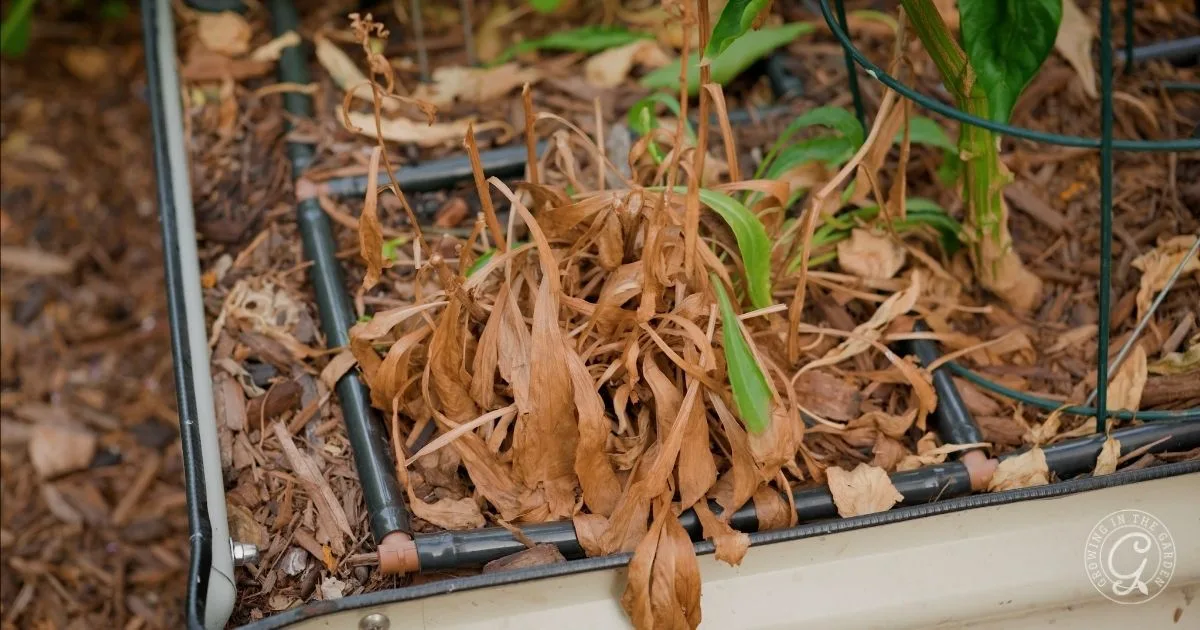
- Shasta daisies: A few rotted, but some look like they’ll recover. I’m waiting for fresh growth before cutting anything back. Read the guide on growing Shasta daisies to learn more.
- Peppers in the elevated bed: Not happy. Soil temps were too high. Basil didn’t mind it, but the peppers definitely did. Get my elevated bed garden tips here.
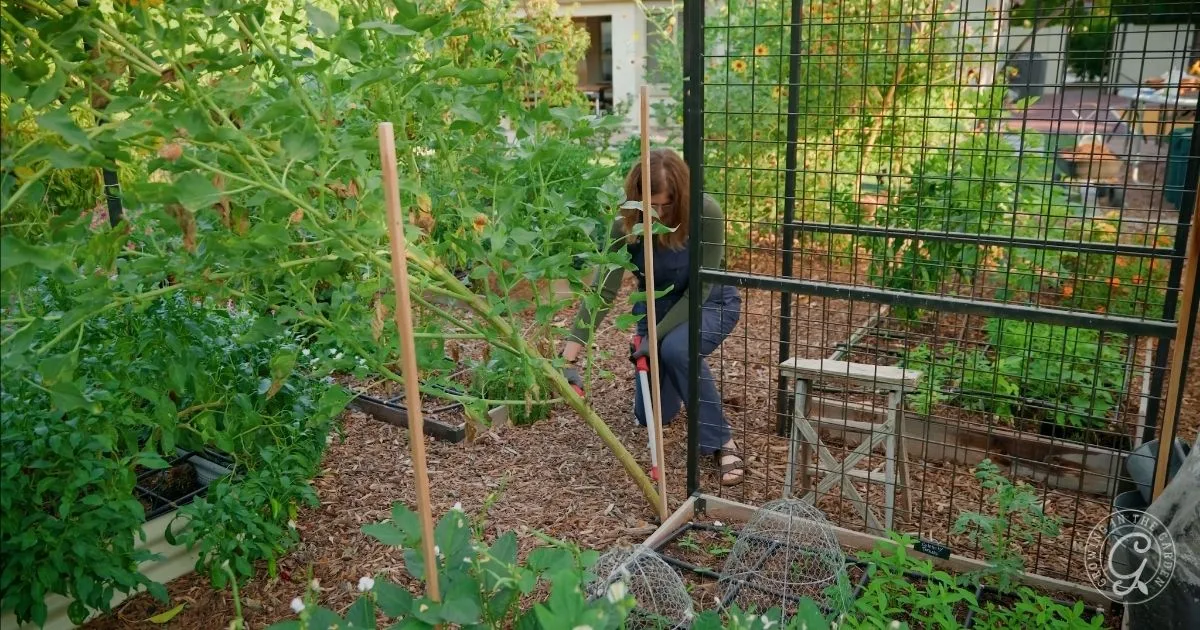
Step 3: Open the light for fall
I’m removing the tall sunflowers that shaded the garden all summer to open light for fall crops. I cut at the base, let the stumps decompose, and then they pull out easily. I’ll keep shade cloth up until daytime highs are consistently below 90°F.
Step 4: Prep beds (cover crops, worm bins, and timing)
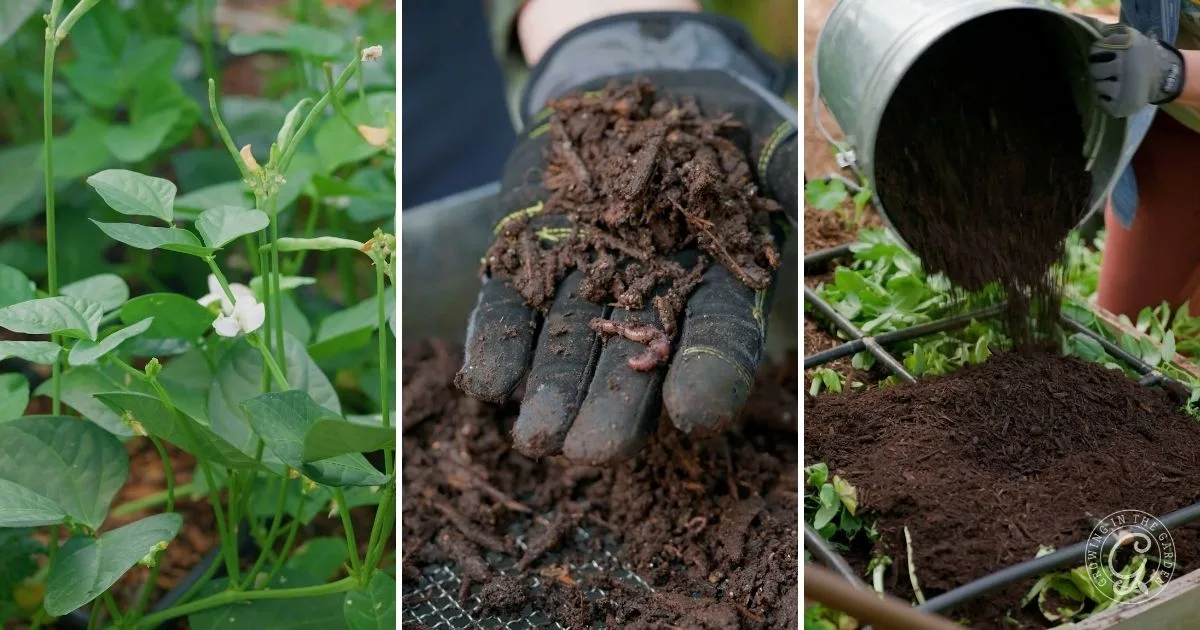
Cover crops
Several beds are planted with black-eyed peas, and I’m also trying sunn hemp this season. For maximum nitrogen, legumes are usually cut before they flower, but I’m letting some grow longer so I can save seed for next year. Both are grown primarily as green manure to add nutrients and organic matter back into the soil. Growing your own fertilizer this way is one of the easiest and least expensive ways to naturally improve garden beds. Learn more about how and why to grow cover crops here.
Refresh worm bins
Fall is a great time to refresh worm bins. I’m harvesting fresh castings (sift to separate), then adding cardboard, food scraps, and topping with wood chips. The worms will move back up and make more castings. Read more about in-bed worm composting.
Two weeks before planting I’ll pull back mulch, cut cover crops at the base, chop and drop into the top few inches, then top with compost.
Filling a new bed?
Use compost + worm castings + vermiculite or perlite + coco coir. I use the Raised Bed & Container Mix from Arizona Worm Farm. It uses their compost and worm castings, and my beds love it. Find out how to fill a garden bed here.
What’s next month: I’ll plant cool-season crops and flowers: brassicas, snapdragons, campanula, and delphinium.
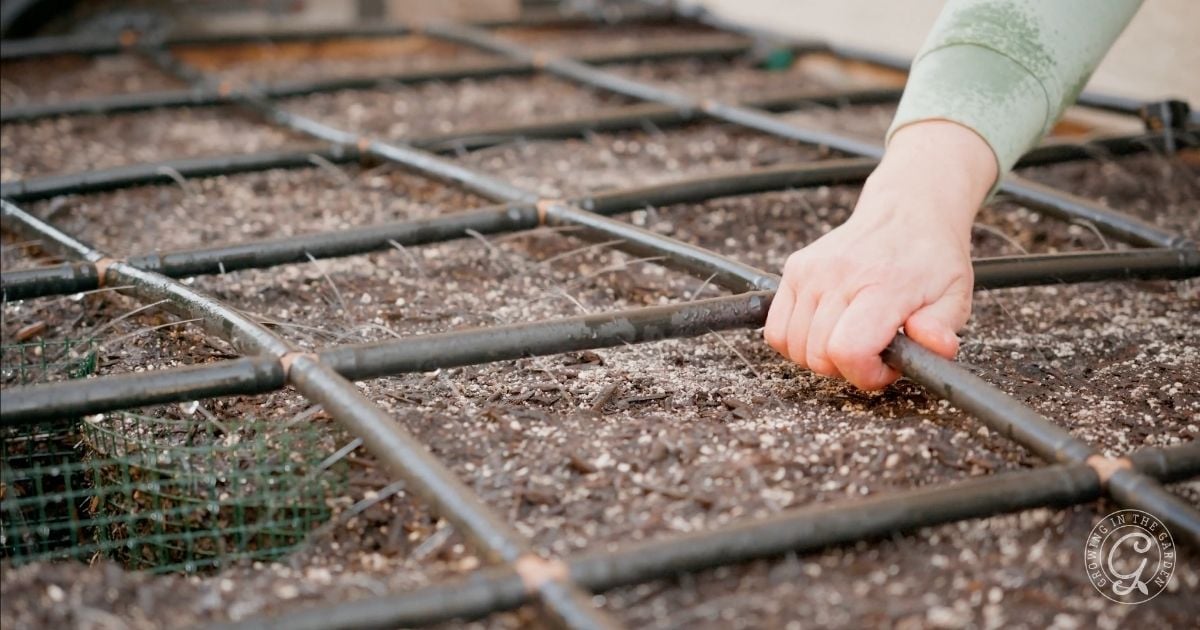
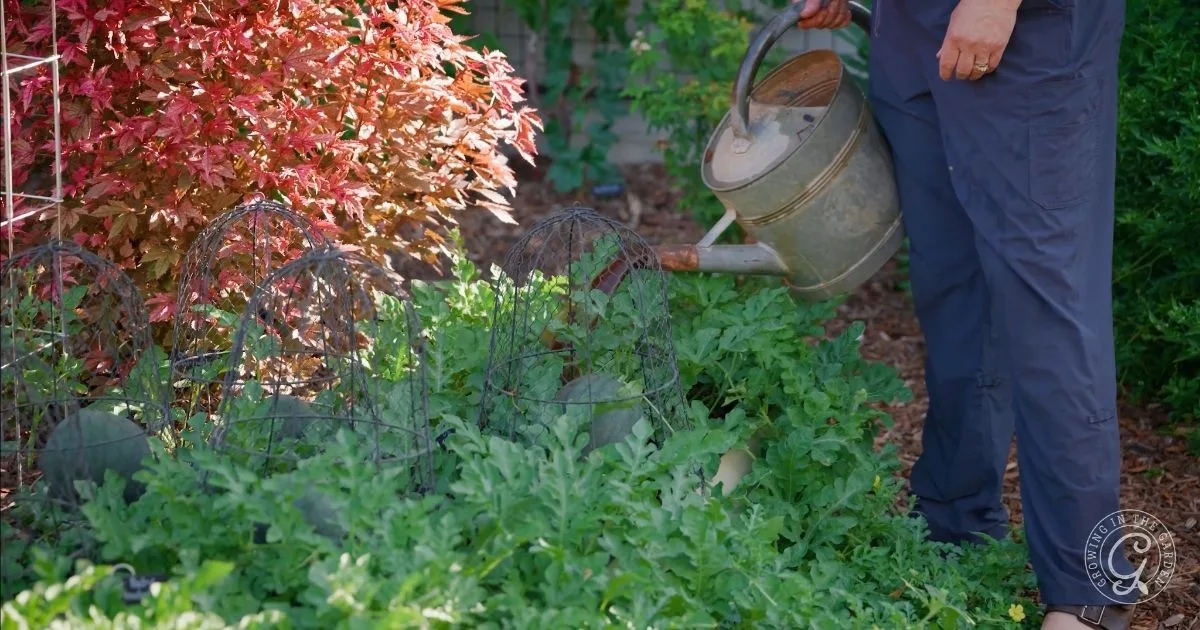
Step 5: Shift watering for fall (but keep it deep)
As days get shorter and cooler, I water less often but still water deeply.
Check your system: I run Garden Grids from Garden In Minutes in all my beds. The first one went into my asparagus bed in June 2019, and it’s still going strong. The asparagus looks wild now, but those fronds are feeding the roots. They’ll yellow and go dormant as it cools; then we’ll cut them back.
Salt note: occasional deep leaching helps, especially around container edges and the outside edges of beds.
As you prep beds for fall, watch how the soil handles water, and if you see beading or runoff, use how to fix hydrophobic soil in the desert garden to get moisture back into the root zone.
Step 6: Tomatoes & peppers (quick fall care)
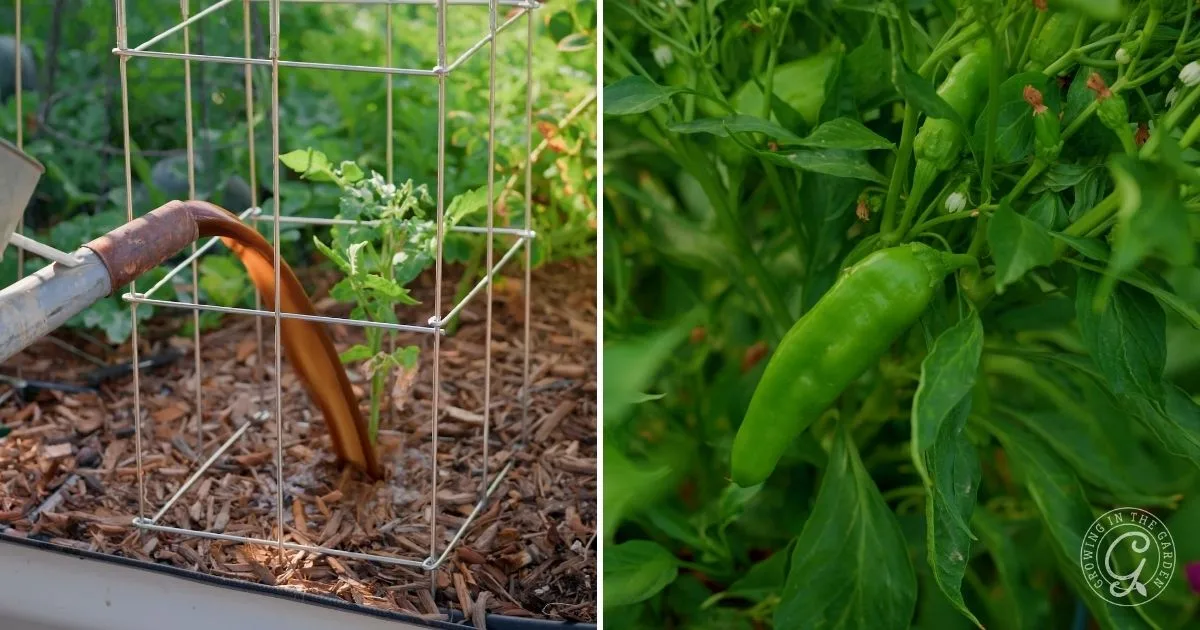
Tomatoes
Fall tomatoes should already be in. If not, get transplants into your sunniest spot ASAP.
For oversummered tomatoes, you should see fresh growth now. Prune lightly a little at a time if needed to see how they tolerate it, refresh mulch, and let them keep going. For more tomato growing resources learn how to revive and prune over-summered tomatoes, how to prevent blossom end rot, and how to ripen green tomatoes.
Peppers
Do not cut back now or you’ll delay harvest. Keep even moisture with deep soaks. If you’re still hot, give a little afternoon shade. Stake heavy branches; remove only dead wood.
Step 7: Feed to finish strong

I’m feeding tomatoes, peppers, watermelon, and the container roselle and flowers with AgroThrive and a bit of Nutrient+. This speeds recovery from summer stress and helps new transplants settle in. I want harvests from all of these crops, and this feeding helps get them there.
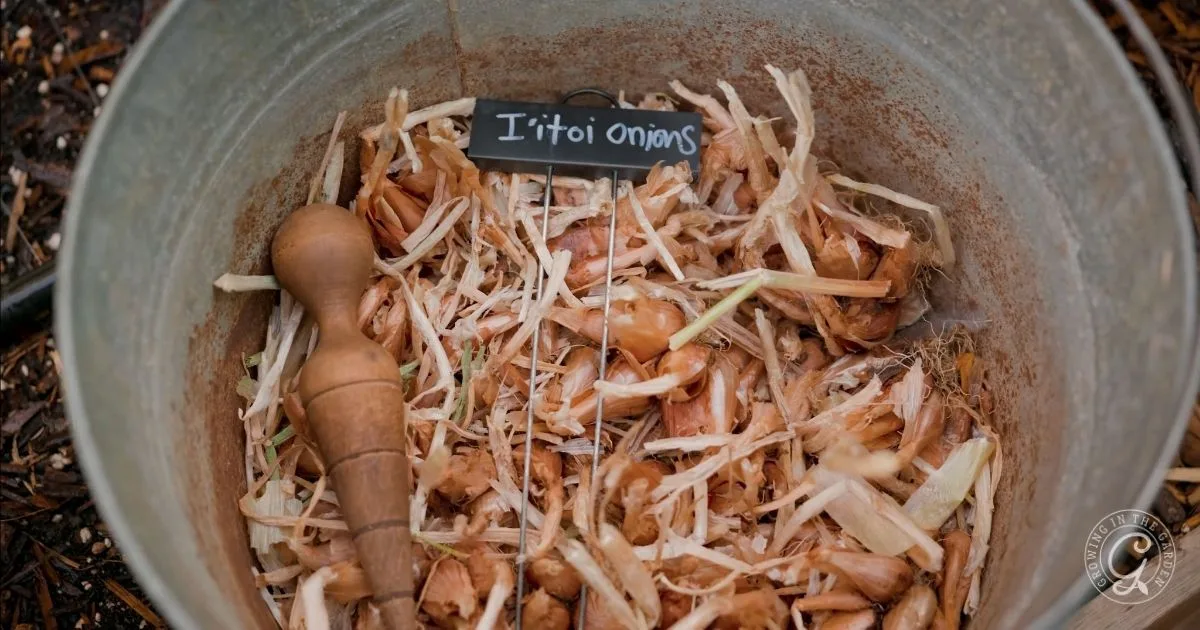
Step 8: Plant with me: i’itoi onions
Tomatoes are planted. I’ll add more companions to this bed later. For now, I’m planting i’itoi onions. Long history in the Sonoran Desert. They’re a multiplying onion. Plant about 1 inch deep, four bulbs per square.
Need the rest of this month’s plantings and tasks in one place? Grab the Garden Planner & Journal. It includes planting dates, step-by-step to-dos, watering guidelines, a planning grid, and notes pages to track progress.
Step 9: Clean up (with restraint)
There are some dead plants and branches around the garden, but I’m not ready to prune everything back. Damaged areas can protect the rest of the plant, and we may still have hot days coming. I’m removing what’s truly dead to reduce pests, and I’m leaving some dead stems as temporary shade until daytime highs drop.
Looking ahead
As temps cool, I’ll cut back the cover crops about two weeks before I plant cool-season crops, add compost, and then it’s time to flip the beds.
Garden Transition from Summer to Fall FAQs
Keep shade cloth in place until daytime highs are consistently below 90°F. Tender plants and new transplants usually still benefit from afternoon protection during early fall heat.
As temperatures cool, water less often but continue watering deeply. Check emitters regularly and occasionally flush salts from containers and raised beds.
Avoid hard pruning in early fall because it can delay harvests. Remove only dead or damaged growth, refresh mulch, and support heavy branches as temperatures cool. Learn how to prune peppers and tomatoes after the winter here.
Black-eyed peas and sunn hemp are excellent warm-season cover crops for Arizona gardens. They add nitrogen and organic matter back into the soil while helping protect garden beds through the summer.
Clear out dead plants, refresh beds with compost, check irrigation, add mulch, and prepare soil before planting fall crops. Good fall garden prep helps set up a productive cool-season garden.


Leave a comment on How to Transition Your Garden from Summer to Fall