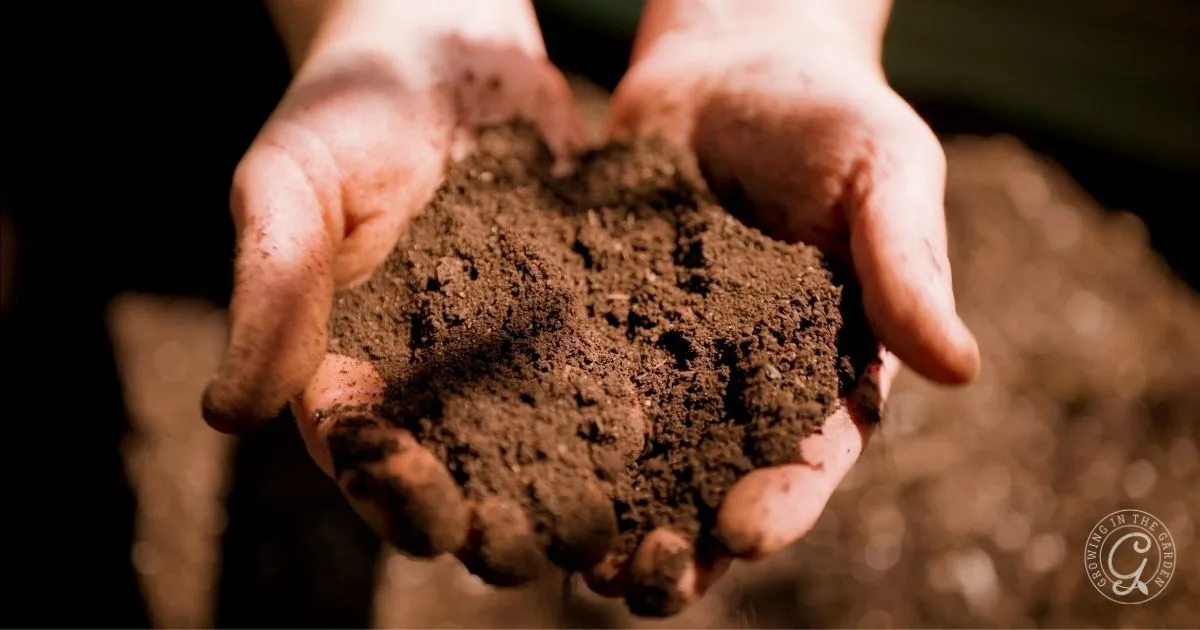
How to Fix Hydrophobic Soil in the Desert Garden
If you have ever watered a plant and watched the water bead up on the surface or run straight through the container or garden bed without soaking in, you have seen hydrophobic soil in action. It is soil that repels water instead of absorbing it. This can be confusing and frustrating because you are watering, but the moisture is not reaching the soil or the roots that need it.
The good news is that with patience and a few changes in how you water and care for the soil, you can help hydrophobic soil start accepting and holding water again.
In this post, we will look at what hydrophobic soil is, why it shows up so often in desert gardens, and simple steps to fix it and prevent it in the future.
Key Takeaways: How to Fix Hydrophobic Soil
- Hydrophobic soil repels water, causing it to bead and run off. This condition is common in desert gardens.
- Factors like intense heat, sandy soils, and surface crusting increase the likelihood of hydrophobic soil.
- To fix hydrophobic soil, gently break the surface, water in cycles, and add compost to improve absorption.
- Mulching and maintaining consistent moisture help prevent the recurrence of hydrophobic soil.
- Gradual improvement occurs over time with diligent care; expect weeks to months for significant changes.
What We’ll Cover:
- What is hydrophobic soil?
- Why is hydrophobic soil common in desert gardens?
- How to tell if your soil is hydrophobic
- Step-by-step: how to fix hydrophobic soil
- Hydrophobic soil in containers
- How long does it take to fix hydrophobic soil?
- Preventing hydrophobic soil in the future
- FAQ: Hydrophobic soil in the desert garden
- Related Posts
What is hydrophobic soil?
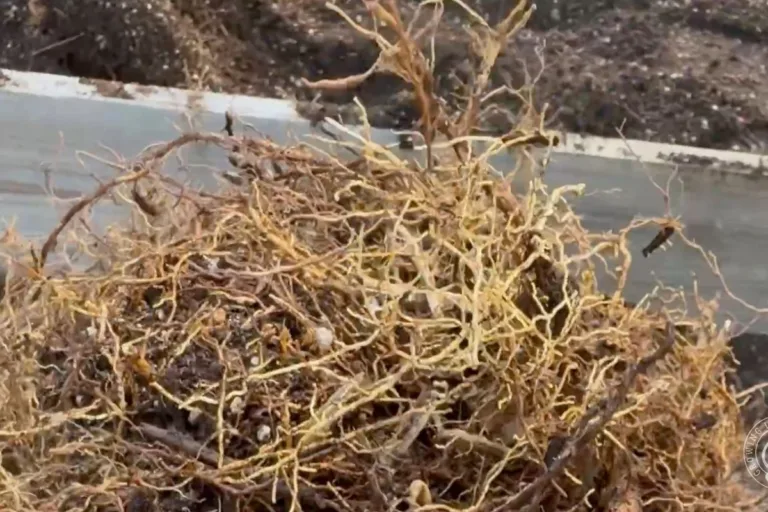
Hydrophobic soil is soil whose particles repel water instead of absorbing it. Water forms beads on the surface and runs off instead of soaking in, even when the soil looks very dry. A thin layer of water-repellent soil is often found at or just below the surface.
This water repellency is usually caused by waxy, water-repellent organic compounds that coat soil particles. These compounds can come from decomposing plant material, certain plants with waxy leaves, soil microbes, or fire. They are especially likely to coat coarse sand particles where there is not much clay or organic matter to help hold moisture.
When soil gets very dry, air fills the pores and those waxy coatings harden. The next time you water, the water has a hard time moving into the soil and tends to run off or move sideways instead.
Why is hydrophobic soil common in desert gardens?
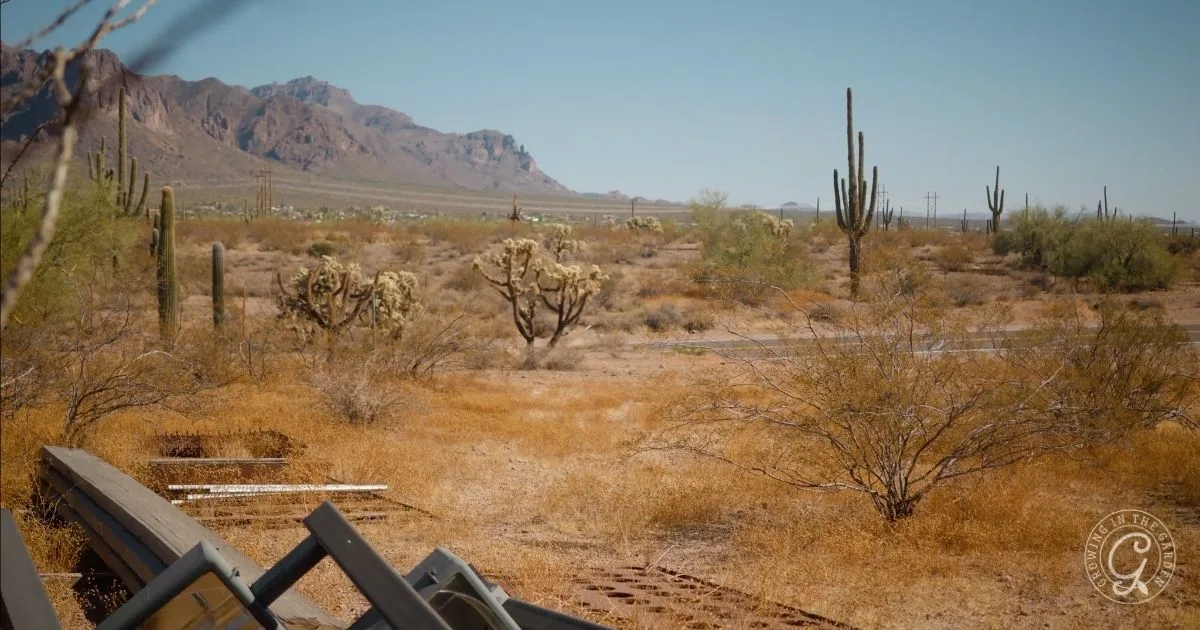
Hydrophobic soil can happen anywhere, but several desert conditions make it more likely:
- Long dry periods and intense heat. In hot, arid climates, soil often dries out completely between rains or irrigations. This repeated dry-down bakes the surface.
- Sandy or decomposed granite soils. Coarse soils with very low organic matter are more prone to water repellency because there is less fine material and humus to help hold moisture and break down hydrophobic compounds.
- Bare soil. Areas left unplanted and uncovered are exposed to direct sun, wind, and heat. Organic debris that accumulates on the surface can decompose into waxy compounds that move into the top layer and increase water repellency.
- Compaction and crusting. Foot traffic, heavy equipment, or repeated overhead watering can compact the surface and create a crust. This crust tends to concentrate hydrophobic compounds and makes it even harder for water to enter.
In many desert yards, that means native, unamended strips of dirt that have stayed dry for years are likely to be hydrophobic.
If you are preparing a new garden area in this type of soil, it helps to combine the steps in this post with the tips in my post about getting your soil ready for planting.
How to tell if your soil is hydrophobic
You do not need a lab test to see if soil is water repellent. A couple of simple tests will give you a good idea.
1. Drop test
- Take a dry clod of soil from the problem area.
- Place a few drops of water on the surface.
- Watch how long it takes the drops to soak in.
If the drops sit there for more than 30 seconds or bead up and roll away, the soil is at least somewhat hydrophobic. In severe cases, drops can sit for several minutes without soaking in.
2. Shallow basin test
- Smooth the surface and create a shallow basin or furrow.
- Pour in a small amount of water and watch.
If the water quickly disappears sideways or runs out of the basin without wetting the top inch or two of soil, you are dealing with water-repellent soil.
Step-by-step: how to fix hydrophobic soil
Step 1: Gently break up the surface and create pathways
Your first goal is to help water get past the crusted, water-repellent surface. You are trying to slow the water down and encourage it to move into the soil instead of running off or beading up.
- Use a garden fork, broadfork, or hand cultivator to gently loosen the soil 4–8 inches deep. Rock the tool back and forth to open cracks rather than turning the soil into powder. This keeps the structure and pore spaces intact while opening channels for water.
- Create shallow basins, furrows, or “pockets” along the bed so water is held in place instead of running off.
If you garden in a hot, dry climate, this idea of slowing the water down and giving it a path in is also a key part of sunken garden beds and water-wise design. For a deeper dive into that, see my post on sunken garden beds for desert gardens.
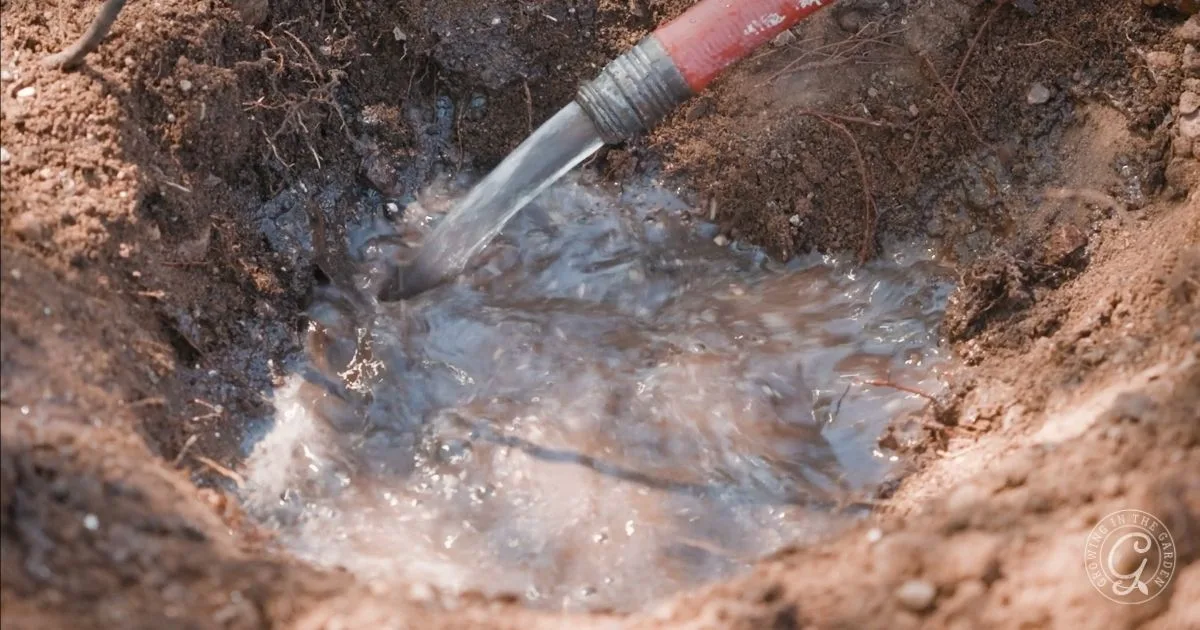
Step 2: Rewet slowly and in cycles
Trying to fix hydrophobic soil with one long watering usually just sends water off the bed and down the path. Instead, use short, repeated watering cycles:
- Water gently for 5–10 minutes, then turn the water off and let it sit for 20–30 minutes.
- Repeat this cycle 2 to 4 times. Each small pulse of water has time to soak in before the next one arrives.
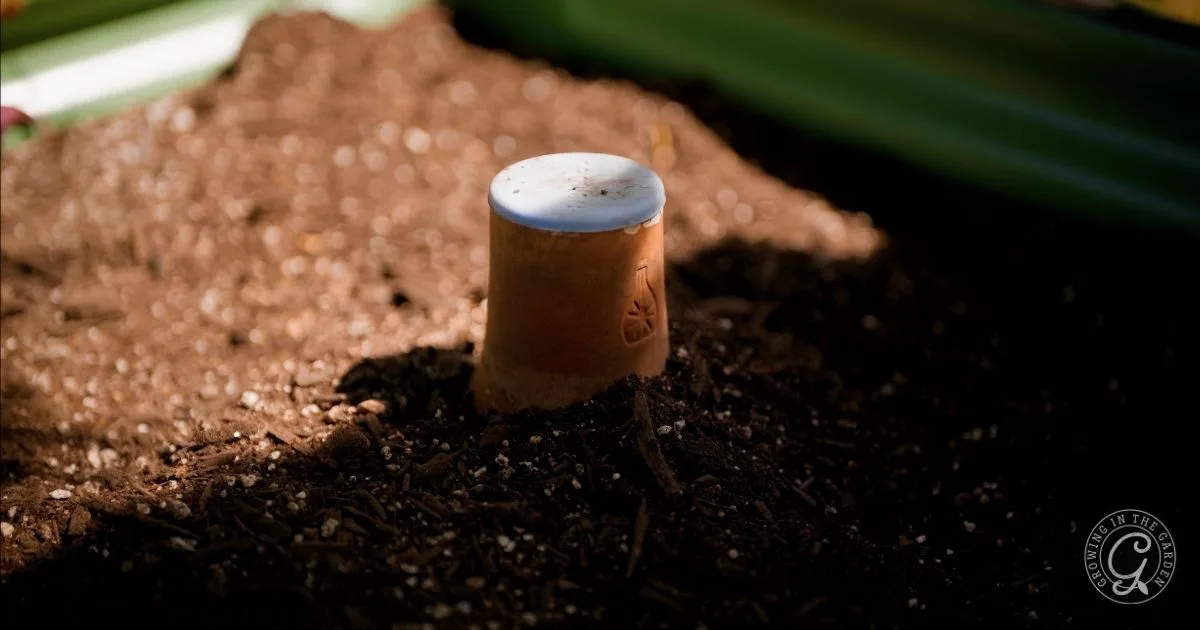
- Use a low-pressure setting on the hose, drip lines, soaker hoses, or an oya instead of a hard spray that causes runoff. Subsurface options like ollas and buried drip can be helpful because they deliver water just below the most water-repellent layer.
- Repeat step one (above) by loosening the soil and making pathways within the soil for the water.
In very stubborn small areas, you can lay a piece of wet burlap, cardboard, or an old towel on top of the soil and water through it. The fabric breaks the surface tension, slows the water down, and spreads the water so it does not bead up as easily.
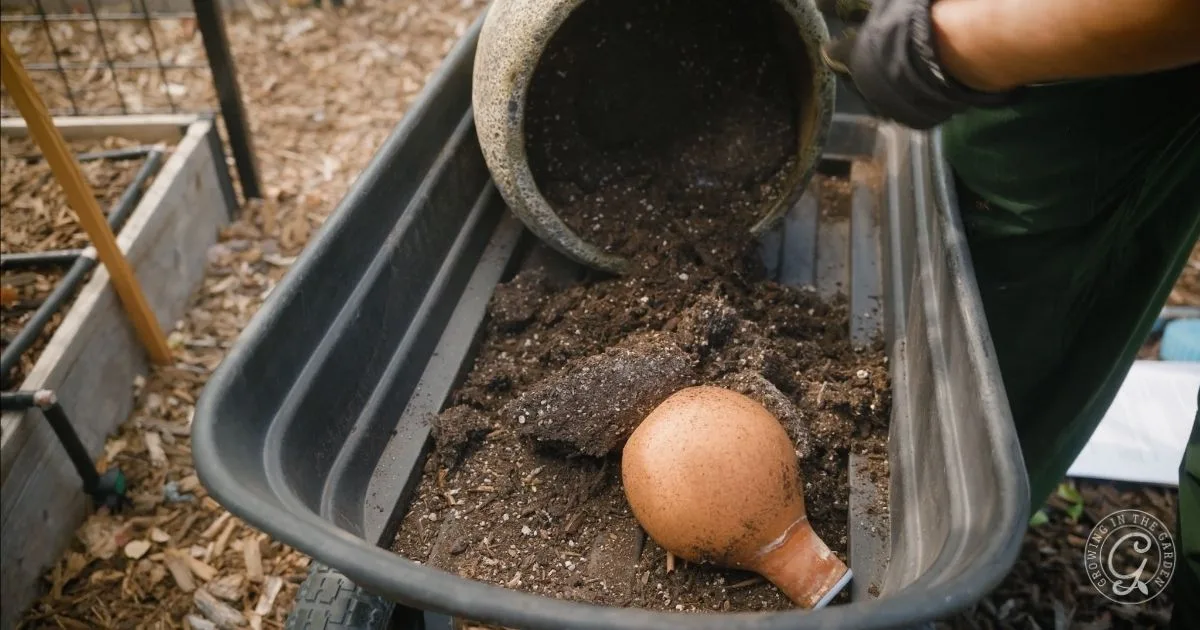
Step 3: Add compost and organic matter on top
Once you have water soaking in a few inches, start building healthier soil from the top down.
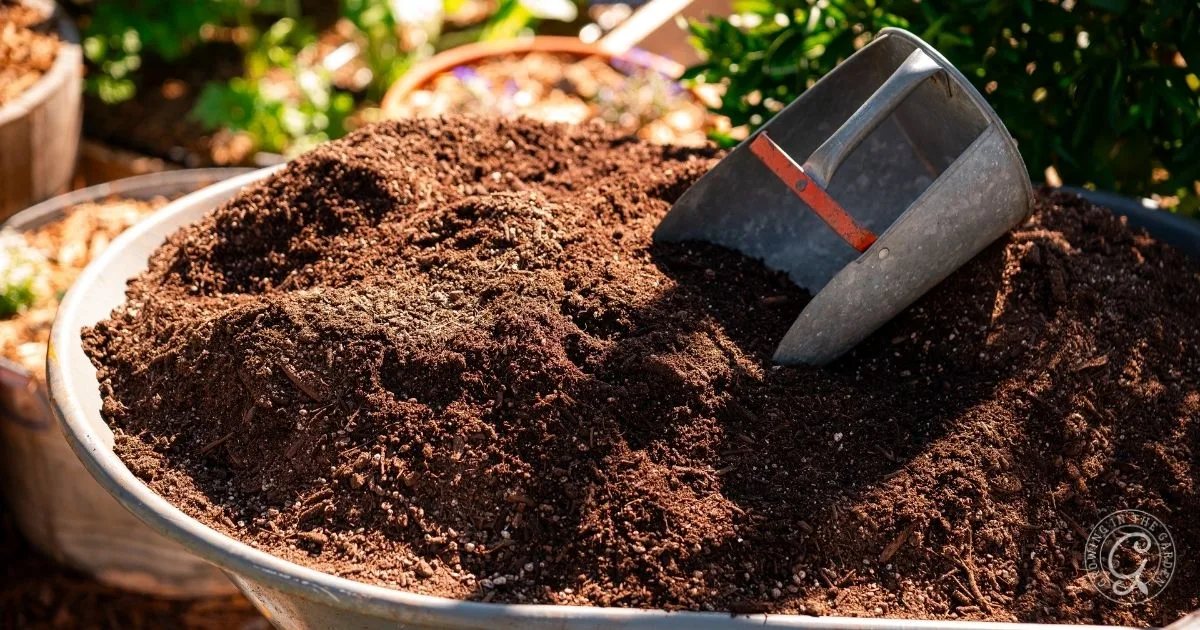
- Spread 1–3 inches of well-finished compost over the surface and water through it. Compost and worm castings provide food for soil microbes that slowly break down the waxy coatings, causing the water repellency.
- Avoid mixing large amounts of fresh wood chips or bark into the soil. Keep coarse mulch on top, not turned in, so it does not add more hydrophobic material inside the profile.
If you are already refreshing raised beds or containers, you can borrow ideas from my post on best soil for raised bed vegetable gardening.
Step 4: Mulch to keep the soil from drying out again

Bare soil in the desert becomes hydrophobic much faster. Once you have moistened the soil and added compost, protect it.
- Add 2–4 inches of mulch over the composted surface. Fine wood chips, shredded leaves, and similar materials are good options.
- Keep mulch a few inches away from the base of plants, but cover all exposed soil.
- Mulch keeps the surface from baking and helps maintain pore spaces so water can get in next time you irrigate.
For more details about what to use and how thick to apply mulch in a hot, dry climate, see my post about mulching your garden.
Step 5: Use wetting agents carefully
You will often hear gardeners recommend a “squirt of dish soap” to fix water-repellent soil. The idea comes from how wetting agents work. Wetting agents are surfactants. They lower the surface tension of water so it can spread across and into hydrophobic soil more easily. This can help that first deep watering soak in instead of running off.
There are a few options to consider.
Recommended: Use natural surfactants such as yucca
- Yucca extract contains natural saponins that act as mild surfactants. These are widely used in organic systems to help water and nutrients move more evenly through the soil. If you prefer organic inputs, yucca-based products can be a good option for stubborn hydrophobic patches, especially when combined with compost and mulch. See a yucca option on Amazon.
Labeled soil wetting agents
- Many products sold for lawns and landscape beds are soil wetting agents. These are designed for use on soil and are often used to treat hydrophobic sands on golf courses and sports fields. Follow the label closely. More is not better. Use carefully.
What about dish soap?
- Some gardeners use a small amount of mild dish soap in a watering can to help water soak into very dry soil. But many dish products are actually detergents. They are designed to strip oils and can damage the protective cuticle on leaves and affect soil life if overused. Use with caution.
Step 6: Consider raised beds, sunken beds, or cover crops
In some situations, especially where the native soil is very shallow or compacted, it may make sense to combine these fixes with a different garden layout.
- Raised beds. If your native soil is extremely hydrophobic and rocky, building raised beds on top and filling them with a well-balanced soil mix can save time and frustration.
- Sunken beds. In low desert gardens, sunken beds help slow and capture water instead of letting it run off.
- Cover crops. Living roots help keep soil from drying and crusting. In very hot climates, planting heat-tolerant cover crops during the hottest months can protect and improve the soil until you are ready to plant again. To see exactly how I do this, read Take the Summer Off: Plant Heat Tolerant Cover Crops Instead.
Hydrophobic soil in containers
Potting mixes can become hydrophobic too, especially if they have dried out completely. A few signs to look for:
- Water runs down the inside edge of the pot and straight out the drainage holes.
- The top looks wet, but when you poke a finger in, the mix is dry just below the surface.
- Plants wilt quickly even though you just watered.
To rehydrate the hydrophobic container soil:
- Loosen the surface and sides.
Gently rough up the top inch of soil with your fingers or a hand fork. If possible, slide a chopstick or plant label down along the inside of the pot in a few places to create channels for water to move in. - Use a slow bottom soak.
Set the container in a tub, kiddie pool, bucket, or large tray and fill with water to just below the rim of the pot. Let it soak until the top of the soil feels evenly moist. This can take 15–30 minutes or more, depending on the size of the pot. - Prevent future dry outs.
Try not to let containers dry to the point where the mix shrinks away from the sides. Water deeply until water flows from the drainage holes, and use mulch on top to shade the soil. Self-watering containers, drip emitters, or ollas can also help keep container soil more evenly moist in hot weather.
Drain well and add compost on top.
Once the mix is thoroughly wet, let the pot drain. Then top dress with a thin layer of compost and a light mulch, such as shredded leaves or fine bark, to slow evaporation.
Repot if the mix is very old.
If the potting mix has broken down, pulled away from the sides, or stays water repellent even after soaking, it may be time to refresh it. In that case, empty the container, break up the old mix, and follow the steps in How to Refresh Old Potting Soil and Save Money to rebuild structure and add organic matter.
How long does it take to fix hydrophobic soil?
Hydrophobic coatings rarely disappear overnight. Once soil stays moist for longer periods and biology wakes up, microbes begin to break down the water-repellent compounds. Recovery is gradual.
What to expect:
- It may take several cycles of “wet, gently break up the surface, water again” before the bed starts behaving more normally.
- With regular moisture, compost, and mulch, many gardeners notice steady improvement over several weeks.
- The key is consistency. Try not to let the bed dry back to dust between waterings, especially during the hottest part of the year.
Preventing hydrophobic soil in the future
Once you have done the work to get water moving into the soil again, a few habits will help keep it that way:
- Keep soil covered year-round with living plants, mulch, or both.
- Water deeply and less often, so water reaches the full root zone instead of just wetting the top half inch. This guide explains how to water raised bed gardens for healthy roots and evenly hydrated soil.
- Avoid frequent shallow watering that evaporates quickly and encourages crusting.
- Minimize heavy traffic on planting areas and use a fork to gently loosen soil if it starts to compact.
- Use cover crops or living mulches when beds are not in active production.
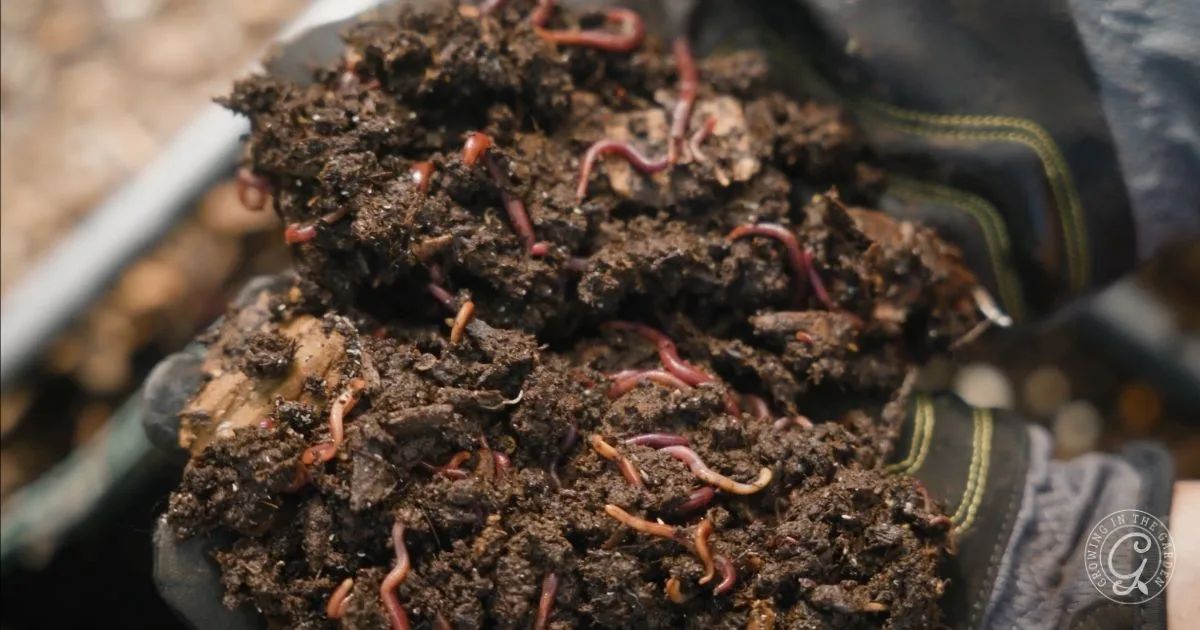
- Add in-bed vermicomposting bins to in-ground areas and raised garden beds to increase the microbial activity and improve soil health.
Hydrophobic soil feels like a unique desert problem, but the long-term solution is the same: protect the soil, feed it, and keep it alive.
FAQ: Hydrophobic soil in the desert garden
If your garden soil or native dirt has been allowed to dry completely, especially in hot weather, waxy organic compounds on the soil particles can harden and become water repellent. The next time you water, the water beads up and runs off instead of soaking in. Bare, sandy, or decomposed granite areas are especially prone to this.
Usually, no. In most cases, you can gradually restore water infiltration by gently breaking the surface, using slow repeated watering cycles, adding compost on top, and keeping the soil covered with mulch. It can take time, but replacing all the soil is rarely necessary.
Mulch on the surface protects the soil and usually helps prevent hydrophobic conditions by keeping the top layer cooler and moister. Problems are more likely when fresh wood chips or bark are mixed into the soil instead of staying on top. Keep coarse, woody materials as a surface mulch and use finished compost when you need to add organic matter into the soil.
Yes. Potting mixes that contain peat, coir, or bark can become very hard to rewet if they dry completely. The same slow, repeated watering approach helps, along with topdressing with compost.
A small amount of mild, unscented liquid soap in a watering can can act as a makeshift wetting agent, but it should be used cautiously. Many dish products are strong detergents that can harm plant leaves and soil life if overused. For most gardens, it is safer to use a natural surfactant such as yucca extract, along with compost and mulch.
There is no exact timeline, but most gardeners see gradual improvement over several weeks once they keep the soil consistently moist, covered, and fed with organic matter. Severe cases may need to be treated more than once with slow watering cycles and, in some cases, a wetting agent before water moves smoothly into the soil again.

Leave a comment on How to Fix Hydrophobic Soil in the Desert Garden