How to Refresh Old Potting Soil and Save Money
Can you reuse old potting soil? At the end of the growing season, the soil in containers can become compacted, depleted of nutrients, and less effective at supporting plant growth. Starting with fresh potting soil each time you plant is ideal, but it can be expensive. Follow these steps to refresh your old potting soil, use it for another season, and save money.
IMPORTANT NOTE: If the plant in the container struggled with pests or disease, it’s best to dispose of the soil, clean out the container, and begin with fresh potting soil.

What We’ll Cover:
- 1. Empty Old Potting Soil Onto a Tarp or Wheelbarrow
- 2. Remove Old Plant Material
- 3. Loosen and Water the Soil
- 4. Mix in Fresh Worm Castings to Refresh Old Potting Soil
- 5. Incorporate Organic Fertilizers to Refresh Old Potting Soil
- 6. Add New Potting Mix
- 7. Fill Containers Back Up
- Additional Container Gardening Resources on My Blog:
1. Empty Old Potting Soil Onto a Tarp or Wheelbarrow
The first step in refreshing old potting soil is to dump out the existing contents of the container onto the tarp or into a wheelbarrow.

Once the soil is out, it’s a good time to clean the inside of the container with a stiff brush and ensure the drainage holes are not blocked. Rinse it well and let it dry in the sun. Also, scrub off any ollas. Clean ollas will wick water more efficiently.

2. Remove Old Plant Material
Removing old plant material is the next step in reinvigorating old container soil. This includes pulling out spent plants, roots, and any debris left in the soil.
NOTE: If there isn’t much soil left after the plant material is gone, it may be best to start over with high-quality potting soil.
3. Loosen and Water the Soil
Over time, container soil can become compacted, making it harder for roots to grow and for the soil to hold water and nutrients. Compacted soil can also turn hydrophobic, repelling moisture instead of absorbing it. To fix this, gently break up the soil with a hand trowel or garden fork. Aerating the soil improves its structure, making it easier for roots to spread and water to absorb and drain properly. Finally, water the soil thoroughly, giving it time to hydrate fully.

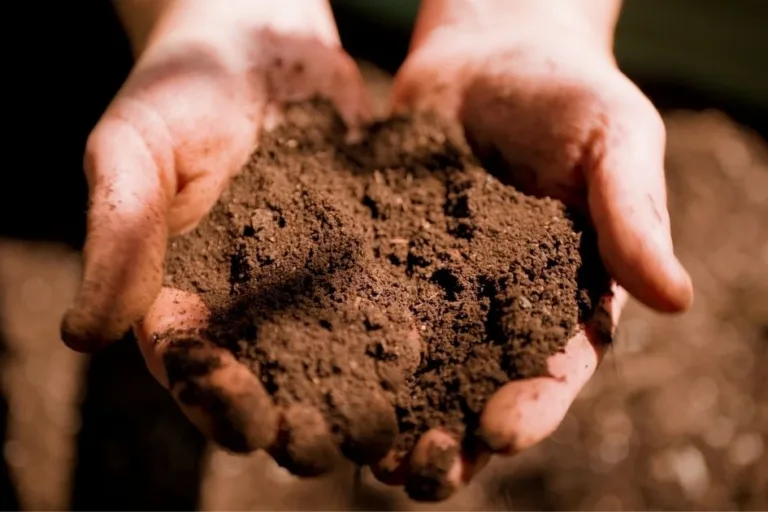
4. Mix in Fresh Worm Castings to Refresh Old Potting Soil
After cleaning out and loosening the soil, it’s time to mix in fresh worm castings. I use in-bed vermicomposting bins, and the harvested castings are free! Worm castings, in particular, are an excellent way to refresh old potting soil. They are rich in nutrients and beneficial microbes that help improve soil health and support plant growth. Learn more about the benefits of worm castings in this blog post. The ideal amount is about 5% worm castings in the soil. You can also add some fresh compost to the spent potting soil.

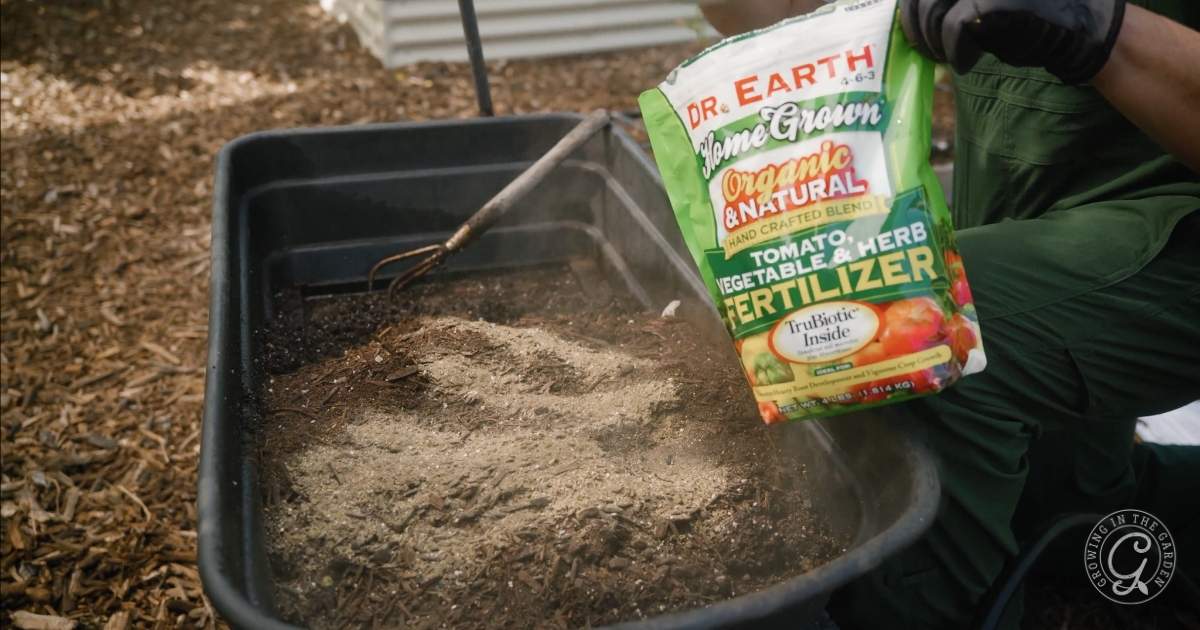
5. Incorporate Organic Fertilizers to Refresh Old Potting Soil
Add some balanced organic fertilizer to refresh your old potting soil. Used container soil is often devoid of nutrients because they are rinsed out of the soil each time you water. This is the one I like to use, but any balanced organic fertilizer will work. Use the least expensive one you can find. The back of the package should tell you the correct amount to add to your soil.
Once your potting soil is refreshed, this organic garden fertilizer guide shows how I use liquid and dry organic fertilizers to keep container plants growing well.
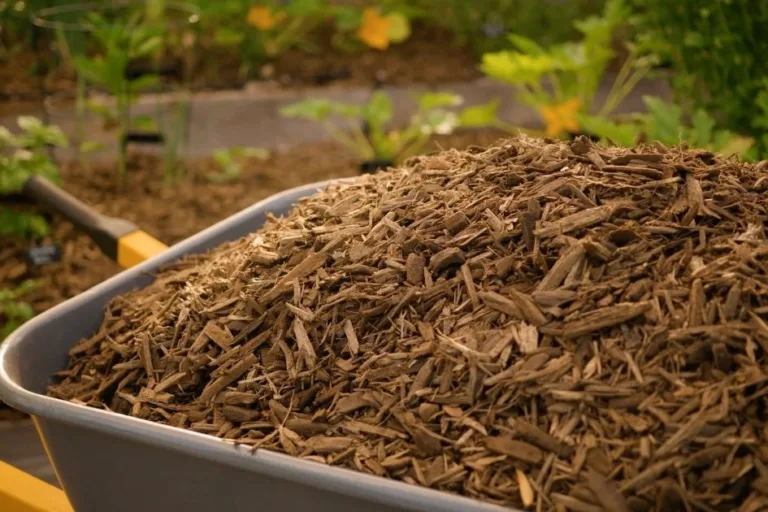
6. Add New Potting Mix
The final step to refresh old potting soil is to mix in some fresh potting mix. I like to add an equal amount of fresh soil to the old soil. This helps ensure plenty of perlite, coconut coir, or other moisture-holding ingredients essential for container gardening soil. I use the Raised Bed Mix from Arizona Worm Farm in all my raised beds and containers. Learn more in this blog post.
If you are not sure which tools and products are worth it, I put together a list of my favorite garden supplies. From soil amendments to everyday essentials, these are tried-and-true items that help me keep my garden thriving.
7. Fill Containers Back Up
Add the refreshed potting soil to the clean container. Fill the container all the way up with soil. Don’t add fillers like rocks. Containers naturally limit the size of roots, so giving plants access to as much soil as possible is essential. If you’re growing herbs in pots, refreshing the soil seasonally makes a big difference—get more herb-specific container tips here.
If your refreshed mix still will not take up water or pulls away from the sides of the container, follow the steps in how to fix hydrophobic soil in the desert garden to rehydrate stubborn soil.
Additional Container Gardening Resources on My Blog:
- How to Plant Pots, Tips for Container Gardening
- The Pros and Cons of Container Gardening
- Guide to Container Sizes: Which Size Container Should I Use?
- Container Gardening for Beginners: 10 Tips for Success
- 20 Best Vegetables for Container Gardening
- How to Grow Herbs in Containers
To learn more about gardening in containers, read my book on this topic. Learn more about the book “How to Grow Your Own Food: A Beginner’s Guide to Container Gardening” in this post or purchase the book here.
Curious to dive deeper into refreshing soil and container gardening? I cover this and so much more in Growing in the Garden Academy. With monthly classes and tips from my own Arizona garden, you’ll get practical advice you can use right away. Join on Patreon and check out my class on Desert Gardening Essentials: Mastering Sunlight, Water, Soil, and Timing.
If this post about how to refresh old potting soil was helpful, please share it.


How do you treat/correct hydrophobic soil? I had never encountered this issue until moving to the desert. Unfortunately it seems 60ft of bed space is hydrophobic native dirt, and I’m hoping to amend without having to replace it all.
It may take several tries. Keep working with it by wetting the soil, gently breaking up the surface, and giving the water time to soak in. A soil wetting agent in water can help the water penetrate. As the soil begins to hold moisture, add compost over the top. Continue this process and keep adding organic matter to improve it over time.
Hi Angela, fellow Mesan here. I am a renter living in a quadruplex with a modest container garden. My garden was exposed to tear gas when the police responded to a call involving our upstairs neighbors. Everyone came out of it fine, but I decided to compost the edible and flowering plants and their soil. I left some things like ornamental succulents that do not flower often if at all. With soil being the largest expense and times being what they are, how safe is it to reuse this soil? Is it possible to test it for the chemicals and heavy metals it may have been exposed to? The last thing I want is for anybody to get sick including pollinators, etc..
Hi Peter most tear gas uses some form of chlorobenzyl and it does not go away. I would not eat anything grown in it. A soil test is probably going to be more expensive than replacing the soil. And, unfortunately, home composting probably isn’t going to get hot enough to destroy it. I would dispose of the soil as if it were toxic. Sorry for the bad news.