5 Raised Bed Garden Mistakes That Cost You a Harvest
I made almost every mistake on this list. I built my first raised bed in 2008, and those first couple of seasons were a real struggle. I had a shallow bed surrounded by rocks in a spot that didn’t get the right light, filled with the wrong soil, growing crops at the wrong time, and watering when I remembered. Some things grew. Most didn’t do as well as they should have. And I couldn’t always figure out why.
Raised bed mistakes often happen together, and they compound. Once I understood what was actually going wrong, things started to click. I’ve put the most important lessons here so you don’t spend a couple of seasons figuring them out the hard way.
Key Takeaways for Raised Bed Mistakes
- Starting too big leads to confusion about what works in your garden; begin small and learn from few crops.
- Inconsistent watering creates uneven moisture and can damage plant roots; aim for even coverage across the entire bed.
- Use at least 12 inches of quality soil blend for healthy root growth, including compost, perlite, and coconut coir.
- Planting at the wrong time causes frustration; refer to local planting guides to find the best timing for your crops.
- Misjudging sunlight affects plant growth; observe how sunlight changes in your yard and adjust your bed placement accordingly.
What We Will Cover About Raised Bed Garden Mistakes:
Mistake #1: Starting Too Big
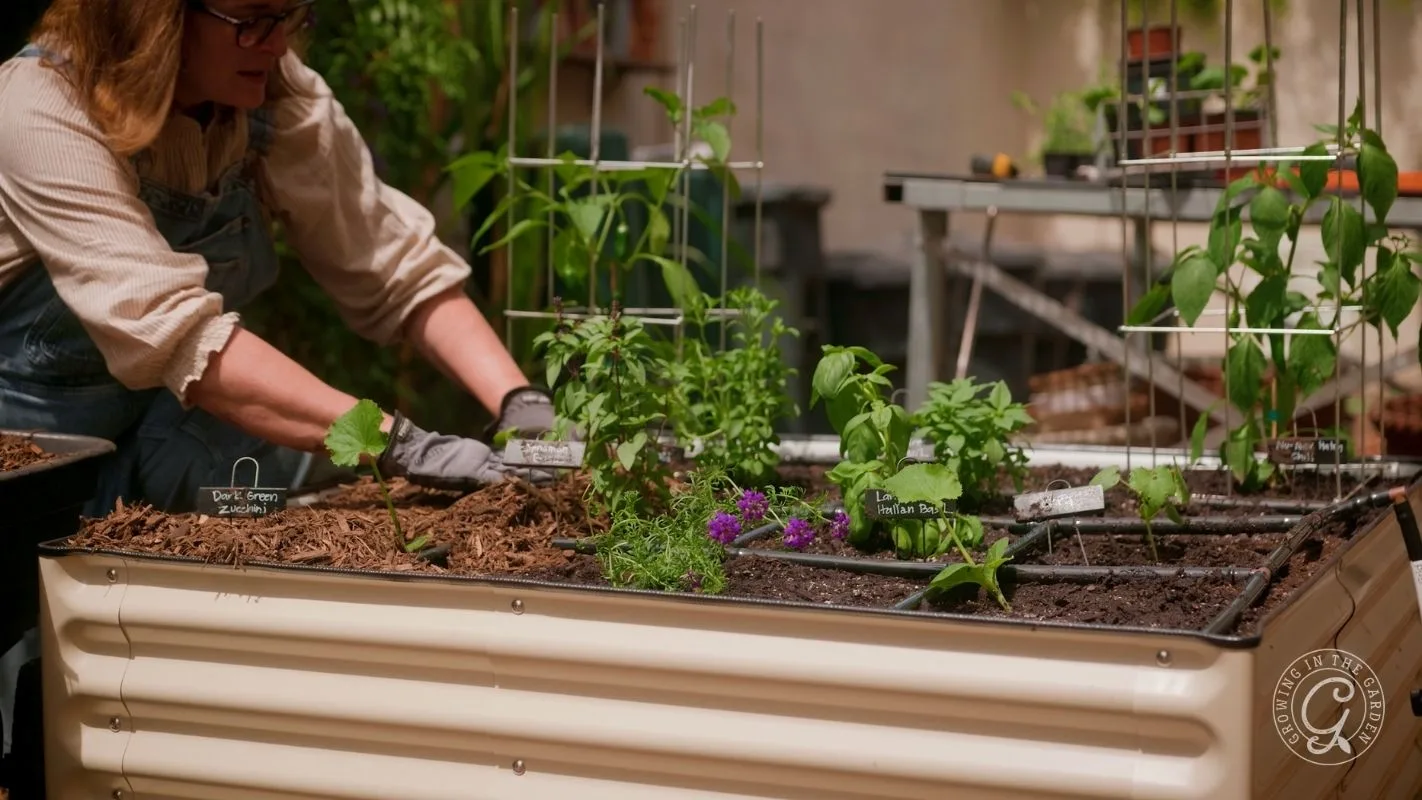
The temptation when you start a raised bed garden is to plant everything at once. You have space, you have seeds, you want to grow. So you fill a bed with six or eight different crops and see what happens.
The problem isn’t that nothing will grow. Some things will. The problem is that you won’t be able to learn much from the season. When things go wrong, and some will, you can’t pinpoint why. When something does well, you’re not sure what you did right. There are too many variables and not enough attention on any one of them.
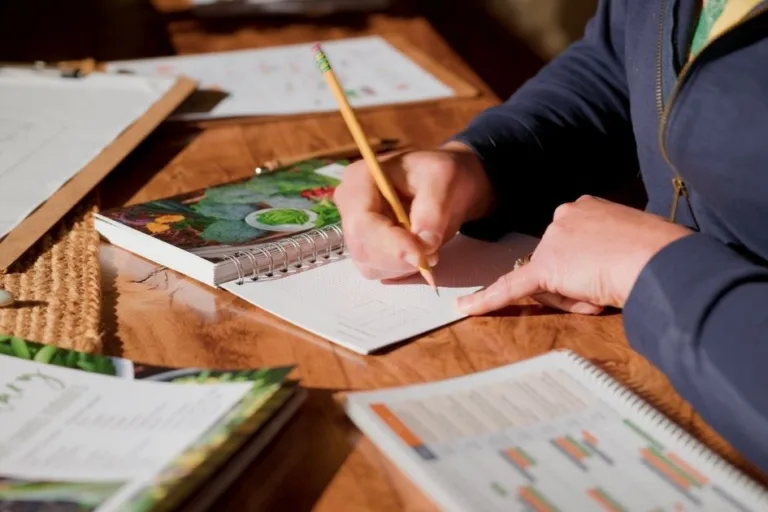
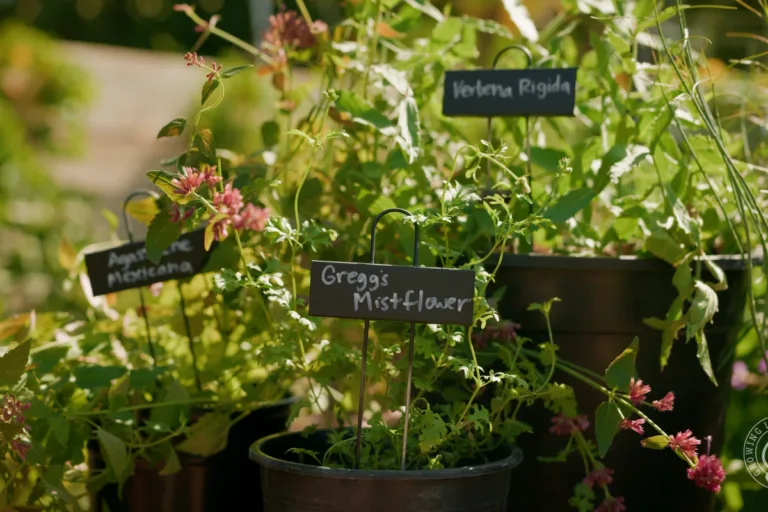
Starting small gives you the space to actually pay attention. Pick one vegetable or herb and one flower. Choose something that’s in season right now and something you want to eat. Use the growing guides for vegetables, herbs, and flowers to learn as much as you can about those specific crops, or start with the plant index to find what you want to grow. Grow those crops through a full season. See what works, what doesn’t, and what you’d do differently. Then add more in the next season, building on what you learned.
My own garden didn’t start big and get planned out all at once. It started small and grew over many years as I gained experience and my family’s needs changed. You can see how the garden has evolved over time in this post.
If you want a clear roadmap for starting your first raised bed from scratch, my 30 Days to Your First Desert Garden course walks through the whole process, start to finish.
If you garden in the low desert: In Arizona, we have short growing seasons that include a long, productive fall through spring season and a short, intense summer. Your first garden will almost always go better if you start in fall, around September or October. The season is longer, more forgiving, and gives you more plant options to learn from. Starting small in fall is the best way to get started in this climate.
Mistake #2: Uneven or Inconsistent Watering
For the first couple of years, I hand-watered my beds when I remembered. Then I installed drip lines, spent a lot of money on parts, and still struggled because the coverage was uneven. Some areas of the bed would be consistently moist, while others would never get watered. Some plants thrived; others not so much.
What I eventually learned is that the whole bed needs even moisture, not just parts of it.
Soil is alive. When parts of your bed dry out, the microbial life in those areas dies. Dead, dry soil doesn’t hold water well, doesn’t support root health, and makes everything harder than it needs to be.
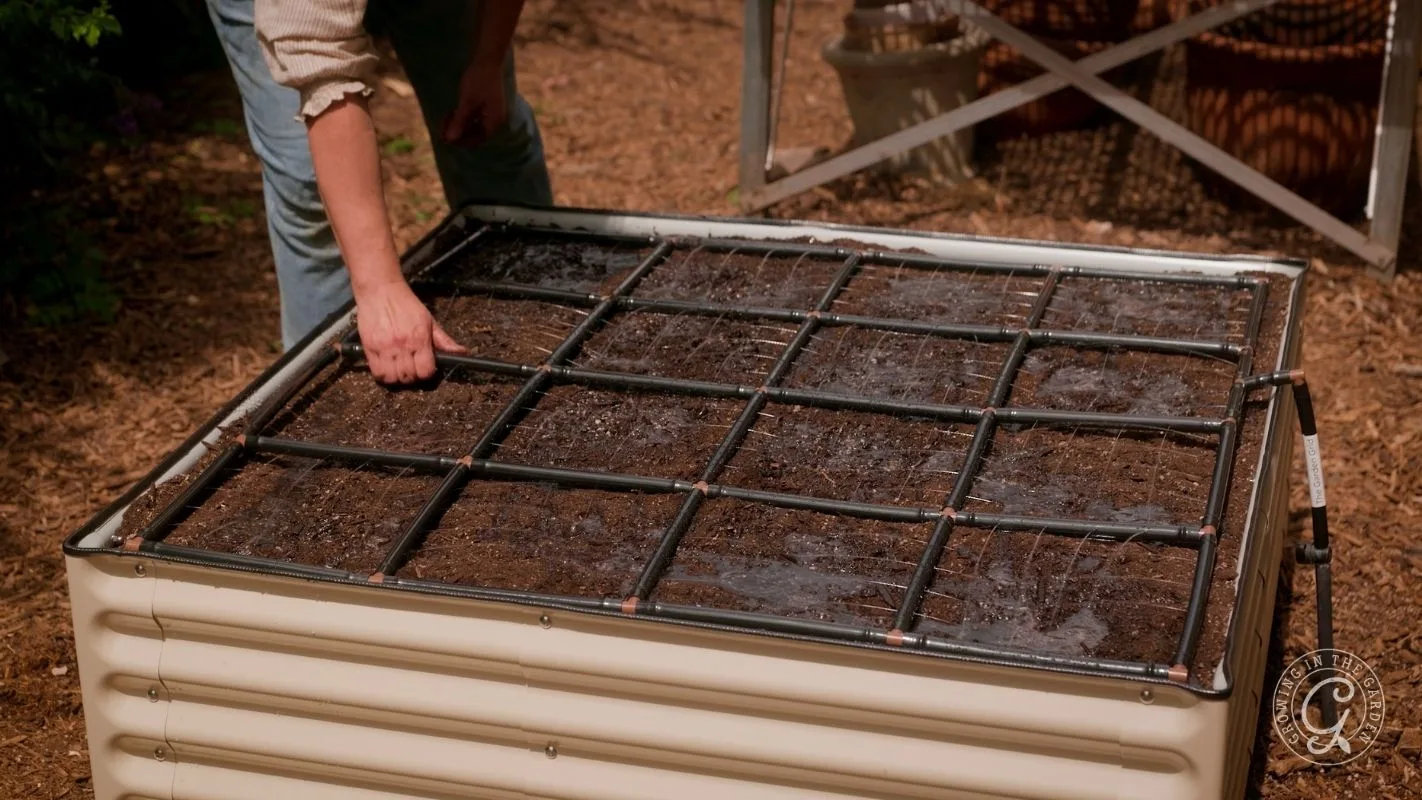
Getting consistent, even coverage across the whole bed made a bigger difference than almost anything else I’ve changed over the years. The Garden Grid™ from Garden In Minutes is what I use in all my beds now.
Some kind of automatic watering system takes the inconsistency out of it. You can adjust timers by season, and your plants aren’t dependent on your schedule. Deep, even watering also encourages roots to grow down instead of staying shallow, which helps when summer heat arrives and the top of the bed dries out fast.
Learn more about watering principles for raised beds here.
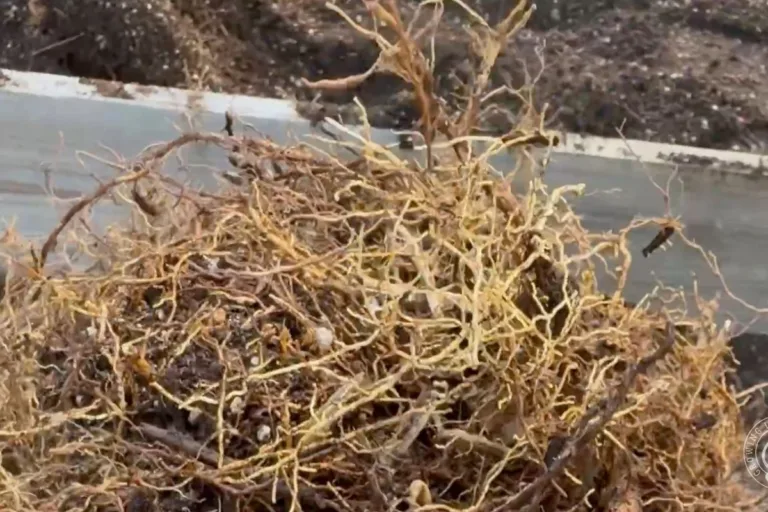
If a bed near a tree keeps drying out and struggling no matter what you do, the cause may be underground. Here’s how to keep tree roots out of your raised beds.
If you garden in the low desert: In summer, raised beds may need watering daily. The combination of intense sun, low humidity, and high heat means beds dry out fast. An automatic system can help keep plants alive when you’re away from the garden. In the cooler months you’ll water far less, so make sure your system has an adjustable timer and that you’re changing the schedule as the seasons shift.
Mistake #3: Not Enough Soil, or the Wrong Soil
These two mistakes cause the same problem: roots that don’t have what they need to thrive.
Beds that are too shallow
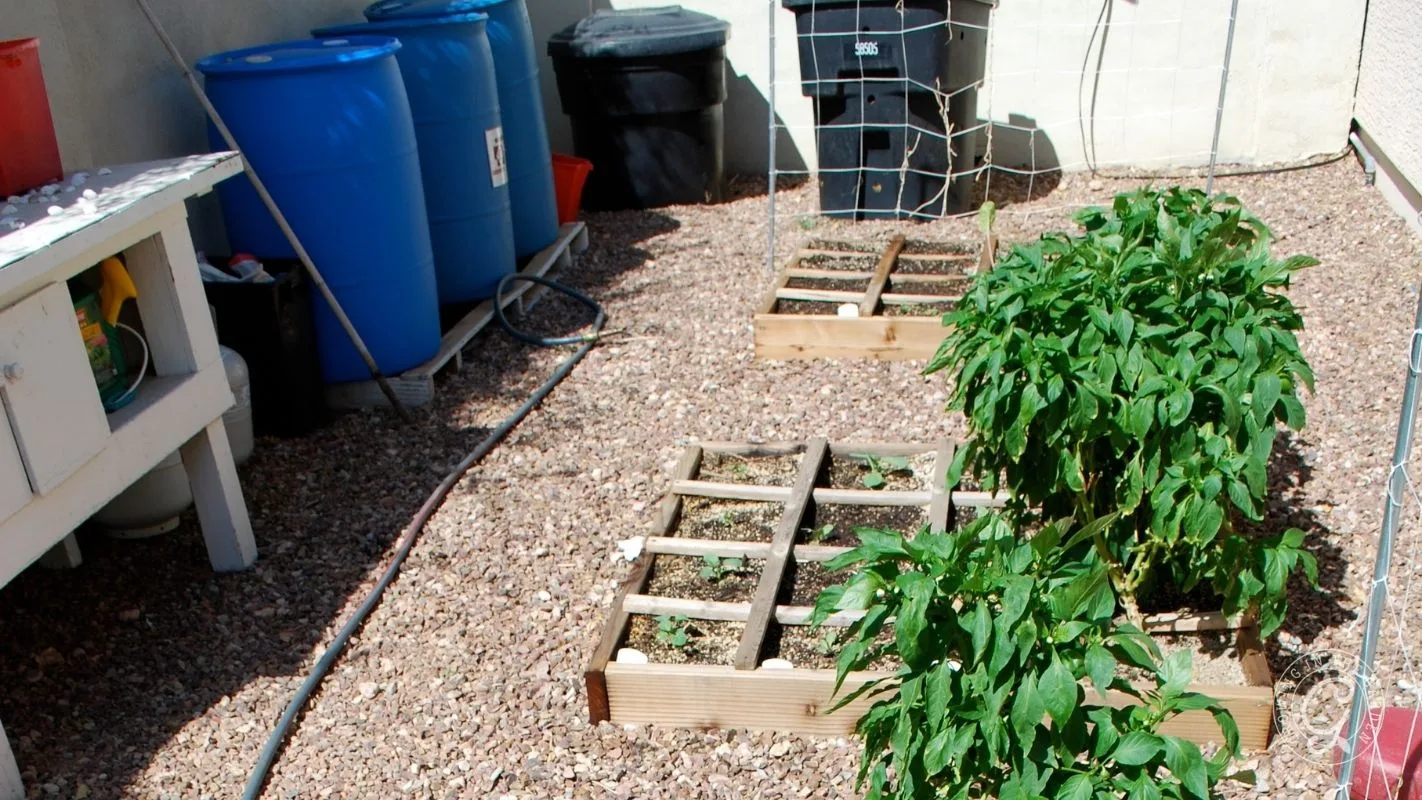
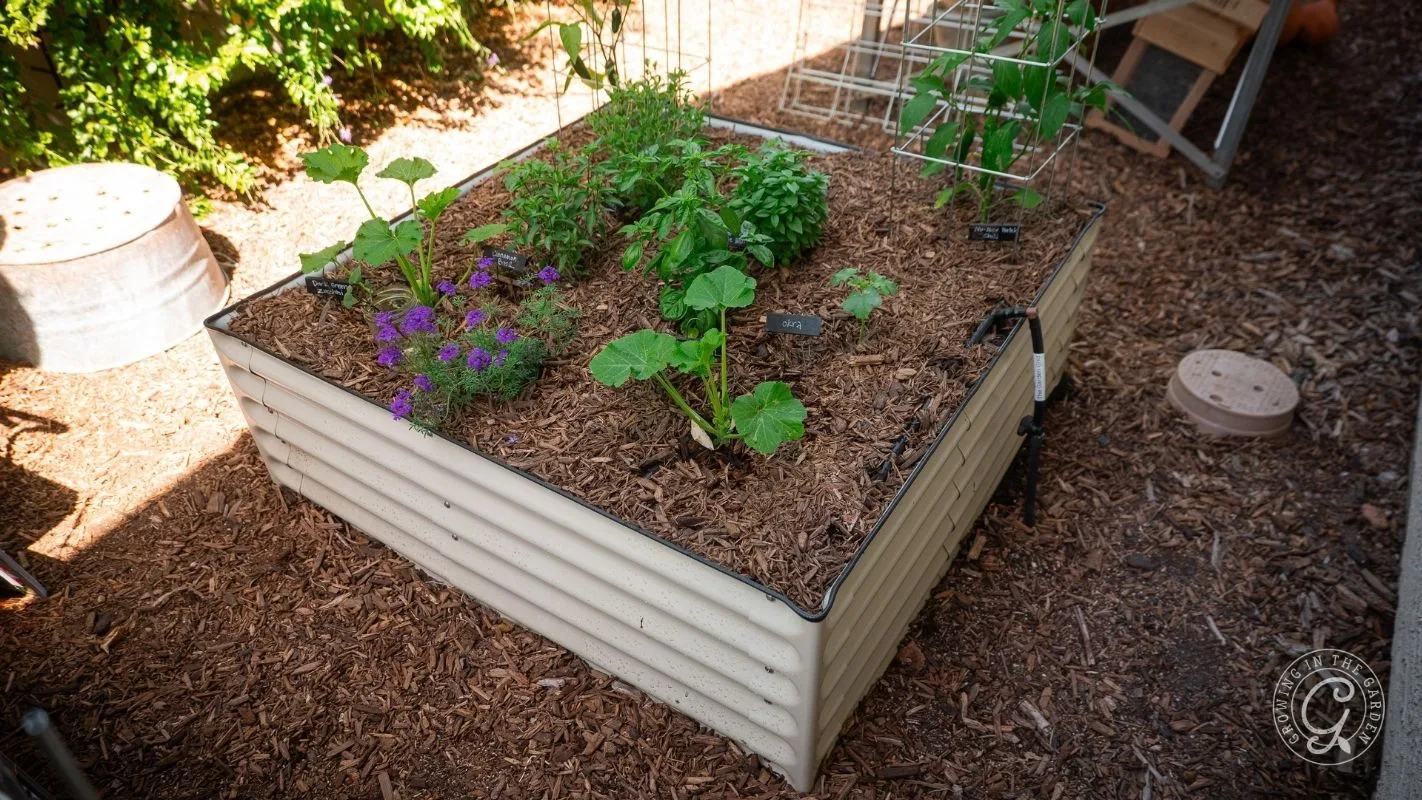
My first raised bed was about 6 inches deep, surrounded by rocks. When it got hot, that bed fried. There was nowhere for roots to go to find cooler soil. Raised beds should be at least 12 inches deep. The deeper the bed, the more slowly it heats up and dries out, and the more room roots have to grow. The metal beds I use now are 17 inches deep and include a watering grid.
There’s also a second part to this mistake: having a deeper bed but not filling it all the way up with soil. If you have a 12-inch bed and fill it 8 inches, you’re leaving root space unused. Roots are limited by the soil you give them. Fill the bed.
What you fill it with matters just as much
The most common choices, topsoil, fill dirt, or straight compost, all cause problems. Topsoil and fill dirt compact easily and lack the structure and biology that raised beds need. All compost can drain poorly and actually repel water when it dries out.
A good raised bed soil blend needs three things working together:
- Compost for microbial life and nutrients. This is what feeds your plants and keeps the soil alive.
- Perlite for drainage and aeration. Roots need oxygen, not just water.
- Coconut coir for water retention. This matters especially in hot, dry climates where beds lose moisture fast.
Get the full soil blend details and ratios in this post.

The soil is often the biggest upfront investment in a raised bed garden, but it pays off for years. Good soil gets better every season when you treat it well. Add compost regularly, top-dress with worm castings, and consider in-bed vermicomposting to build microbial life over time. A well-maintained bed keeps improving. A bed filled with compacted, lifeless material keeps fighting you.
Read how to fill a raised garden bed the right way for the full process
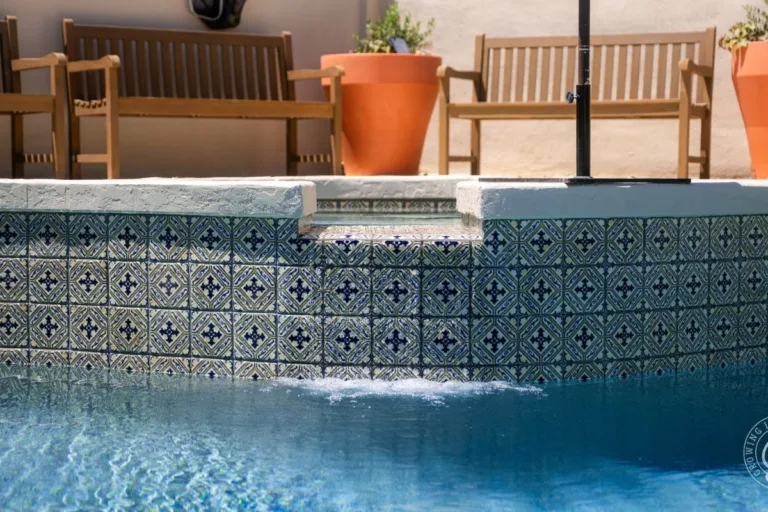
If you garden in the low desert: Shallow beds in Arizona are especially unforgiving in summer. Rock and concrete surroundings make the problem worse by radiating heat back into the bed. Deeper beds with quality soil stay measurably cooler and hold moisture longer. That difference matters when temperatures hit 115°F. I worked with Arizona Worm Farm to develop the Growing in the Garden raised bed mix specifically for this climate. It’s what I use in my own beds. They don’t sell online, but you can call ahead or visit in person, and they offer local delivery.
Mistake #4: Planting at the Wrong Time
Timing is where so much garden frustration comes from.
When I planted beans in my first bed back in 2008, they grew. But then it got hot, and the plants died before I could get a harvest. I had plants but no food. Timing isn’t just about whether a crop will sprout. It’s about planting with enough runway to actually finish before conditions change.
Most crops have a preferred temperature range. Push outside that range, and the plant can struggle. In the low desert especially, timing is more unforgiving than general garden advice suggests. A lot of people move to Arizona carrying habits from wherever they gardened before. In many parts of the country, the right time to plant tomatoes is around Mother’s Day. In Arizona, that’s about the worst timing you can choose.
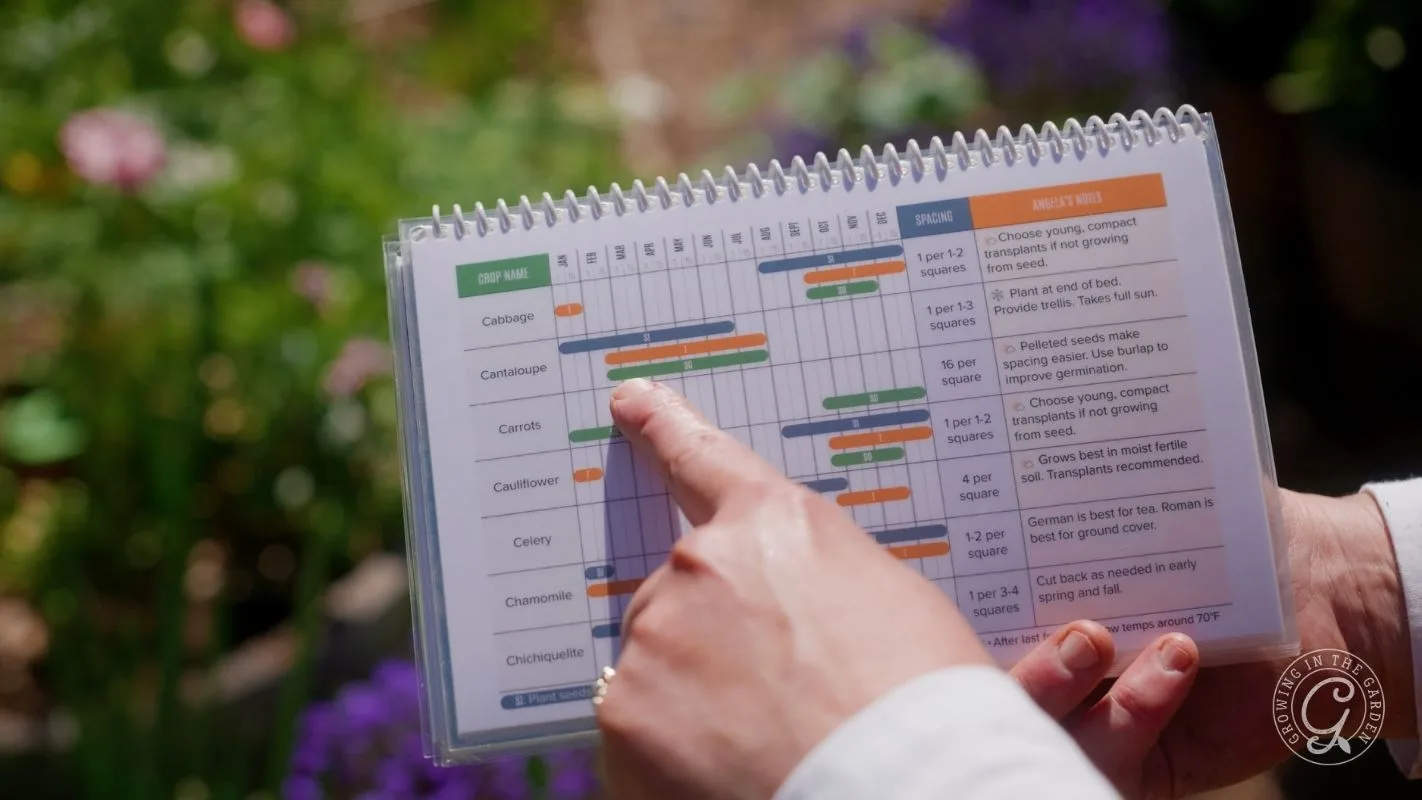
Find a planting guide specific to your area and use it. My monthly planting guides for the low desert take out the guesswork. I also have physical planting guides and calendars if you want something you can take in the garden with you.
This also connects back to mistake #1. When you start with just a couple of crops, you can actually learn their timing: what the right window is and what to do differently next season. When you plant eight things at once, timing issues get buried in everything else that might be going wrong.
If you garden in the low desert: Our seasons are different from many parts of the country. Cool-season crops like lettuce, broccoli, carrots, and peas go in from roughly September through November. Warm-season crops like tomatoes, peppers, squash, and beans have a narrow spring window and a second planting window with the monsoons. A planting guide specific to the low desert helps you plant at the right time.
Mistake #5: Misjudging Sunlight
Most garden advice says raised beds need full sun. That’s true, but full sun is complicated.
The sun’s angle changes throughout the year. A spot that gets good light in August might be partly shaded by your house, a wall, or a tree in December when the sun sits lower in the sky. A location that works well for a fall garden might be brutal by late May when afternoon temperatures climb, and the sun is higher and more intense.
Not enough sun means plants grow slowly and never quite develop as they should. Too much intense afternoon sun, especially in the summer, causes heat stress, bolts cool-season crops early, and can burn leaves.
Before you place your beds, spend some time watching where the sun falls in your yard at different times of day throughout the year. The spot you’re considering in December may look very different by April. Raised beds are difficult to move once they’re in place, so it’s worth taking the time to get the location right.
If you’re setting up your first raised bed and it’s May, June, or July in Arizona, wait. Summer is the hardest time to start a garden here. Starting during the most difficult season can make you feel like gardening doesn’t work for you when the real problem was the timing. Start your first garden in the fall.
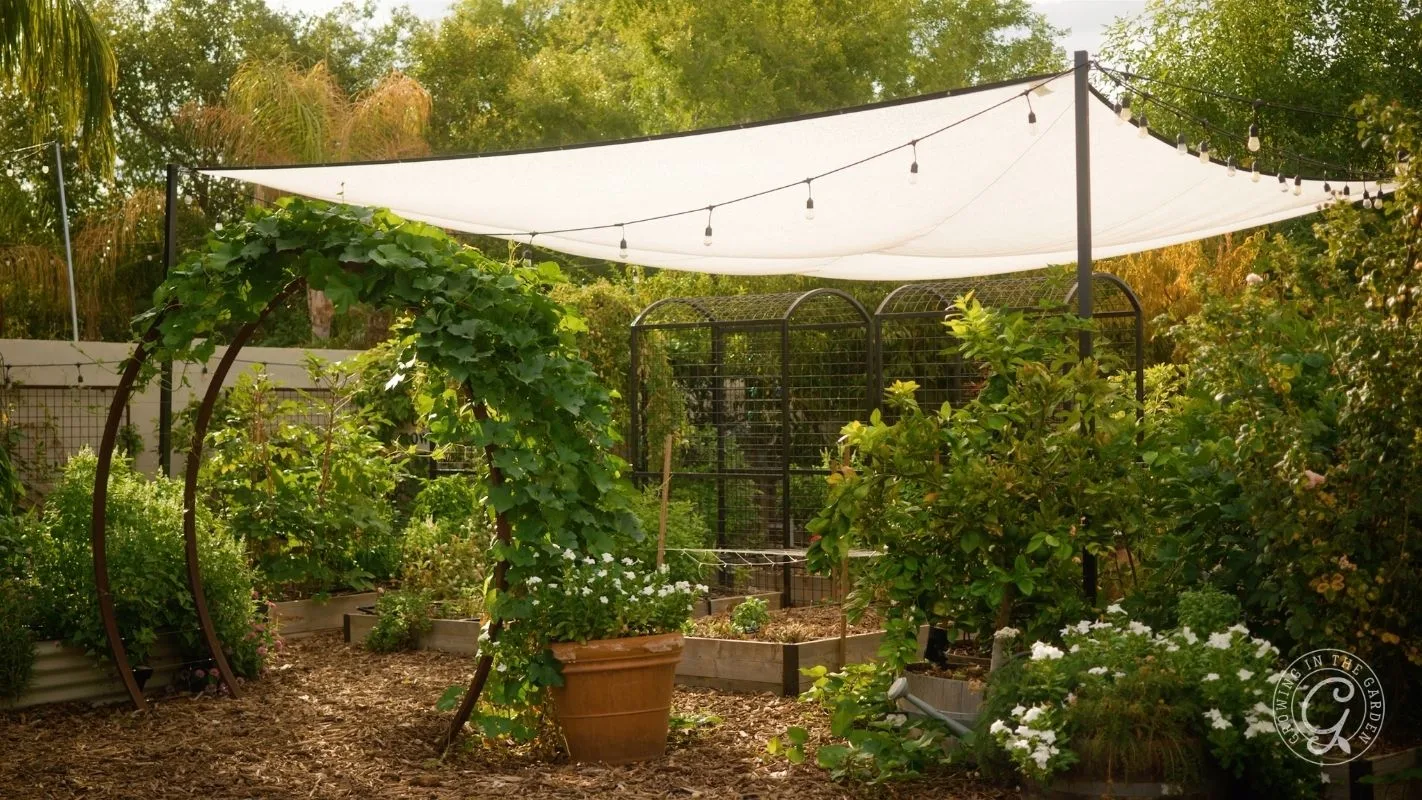
If you garden in the low desert: West-facing and south-facing exposures that catch full afternoon sun become increasingly brutal from May through September. The ideal setup for most of the year is morning sun with shade or protection from the west, whether that’s a wall, a fence, a tree, or shade cloth. If your only option is a spot with intense afternoon exposure, 50% shade cloth can extend your productive season significantly in spring and fall. Learn how to add shade to your garden here. Watching how light moves through your yard before you place your beds will save you a lot of frustration.
Raised Bed Garden Mistakes FAQ’s
Not necessarily. If your existing soil has become hard and water-repellent, learn how to fix hydrophobic soil in your raised bed here. Once it is absorbing water, if you have at least 6 to 8 inches of room at the top of the bed, add good quality soil on top of what’s already there. Don’t mix it in. Continue adding compost each season, and the soil will improve over time. Soil biology works its way down. Give it time and keep adding compost.
Garden in containers or grow bags for a season while you observe the sunlight patterns on your property. This gives you a chance to watch how light moves through your yard at different times of day and across different months before you commit to a permanent bed location. Learn how to get started with grow bag gardening here. Grow bags are inexpensive, flexible, and a good way to start growing while you figure out the right spot.
Read the growing guide for that specific crop so you know whether it does better from seed or transplant, what common problems to watch for, when to plant, and when and how to harvest. Plant at the beginning of the planting window for your area, not the middle or end of it. That gives you the best chance of having enough time before conditions change.
That’s exactly why I created the 30 Days to Your First Desert Garden course. It takes you from choosing a location to planting your first crops in 30 days, with everything in one place and in order. If you want a guided path instead of piecing it together yourself, that’s the place to start.
Ready to stop guessing and start growing? The 30 Days to Your First Desert Garden course gives you a clear, step-by-step plan so you can skip the mistakes and get to the harvest.


Hi Angela,
I finally have my raised bed growing after last years flop but this morning I woke up to deep holes around the base of my tomato plants? I have never seen a squirrel, rat or gophers in my yard, the holes are about 6 to 8 inches deep and only by the tomato plants. I was wondering if you have seen this before.
Thank you for all your help.
Hi Pam. It could be birds as well, that’s what’s been digging all the holes in my garden right now.
Thank you for your help, it is informative and necessary to create a garden in Arizona. Last year nothing I planted produced at all; hope I have better luck this year. I have your flower calendar and plan to get the vegetable calendar next.
Best of luck to you! I hope things go better for you this year.
Hi Angela,
I have 16 in. x 8 in. x 4 in. concrete/cinder blocks that I want to use for my garden bed, do you think it will be too hot to grow tomatoes? They are part of the top of a fence we removed, probably 30 years old. Also, can I mix a little of my native soil in with garden soil mix?
Make it as large as you can (deep and wide) they do heat up more, but you should be able to use them. Scrub them clean of old paint that might contain harmful chemicals. If they are excessively crumbly you may not want to use them. If you have native soil, put that at the bottom – the top 12-18 inches should be a good raised bed mix like the kind from Arizona Worm Farm if possible.
What about using cinder blocks for my garden bed? are there going to be any issues?
thanks.
Use new cinder blocks if possible to avoid past chemical exposure. They have a slight possibility of raising pH levels, so test the soil occasionally. Cinder blocks can absorb heat during the day and release it slowly at night. This thermal mass can be beneficial in cooler climates by extending the growing season, but in very hot climates, it can heat the soil more than other types of beds.
Hi Angela – I’ve started gardening in my backyard in Mesa and your blog has so far been indispensable. So far, I’ve only bought cedar raised beds, but I want to add some 2×8 beds and am considering the metal beds you’ve recommended from Garden in Minutes. The only thing giving me pause is that I want to use them to grow summer crops, and I’m worried the metal (and subsequently the soil) will get too hot (the area I’d put them in would get unobstructed sun basically all day). Have you had a problem with this? What do you recommend?
I haven’t noticed that being a problem with my other metal beds. I do plan on taking temp readings throughout the summer in the different types of beds to see if it’s an issue.